How to Preserve Your Wedding Bouquet: A Complete Guide
Your wedding bouquet is more than just an arrangement of flowers—it’s a meaningful memento of one of the most cherished days of your life. Instead of letting your bouquet fade away, transform it into a treasured keepsake by using proven preservation techniques. This detailed guide covers practical steps, popular methods, creative display options, and professional tips to help you keep the beauty of your wedding flowers alive for years to come.
Why Preserve Your Wedding Bouquet?
The flowers you carry down the aisle are intimately linked to your special day, symbolizing happiness, love, and new beginnings. By preserving your bouquet, you capture those emotions and memories in a lasting form. Whether you want to keep your bouquet’s natural 3D beauty, flatten specific blooms for artwork, or create unique jewelry keepsakes, understanding the right preservation method helps ensure your flowers remain a beautiful reminder of your celebration.
Important First Steps: Prepping Your Wedding Bouquet for Preservation
To achieve the best results, it’s critical to act quickly after your wedding. Here’s how to prepare your bouquet before beginning any preservation method:
- Act promptly: Begin preparations as soon as possible, ideally on the wedding night or the next day. The fresher the blooms, the better they will preserve.
- Keep cool and dry: Store your bouquet in a cool, dry place away from direct sunlight while waiting to start preservation.
- Avoid added preservatives: Avoid spraying additional preservatives at this point, as some commercial sprays can cause browning during certain processes, such as pressing.
- Assign a helper: Delegate a trusted friend or family member to start prepping florals during or immediately after your event if you’re busy celebrating.
- Remove supporting materials: Gently remove ribbons, wires, and pins that are holding the bouquet together. Trim about half an inch off each stem at a diagonal.
- Separate flower types: Some flowers may require different preservation methods. Consider separating heavier blooms from lighter, more delicate stems.
- Keep flowers hydrated: Place trimmed stems in clean water until you’re ready to begin drying or pressing.
- Limit handling: The less you touch the blooms, the less likely they are to bruise or lose petals.
Popular Methods for Preserving Your Wedding Bouquet
Several techniques can help you save your flowers, each with its own look, time frame, and difficulty. Here’s a breakdown of the most popular bouquet preservation methods:
1. Air Drying
Air drying is the most accessible and classic preservation technique, offering a vintage charm to your dried bouquet. It works well for hardy flowers, preserving their general shape and some color, though petals will shrink and colors may fade slightly.
- Remove any damaged petals or leaves before starting.
- Break the bouquet into small bunches (5-8 stems per bunch), grouping similar flowers together.
- Secure each bunch with string or a rubber band, leaving enough for hanging.
- Hang each bunch upside down in a dark, dry, and well-ventilated area—closet or attic works well. Avoid basement areas where humidity can cause mold.
- Ensure bunches do not touch to maximize airflow and shape retention.
- Allow 2-4 weeks for full drying, checking for crispness.
Tip: Once dried, display the bouquet in a vase, in a wall hanging, or store it in a tissue-lined box.
2. Pressing Flowers
Pressing flowers is ideal if you want to create framed art, stationery, or jewelry. This method suits smaller, flatter flowers or individual petals more than robust, thick blooms.
- Place selected blooms between parchment or wax paper (avoid paper towels, which may imprint texture).
- Arrange flowers carefully in the desired design before pressing.
- Use the center of a heavy book or a flower press, and add additional weights on top if necessary.
- Transfer the flowers with their papers to the middle of your book, then place another sheet on top.
- Press for at least 2 weeks, checking dryness. If still soft, replace paper and continue until fully dry and papery.
Pressed flowers customize easily for display in picture frames or glass cases.
3. Freeze Drying (Professional Service)
Freeze drying maintains the most lifelike shape and vibrant color, but requires professional equipment. This technique is perfect for preserving the whole bouquet in its original 3D form for decades.
- Preparation: Professionals will disassemble, treat, and prepare blooms to maintain their structure and color.
- Freezing: Flowers are deeply frozen, often below -40°F, to lock moisture and prevent collapse.
- Vacuum chamber: Moisture is gently removed by sublimation, which turns ice to vapor, preventing liquid damage.
- Finishing: After drying, each flower is post-treated to protect color and structure, then reassembled into a bouquet or design.
This method is costlier and takes weeks but results in long-lasting, highly realistic keepsakes.
4. Silica Gel Drying
Using silica gel (found at craft stores), you can preserve flowers’ color and shape more effectively than air-drying. This method is suitable for small or delicate flower heads.
- Fill a container with a layer of silica gel crystals.
- Lay blooms on top, then gently cover them with more silica gel, ensuring they keep their form.
- Seal container and leave untouched for 1–2 weeks, checking occasionally.
- Carefully remove dried flowers and use a soft brush to clear off any remaining crystals.
Silica gel drying provides vibrant, well-shaped blooms for display or inclusion in shadow boxes.
5. Resin Preservation
Encasing blooms in resin creates a durable, artistic keepsake like paperweights, ornaments, or jewelry. This technique works well for individual blooms or petals.
- Dry flowers thoroughly with silica gel or pressing technique.
- Arrange dried blooms in a silicone mold or frame.
- Pour clear resin in layers, allowing each to set before adding more.
- De-bubble and cure as directed by resin instructions.
Professional preservationists often offer bespoke resin creations for unique, durable mementos.
6. Wax Preservation
Dipping flowers in paraffin wax coats them, temporarily preserving shape and color. Suitable for short-term display, but not a long-lasting solution.
- Gently melt paraffin wax in a double boiler.
- Dip individual blooms briefly, allowing excess wax to drip off.
- Hang or lay on wax paper to cool and harden.
Best for temporary use (e.g., during honeymoon), not for permanent preservation.
Comparing Bouquet Preservation Methods
| Method | Pros | Cons |
|---|---|---|
| Air Drying | Easy DIY, inexpensive, keeps partial shape | Colors often fade, brittle texture, takes weeks |
| Pressing | DIY-friendly, great for frames, preserves color | Only for flat designs, delicate, can damage thick blooms |
| Freeze Drying | Most realistic, vibrant color, preserves full shape | Expensive, requires professional service, time intensive |
| Silica Gel | Keeps color/shape well, suitable for small flowers | Not for large bouquets, takes careful handling |
| Resin | Long-lasting, unique display options | Requires dry flowers; resin work can be tricky |
| Wax | Quick, enhances color temporarily | Short-term only, not a permanent solution |
Creative Ways to Display Your Preserved Bouquet
Once your bouquet is preserved, consider these ideas to showcase your flowers and keep them close:
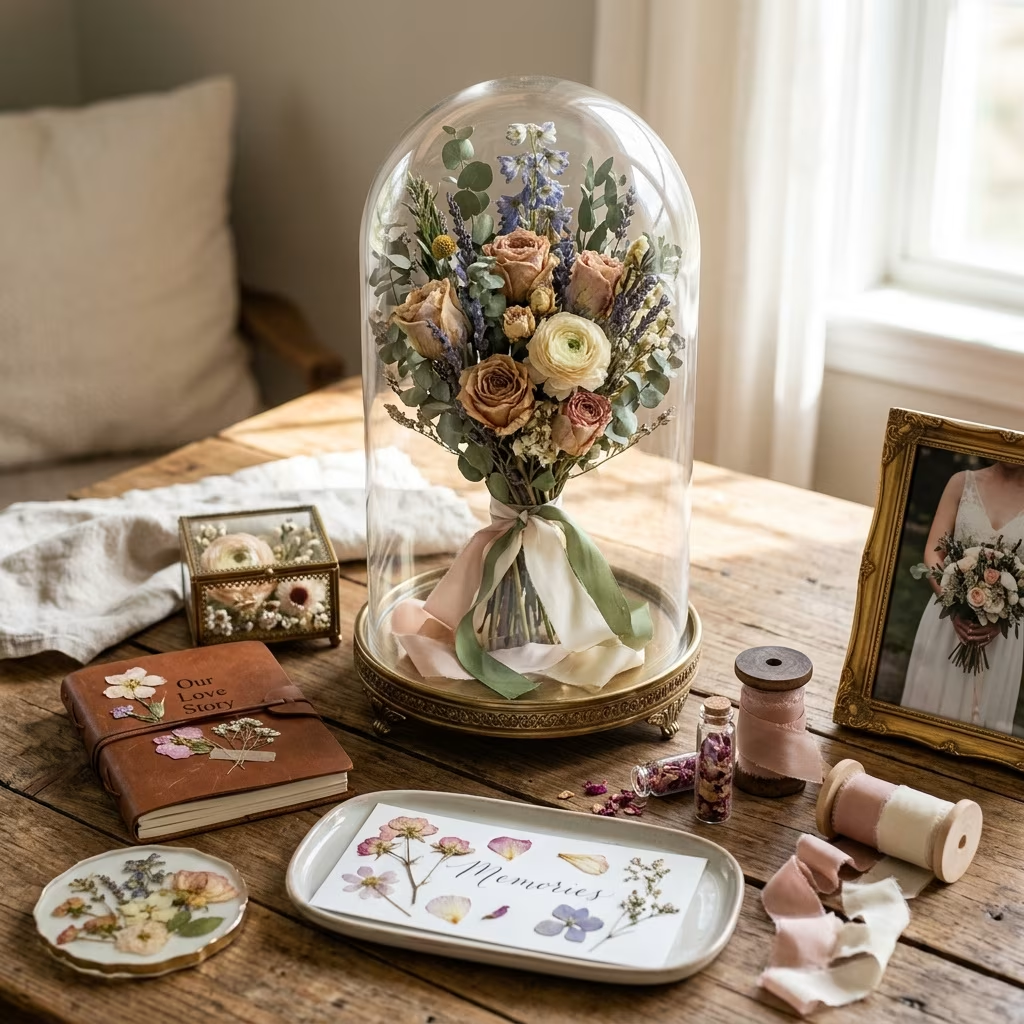
- Shadow boxes: Encase your 3D bouquet in a glass box with room to add mementos like invitation cards, photos, or ribbons.
- Framed pressed flower art: Arrange pressed blooms between glass to create stunning wall art.
- Glass domes: Dome displays shield delicate dried or freeze-dried blooms from dust while showing off their beauty.
- Resin keepsakes: Incorporate preserved petals into jewelry, ornaments, or paperweights.
- Tiny vases and jars: Mini bud vases feature selected dried blooms for desk or shelf decor.
- Floral jewelry: Work with artisans to encapsulate pressed petals in pendants, bracelets, or rings.
Tips and Best Practices for Bouquet Preservation
- Start early: The fresher the flowers, the better your preservation results.
- Minimal handling: Touch flowers as little as possible to avoid bruising or loss of petals.
- Choose the right method: Decide whether you want full bouquets (choose freeze drying, air drying) or single blooms/artwork (choose pressing, silica gel, resin).
- Consider the display: Plan how you’d like to showcase your preserved flowers before you start, as some methods suit particular forms of display better.
- Handle dried flowers gently: Dried petals and stems are fragile. Secure arrangements or display cases to prevent accidental damage.
- Protect from sunlight and moisture: Store all preserved flowers away from direct sun and humidity to prolong their beauty and color.
- Consult professionals for keepsake quality: For intricate work or long-lasting results, consider professional freeze drying or custom resin preservation.
Frequently Asked Questions (FAQs) about Wedding Bouquet Preservation
Q: How soon after the wedding should I start preserving my bouquet?
A: For the best results, begin preservation on your wedding day or as soon as possible the next day. Fresh flowers retain their shape and color more effectively.
Q: Can I preserve my bouquet if some flowers are already wilting?
A: Remove any wilted, damaged, or browning flowers before starting. Only healthy blooms should be dried or pressed for best appearance in the final keepsake.
Q: Which preservation method is right for me?
A: Each technique has benefits—air drying and pressing are budget-friendly and DIY, freeze drying yields the most lifelike results but requires a professional. Choose based on your budget, display goals, and the type of flowers in your bouquet.
Q: Will preserved flowers last forever?
A: No preservation method is permanent, but some (like freeze drying or proper resin encasing) can keep flowers vibrant for many years, especially if displayed away from moisture and strong sunlight.
Q: What types of flowers preserve best?
A: Thicker, more robust flowers such as roses, carnations, and eucalyptus generally preserve better. Delicate blooms like hydrangeas or orchids may require more careful handling or professional preservation.
Final Thoughts: Treasure Your Special Day
Preserving your wedding bouquet is a meaningful way to hold onto the magic and memories of your wedding day. Whether you opt for a simple DIY project or invest in professional services, choose the method that best fits your vision, budget, and style. With a little patience and care, you can ensure your bouquet remains a treasured symbol of your love story for years to come.
References
- https://www.theknot.com/content/how-to-preserve-your-bouquet
- https://www.tungstenringscenter.com/blog/2024/12/14/guide-to-preserving-a-bridal-bouquet/
- https://www.bbcmaestro.com/blog/how-to-preserve-a-wedding-bouquet
- https://www.bloomandmake.com/flower-preservation-guide
- https://myflowersforever.com/blogs/blog/flower-preservation-techniques