How to Create a Killer Copper Cat Eye
Whether you want to energize your everyday look or stand out for a special night, the copper cat eye is the trend that delivers both edge and warmth. Its metallic sheen catches the light and flatters every skin tone, making it a go-to statement for beauty lovers. This guide walks you through every step, product recommendation, and expert trick to create a mesmerizing copper cat eye—even if you’re a total beginner.
Why Copper Is the Hottest Eye Makeup Trend
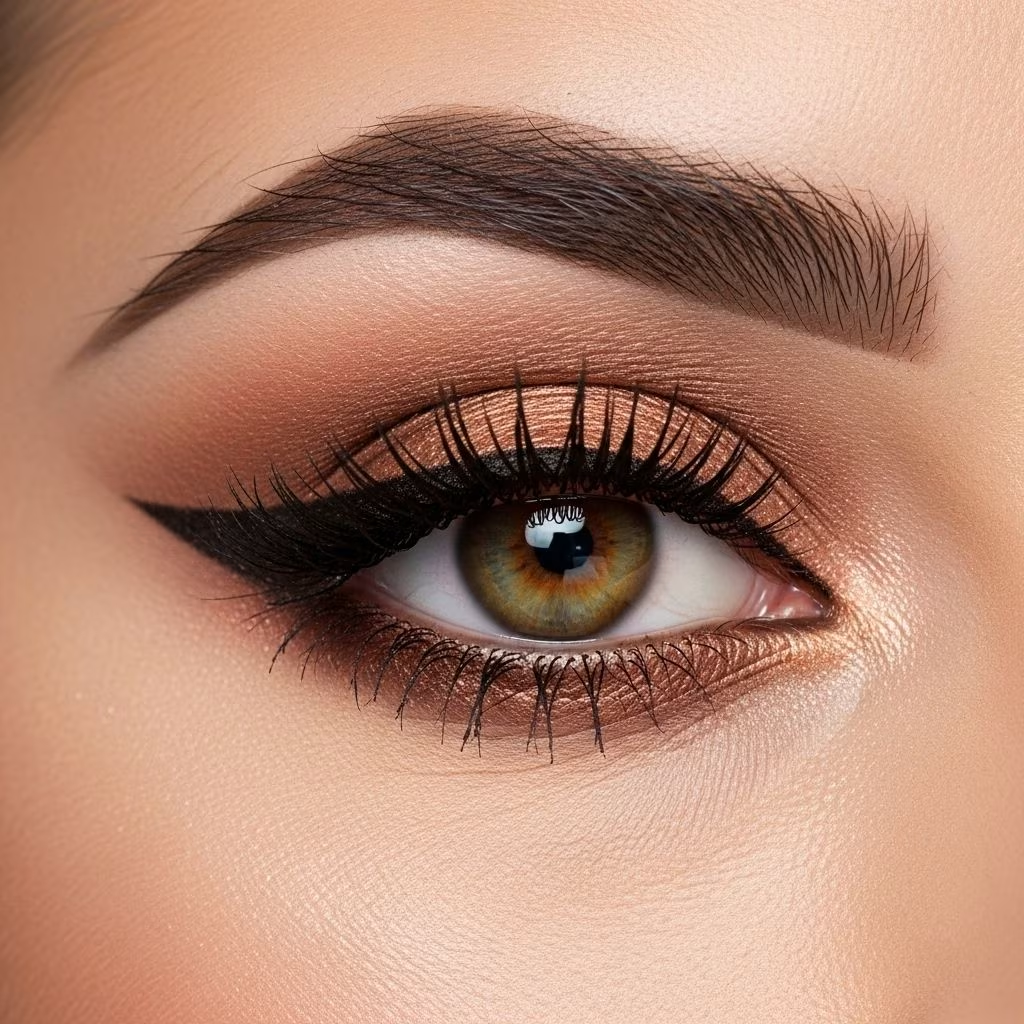
Copper tones bring a unique pop to the classic cat-eye, amplifying the look’s drama with a glimmer of metallic warmth. Unlike traditional black liner, a copper finish softens the silhouette of a winged eye, making it both striking and approachable. The shade flatters every eye color, from blue and green to brown and hazel, brightening and enhancing your natural features.
What You’ll Need
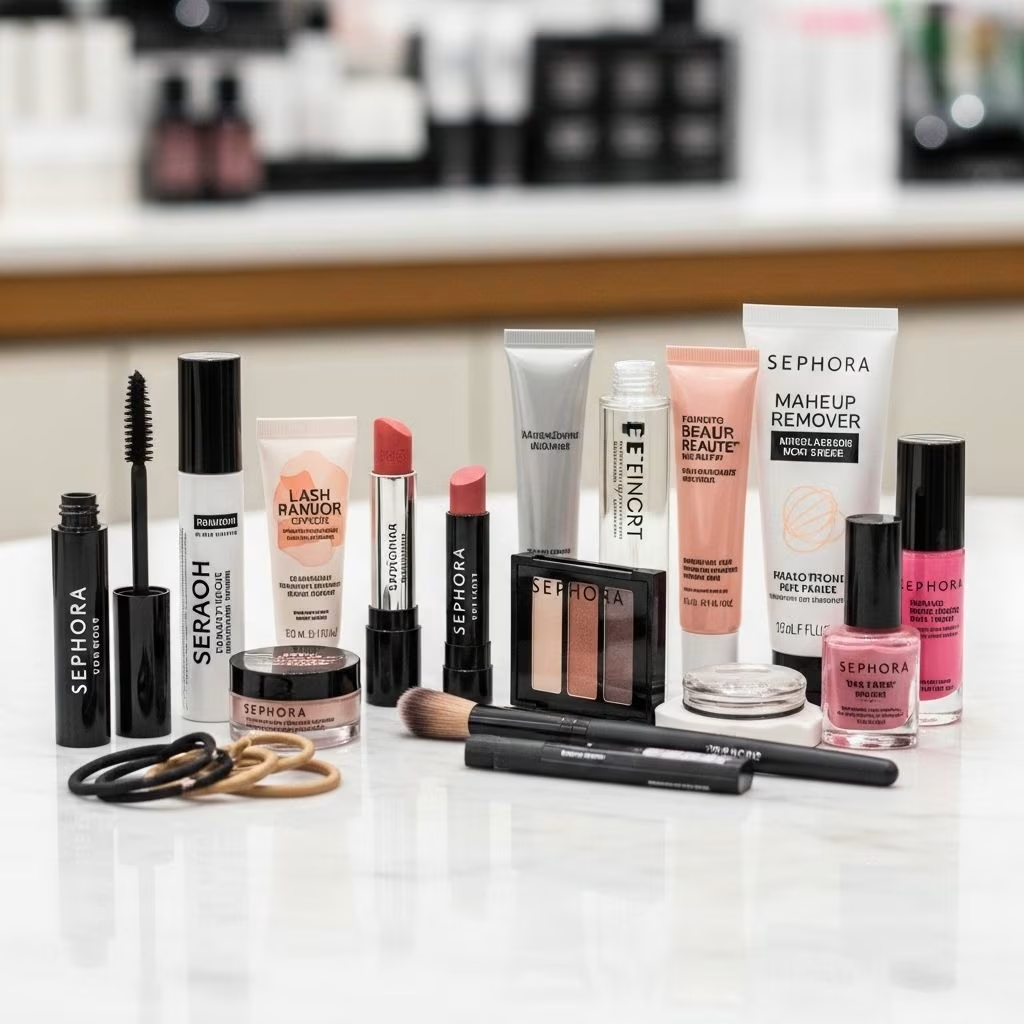
- Copper liquid or gel eyeliner (highly pigmented, with shimmer)
- Neutral or copper-based eyeshadow palette
- Primer (for lids)
- Angled eyeliner brush
- Flat eyeshadow brush
- Mascara (lengthening/volumizing)
- Optional: Tape or eyeliner stencil for sharp edges
- Makeup remover or cotton swabs (for corrections)
- Highlighter (for inner corner/under brow)
Step-by-Step Copper Cat Eye Tutorial
1. Prep the Canvas
Start with a clean and moisturized eye area. Apply a thin layer of primer across your lid, ensuring your metallics remain vibrant and crease-free all day.
2. Define the Shape
- Use tape or a guide: For crisp edges, align a piece of tape from the outer corner of your eye toward the end of your brow at your desired angle. This will act as a stencil for your wing.
- Create a guide dot: With your copper liner, place a small dot where you want your wing to end on both eyes. This ensures perfect symmetry.
3. Lay Down the Base Eyeshadow
With a flat brush, sweep a neutral taupe or peach-toned eyeshadow across your eyelid up to the crease to provide a seamless base for blending.
- Add a warm matte or shimmery copper shadow to the outer half of the lid for intensity.
- Blend softly toward the inner corner, keeping the strongest color at the outer third.
4. Draw the Copper Wing
- Trace the upper lash line: Start from the innermost corner, gliding your copper liner smoothly along the lashes toward the outer edge.
- Create the wing: Using the tape as a guide, extend the copper line upward and outward, connecting to your guide dot.
- Fill the shape: Draw a line back from the endpoint of the wing toward the center of your lash line, then fill in the gap for a bold, uniform flick.
- Smooth the line: Carefully trace over any jagged lines with your brush and perfect the wing’s thickness as desired.
5. Enhance with Eyeshadow
- Layer a shimmery copper or metallic gold eyeshadow over your liner to intensify the color and add lasting power.
- Blend gently at the crease with a fluffy brush to soften harsh lines without dulling the wing’s shape.
- Add a touch of deeper bronze or brown shadow to the outer corner for extra definition.
6. Inner Corner & Lower Lash Accents
- Add a pop of champagne or gold highlighter to the inner corners and beneath the brow arch to brighten and open the eyes.
- Optionally, sweep a small amount of the copper shadow or eyeliner along the lower lash line, connecting it to the wing’s outer tip for a smoked effect.
7. Lashes & Final Touches
- Curl lashes, then apply two coats of volumizing mascara for bold definition.
- Optionally, add false lashes for extra drama, ensuring they don’t obscure the wing.
- Remove the tape or stencil with a gentle upward pull to reveal the sharp edge.
- Clean up any fallout or smudges with a cotton swab dipped in makeup remover.
Expert Tips for a Flawless Copper Cat Eye
- Use minimal pressure when applying liner to prevent skipping and maintain a smooth, even wing.
- Adjust thickness for your eye shape: Wider wings help elongate round eyes, while a subtler flick flatters almond shapes.
- Patience is key: Build the wing gradually—small strokes help you control the line and prevent mistakes.
- Keep cotton swabs handy for quick corrections; sharpen lines with a touch of concealer on a fine brush.
- Choose a highly pigmented copper liner or shadow for maximum impact and easy application.
Choosing the Best Copper Products
| Product Type | Features | Top Picks |
|---|---|---|
| Copper Liquid Liner | High shimmer, precision tip, budge-proof | Stila Stay All Day Waterproof Liquid Eye Liner, Urban Decay 24/7 Glide-On Liner |
| Copper Eyeshadow | Rich pigment, buildable, blendable | Charlotte Tilbury The Dolce Vita Palette, Morphe 25A Copper Spice Palette |
| Gel Liner | Smudge-resistant, creamy texture | Maybelline Eye Studio Gel Liner in Copper |
Upgrading Your Copper Cat Eye: Pro Variations
- Double Wing: Draw a second, parallel copper line beneath the main wing for a graphic statement.
- Color Contrast: Outline the copper wing with a fine black or navy liner for extra depth.
- Smudged Copper Cat Eye: Gently blend out the copper liner with a pencil brush for a smoked, editorial look.
- Pop of Glitter: Tap a copper or rose gold glitter on the center of your lid, over your wing, for party-ready shimmer.
The Copper Cat Eye for Every Eye Shape
Don’t be intimidated—every eye shape can rock a copper cat eye with a few tweaks:
- Hooded Eyes: Keep the wing slightly above your natural crease so it remains visible when your eyes are open.
- Monolids: Go for a thicker wing and extend it farther outward for extra definition.
- Round Eyes: Angle the wing more horizontally and focus on elongating the outer third to create a lifted effect.
- Almond Eyes: Almost any cat-eye variation suits this shape—experiment with different wing lengths and thicknesses!
Pairing Tips: Completing Your Look
To truly let your eyes shine, pair the copper cat eye with:
- A peachy or terracotta blush for warmth
- Natural, fluffy brows to frame the look
- Nude, peach-toned, or coppery lipstick for a harmonious palette
- Glowing highlighter on the tops of cheekbones and cupid’s bow
Copper Cat Eye: Top Troubleshooting & Hacks
- Uneven wings? Use a makeup wipe wrapped around your finger, or a concealer brush to tidy the tip and create symmetry.
- Liner keeps fading? Apply eye primer and add a layer of matching powder shadow on top to set the liner.
- Shaky hands? Anchor your elbow on a flat surface to stabilize your hand when applying liner.
- Harsh edges? Blend the edges of your shadow with a clean, fluffy brush to soften the look and add a smoky effect.
Frequently Asked Questions (FAQs)
Q: How can I make my copper cat eye last all day?
A: Always use an eyeshadow primer before applying any product, opt for waterproof or long-lasting formulas, and set liner with a coordinating powder shadow for extra staying power.
Q: Which eye colors look best with copper tones?
A: Copper enhances every eye color, especially bringing out the natural contrast in blue, green, and brown eyes alike, making the whites appear brighter and more vivid.
Q: What should I do if my winged liner looks uneven?
A: Clean up the lower edge with a pointed cotton swab dipped in remover, or sharpen with a fine brush and concealer for flawless symmetry.
Q: Can I wear copper cat eye with glasses?
A: Absolutely! A strong copper wing stands out beautifully behind glasses. Try a slightly thicker wing to ensure it’s visible through your frames.
Q: How do I prevent fallout from glittery or metallic eyeshadows?
A: Do your eye makeup before your foundation, and use a lightly dampened brush to apply metallic or glitter shadows. A sticky base or glitter glue helps everything stay in place.
Wrapping Up: Confidence in Copper
With its mixture of classic drama and contemporary edge, the copper cat eye delivers a beauty punch suitable for almost any occasion. By mastering these techniques and tailoring the look for your unique features, you can unlock a makeup skill that elevates your entire routine. Don’t hesitate to experiment and develop your own signature twist on this crowd-pleasing trend—after all, makeup is about creativity and self-expression!
References
- https://www.youtube.com/watch?v=z5dqF25_e2Q
- https://www.youtube.com/watch?v=J68FGjmoJOc
- https://www.harpersbazaar.com/beauty/makeup/advice/g2375/smokey-cat-eye-tips/
- https://www.youtube.com/watch?v=RBXu2LfwF2U
- https://www.youtube.com/watch?v=qIJ-AFHh8ZY
- https://www.cosmopolitan.com/uk/beauty-hair/celebrity-hair-makeup/g3376/sexy-eye-makeup-ideas-celebrity-inspiration/