The Timeless Allure of the Cat Eye
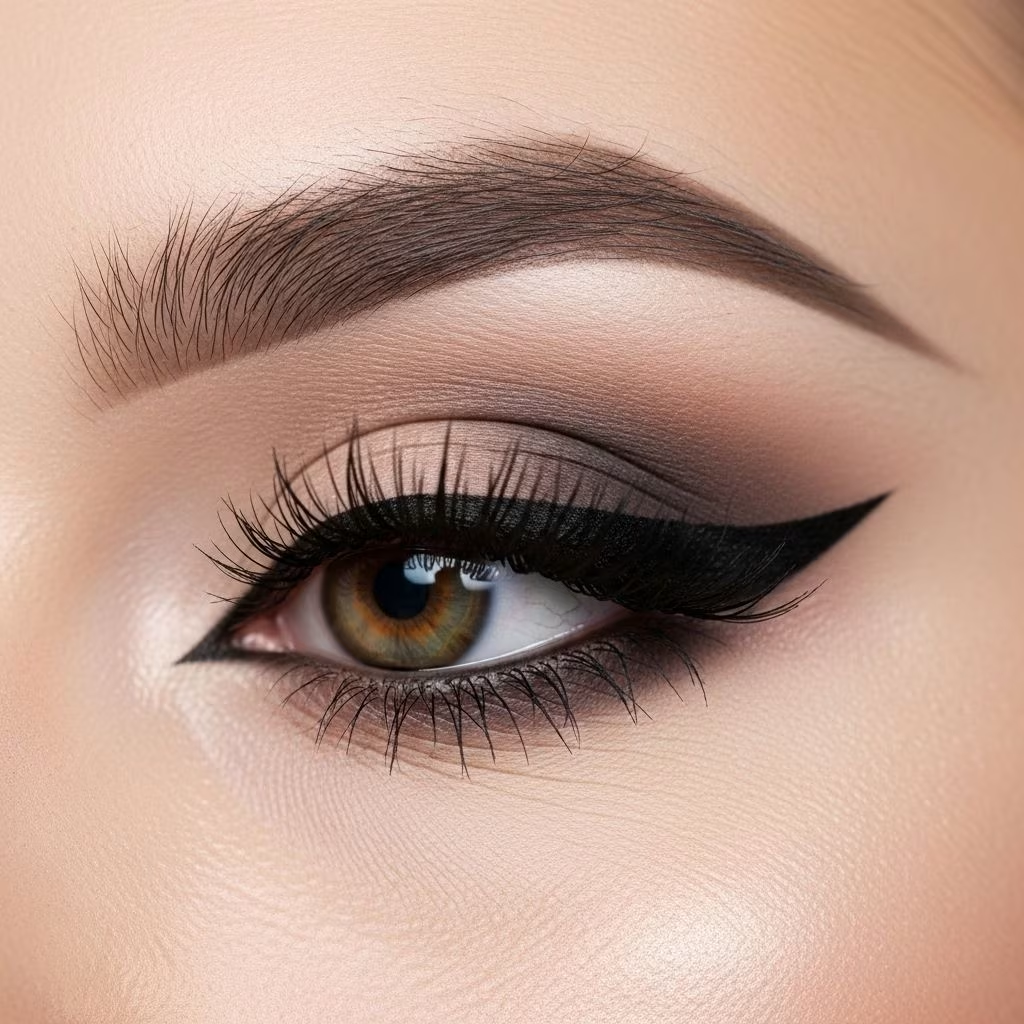
The cat eye—that sleek, winged flick of eyeliner—remains one of beauty’s most iconic and sought-after looks. Favored by everyone from classic Hollywood stars to modern trendsetters, this technique instantly adds a sense of glamour, drama, and lift to any eye shape. Yet, for many, perfecting the cat eye can seem daunting. Smudged lines, uneven wings, and endless do-overs are common struggles. Thankfully, mastering the cat eye is achievable for anyone—with the right products, techniques, and a bit of practice.
Why the Cat Eye Endures: A Beauty Staple
The appeal of the cat eye lies in its versatility and transformative power. Whether you want a subtle, everyday look or a dramatic, evening statement, the shape can be tailored to suit any occasion, face, or style. By elongating and lifting the eyes, a cat eye creates the illusion of larger, more defined features—making it flattering for virtually everyone.
Essential Tools and Products for a Perfect Cat Eye
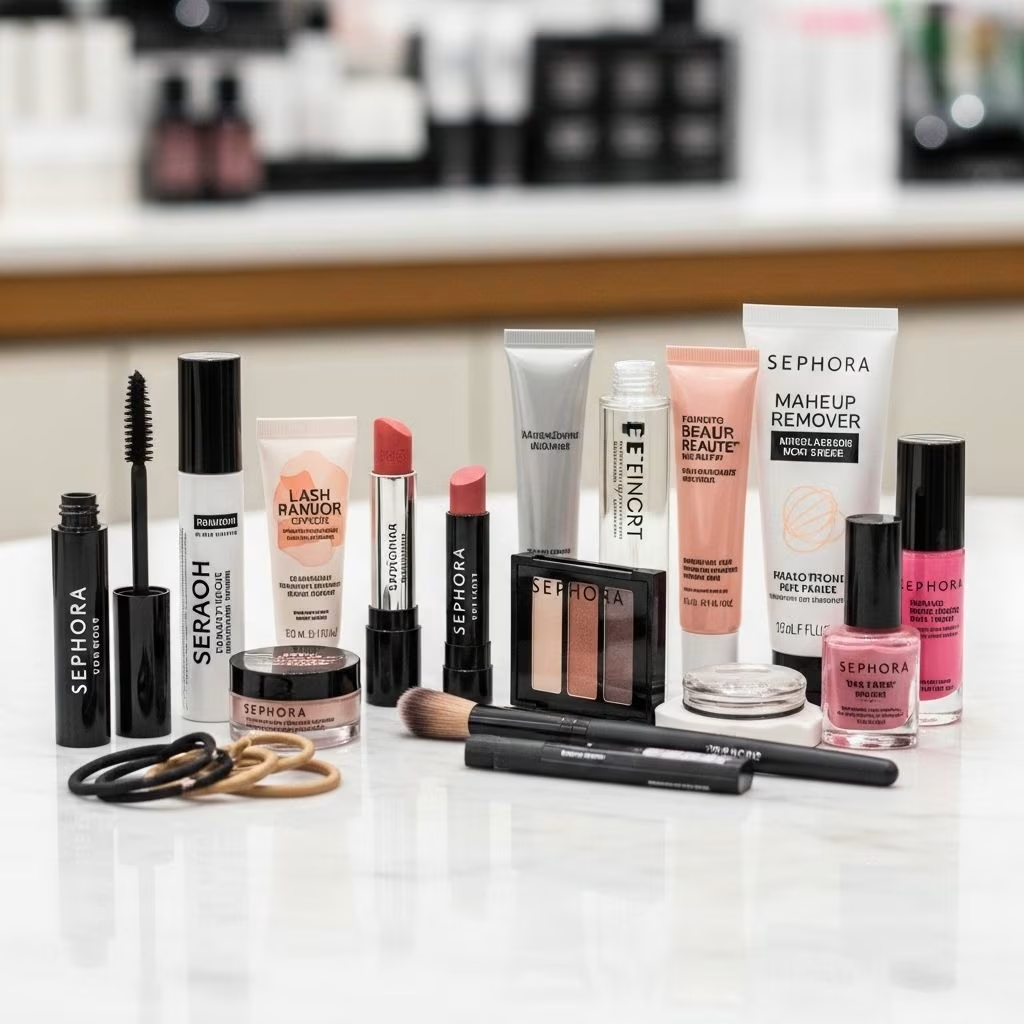
- Primer: Ensures your liner applies smoothly and stays put.
- Angled or Pointed Eyeliner Brush: Ideal for precision, especially when using gel or cream products.
- Liquid Eyeliner Pen: Delivers intense pigment and crisp lines.
- Gel or Cream Liner: A good option for customizable intensity and blending.
- Matte Eyeshadow: Sets the primer and prevents smudging.
- Scotch Tape or Eye Stencils (optional): Helps guide beginners for sharp, even wings.
- Q-tips and Micellar Water: For quick cleanups and perfecting your flicks.
Prepping Your Lids
Preparation is key for a flawless application and long-lasting wear.
- Start with clean, moisturized lids.
- Apply an eyeshadow primer from lid to brow bone to prevent oiliness and fading.
- Dust a matte, skin-toned eyeshadow over your lids to create a smooth, even base.
Choosing Your Eyeliner Formula
| Eyeliner Type | Best For | Finish/Longevity |
|---|---|---|
| Felt-tip Pen | Precision, beginners | Bold, matte or satin, long-lasting |
| Gel/Cream Liner | Smudged or dramatic looks | Buildable, sets quickly |
| Liquid Liner | Crisp, high-impact wings | Sharp, glossy or matte |
| Kohl Pencil | Smoky, blurred effects | May smudge, less crisp |
How to Create the Perfect Cat Eye: Step-by-Step
Step 1: Map Out the Wing
- Sit in natural light, holding a mirror at eye level.
- Angle a Q-tip or brush handle from your nostril, passing the outer corner of your eye, towards your brow. This line marks your ideal wing angle.
- For beginners, lightly mark this angle with dots or a faint pencil line. You can also place a small piece of tape along this guideline for extra help.
Step 2: Draw the Flick
- Using a steady hand, draw a thin, diagonal line extending from your outer lash line, following your mapped angle.
- Adjust the length and angle based on your desired drama level. Start small—wings can always be built up.
Step 3: Create the Outline
- From the tip of your flick, draw a second line back towards the center of your lid, forming a triangle or elongated “V.”
Step 4: Fill It In
- Color in the space between the flick and your lash line. Smooth over for an opaque, even finish.
Step 5: Line the Lash Line
- Draw a thin, continuous line from your inner corner to where it meets the wing.
- Keep the line thinner at the inner eye and let it gently thicken as you move outward for a more lifted effect.
Step 6: Refine and Perfect
- Clean up any wobbly edges with a Q-tip dipped in micellar water.
- If needed, use a bit of concealer on a precise brush to sharpen the lower edge of the wing.
Pro Tips for Every Eye Shape
- Hooded Eyes: Draw the wing with your eyes open, so the tip remains visible. Keep lines thin near the inner corner.
- Round Eyes: Focus the thickness on the outer third and angle the flick outward (not upward) for elongation.
- Almond Eyes: This versatile shape suits most styles; follow your natural lash line and play up the length of your wing as desired.
- Close-set Eyes: Extend your wing slightly outward to create the illusion of greater distance between the eyes.
Common Mistakes (And How to Fix Them)
- Uneven Wings: Use tape or trace your flicks with pencil first so both sides match.
- Smudges and Transfers: Always let liquid liner dry before blinking; set with a matching black eyeshadow if needed.
- Lines Too Thick: Start thin and build up gradually, especially on the inner corner.
- Shaky Hands: Rest your elbow on a flat surface for control, and anchor your pinky on your cheek.
Building Up the Look: From Subtle to Statement
The beauty of the cat eye lies in its adaptability. Start small with a subtle, short flick for daytime polish, or dial up the drama by thickening the liner and extending the wing for a striking evening look. For added impact:
- Add false lashes or several coats of volumizing mascara to emphasize the lifted shape.
- Pair with neutral shadow on the lid for a modern finish, or accentuate with a smoky crease for added depth.
- Experiment with colored liners for a playful twist on tradition.
Expert Advice: Dos and Don’ts
- Do: Choose a liner formula that matches your comfort and desired finish.
- Do: Practice the mapping technique—sketch your guideline before diving in with liquid or gel.
- Do: Keep cotton swabs and concealer handy for quick corrections.
- Don’t: Rush. Take your time outlining and perfecting your flicks.
- Don’t: Tug or stretch the eyelid; this can distort your lines and create uneven results.
- Don’t: Panic over small mistakes; a cat eye always looks best a few feet away!
Cat Eye Variations: Make It Your Own
- Classic Thick Flick: Bold, defined, great for dramatic evening looks.
- Baby (Mini) Wing: Subtle, ideal for work or natural makeup days.
- Double Wing: Add a second flick below the lower lash line for retro flair.
- Colored Cat Eye: Use blue, green, or metallic liners for a modern update.
Maintaining Your Cat Eye: All Day, All Night
- Prime lids to minimize oil and ensure long-lasting wear.
- Choose waterproof or long-wear liner for special occasions or humid days.
- Touch up throughout the day with a small liner pen to maintain sharpness.
Frequently Asked Questions (FAQs)
Q: What if my lines always end up shaky?
A: Try stabilizing your elbow on a hard surface and drawing in small strokes, rather than one quick swipe. Practice makes perfect—and you can always clean up with a Q-tip!
Q: Which eye shapes suit the cat eye best?
A: Every eye shape can wear a cat eye! You may need to adjust the angle and thickness to best enhance your natural features, but the basic method stays the same.
Q: Is it possible to do a cat eye with pencil liner?
A: Yes. While liquid or gel liners provide cleaner edges, a well-sharpened pencil can work for softer, smoky flicks. Set with black shadow for best results.
Q: How can I fix unequal wings without starting over?
A: Use a bit of makeup remover and a pointed Q-tip to adjust the shape, or add a touch of concealer to sharpen the edges. Building up both sides bit by bit helps keep them even.
Q: Does the cat eye look work with glasses?
A: Absolutely! In fact, the extra definition helps eyes stand out behind lenses. Opt for a slightly longer or thicker wing for best effect.
Cat Eye Inspiration: Iconic Looks Through the Decades
From Cleopatra and Brigitte Bardot to contemporary stars like Adele, the cat eye has been reinvented time and again, a testament to its enduring appeal. Whether paired with red lips for vintage glam or nude shades for minimal chic, the look remains a favorite on runways and red carpets alike.
Final Thoughts: Practice, Patience, and Play
Perfecting the cat eye requires practice, patience, and a bit of experimentation. Don’t be discouraged by early attempts—the pros all started somewhere. Take your time mapping, outlining, and building up your wings. In no time, you’ll have a signature feline flick that elevates every makeup look.
References
- https://www.youtube.com/watch?v=LgzlcKNdQbk
- https://www.youtube.com/watch?v=f6F2rXpb-y0
- https://www.youtube.com/watch?v=73OVJKYKypk
- https://theglobalgirl.com/aveda-ndoema-video-natural-beauty-makeup-tutorial-how-to-tips-cat-eye-red-lip-lipstick-look/
- https://www.cosmopolitan.in/life/news/photo/perfect-winged-eyeliner-every-eye-shape-647141-2016-11-06
- https://www.youtube.com/watch?v=APQA7cJtsGk