How to Master Two-Braid Stitch Buns: A Complete Tutorial
Two-braid stitch buns are one of the most stylish and versatile protective hairstyles, blending classic braiding with contemporary color and form. Whether you’re a braid enthusiast or trying stitch buns for the first time, this comprehensive guide will help you recreate the look, maintain healthy hair, and get creative with products and color.
What Are Stitch Buns?
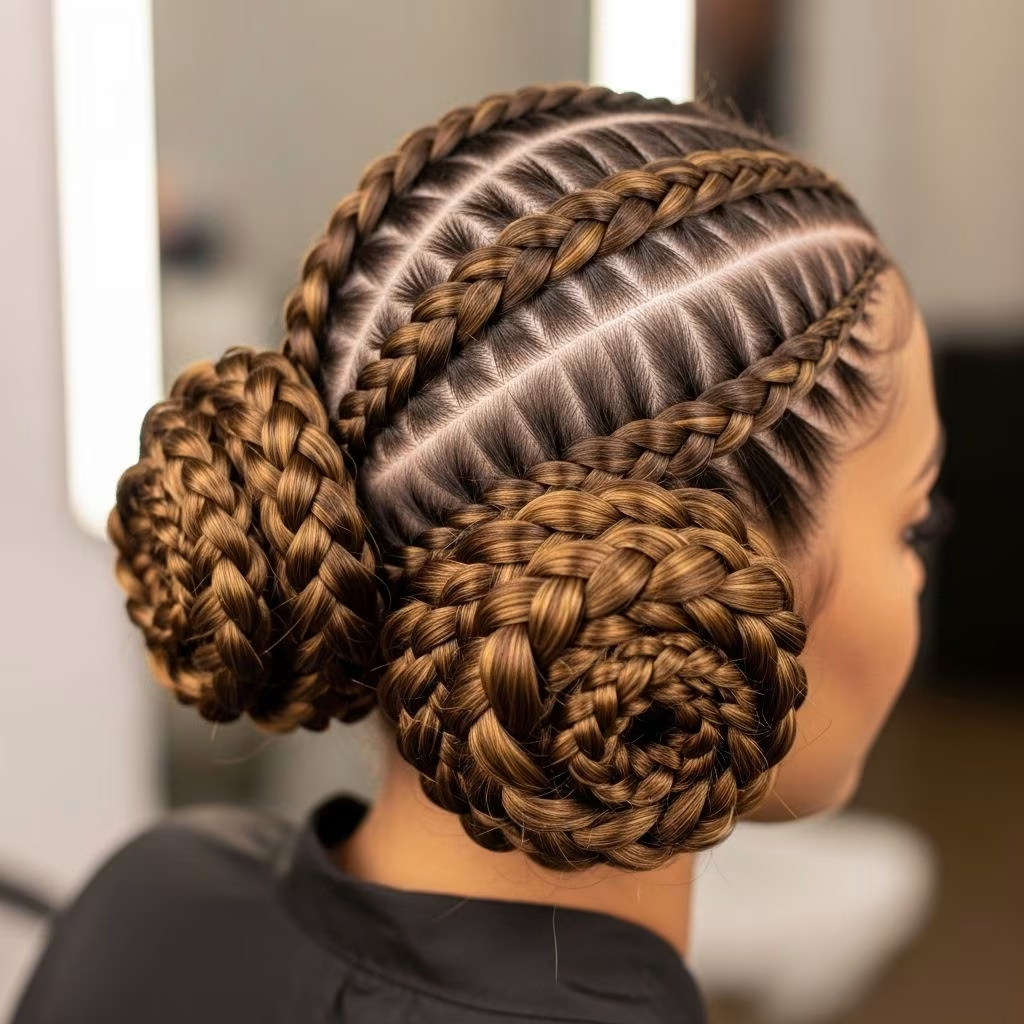
The two-braid stitch bun style features precise parting and feed-in braiding hair to create two braided sections, which are then styled into low twin buns. The result? An effortless yet eye-catching look that’s both practical and glamorous, ideal for everyday wear or special occasions.
Why Stitch Buns?
- Protective styling—minimizes daily hair manipulation.
- Customizable—play with color and patterns using braided extensions.
- Low maintenance—keeps hair neat for up to eight weeks.
- Trendy—geometric partings and double buns are striking and modern.
Our tutorial draws inspiration from braid expert Stasha Harris, who recommends this style for anyone seeking a simple yet bold change—especially with an added pop of contrasting hair color for maximum impact.
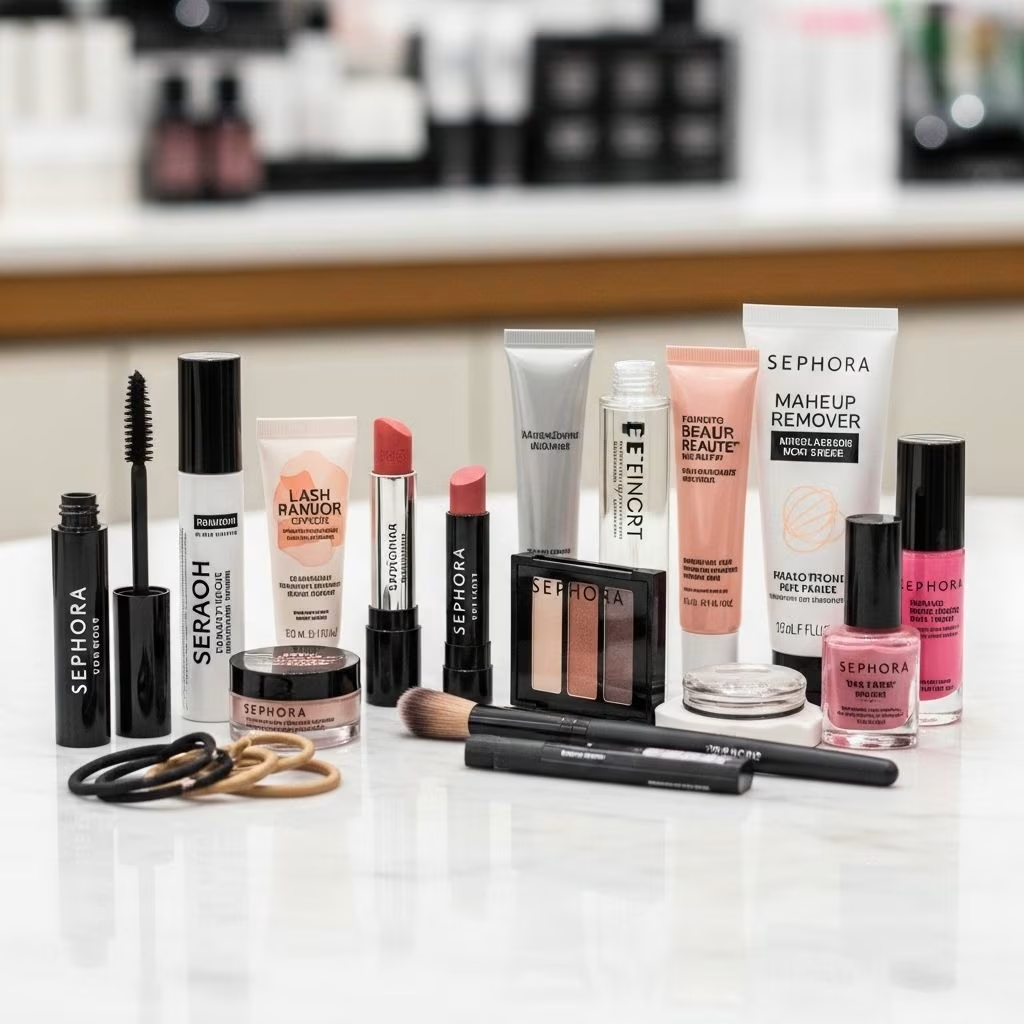
Essential Prep: Products & Tools
- Wide-tooth comb
- Metal rat-tail comb (for sharp, geometric parts)
- Strong-hold hair gel or edge control
- Bobby pins
- Lightweight leave-in conditioner or oil (for scalp and hydration)
- Apple cider vinegar rinse (for post-braid care)
- Black and blonde Kanekalon braiding hair
- White eyeliner (for a fresh-faced makeup hack)
Step-by-Step: Creating Two-Braid Stitch Buns
Step 1: Geometric Parting
Begin by using your rat-tail comb to create a clean center part, dividing your hair into two equal sections. For extra style points, try angled or zigzag parts for a unique geometric effect. Smooth a dab of gel along each part so your lines appear sharp and polished.
Step 2: Feed-In Braids
Take a small section of your natural hair at the front and begin braiding, gradually adding pieces of Kanekalon hair as you progress. Alternate between black and blonde (or your preferred hues) to achieve a bold, two-toned look. Remember: feeding in extensions gives you both custom color and added length without damaging your natural hair.
Step 3: Design Your Stitch Pattern
Stitch braids are defined by visible, “stitched” lines along the scalp, created by tightly gripping and feeding in hair at regular intervals. Feel free to freestyle with mini-parts—try diagonal sections, triangular parts, or creative patterns that reflect your personality. Once each braid reaches the nape of the neck, secure with an elastic.
Step 4: Forming the Double Buns
Gather the ends of each braid and wrap them into low, tight buns at the base of your neck. Secure each with bobby pins—use plenty to ensure the style stays in place all day.
- For fuller buns, gently tug on the braid edges for extra volume.
- For smaller buns, coil tightly and tuck in the ends neatly.
Bonus Tips for Flawless Stitch Buns
- Color customization: Mix braiding hair colors for a dramatic effect, or opt for subtle blends for a more natural look.
- Edge styling: Smooth edges with gel for a sleek, “laid” finish.
- Scalp protection: Apply a lightweight oil to your scalp before braiding, and reapply regularly to prevent dryness.
Makeup Magic
If you want your eyes to look bigger and more awake, try tracing white eyeliner along your lower waterline. This easy trick complements bold braid styles, giving your face a fresh, well-rested glow—no matter your skin tone.
Maintaining Healthy Braids & Scalp
Hydration Is Key
Keep your scalp and natural hair moisturized beneath the braids. Use a light oil or spray to maintain hydration and avoid itchiness. This not only keeps your hair healthy but also helps the style last longer.
Weekly Cleanse
- Use a dry shampoo or scalp spray to lift buildup without disrupting your style.
- Never saturate with water—focus on targeted scalp cleansing.
Max Wear Time & Gentle Removal
Don’t exceed eight weeks with any protective style. When it’s time to remove your stitch buns:
- Detangle your hair before washing to prevent breakage.
- Use an apple cider vinegar rinse before shampooing to lift product buildup and refresh your scalp.
- Gently cleanse and moisturize as usual.
Dos and Don’ts for Perfect Stitch Buns
| Do | Don’t |
|---|---|
| Use quality Kanekalon hair for extensions | Skip scalp moisturization |
| Secure buns with multiple bobby pins | Leave the style in for more than eight weeks |
| Experiment with geometric parts and color | Neglect detangling before shampooing |
| Apply gel for sleek partings and edges | Ignore product buildup after removal |
Frequently Asked Questions (FAQs)
Q: Can I use different colors for stitch buns?
A: Yes, one of the best features is the ability to blend black, blonde, or any desired color for custom effects using feed-in braiding hair.
Q: How long can I keep my stitch buns in?
A: For healthy hair and scalp, keep your stitch buns in for a maximum of eight weeks.
Q: What can I do to keep my scalp moisturized?
A: Use a lightweight oil or leave-in spray to hydrate your scalp regularly, and apply before starting the braiding process.
Q: Can I wash my hair while wearing stitch buns?
A: Focus on scalp cleansing with sprays or dry shampoo, and avoid saturating the braids in water to preserve the style.
Q: How should I remove stitch buns?
A: Detangle gently before adding water, rinse with apple cider vinegar, then cleanse and condition as usual to avoid breakage.
Creative Variations
- Designer Braids: Freestyle parts or incorporate mini-braids for custom patterns—every stitch can be tailored to your personal taste.
- Curly or wavy textures: Feed in textured hair for a soft, romantic twist on the standard stitch buns.
Stylist Spotlight: Stasha Harris
Known for her innovative braiding styles, Stasha Harris regularly features on Cosmo’s “The Braid Up” series, combining creative parting techniques, bold color, and detailed tutorials. Her advice: experiment boldly but always prioritize scalp and hair health.
Essential Stitch Bun Troubleshooting
- Loose buns: Retighten bobby pins and smooth out with gel.
- Frizz control: Use edge control or mousse along braid edges.
- Dry scalp: Increase oil application and minimize harsh shampoos.
Final Styling Tips
- Accessorize with hair rings, beads, or ribbons for playful flair.
- Pair with fresh makeup—try bold lips or statement cheekbones to emphasize the geometric lines of the braids.
- Protect your style overnight with a silk scarf or bonnet.
Summary: Why You’ll Love Two-Braid Stitch Buns
- On-trend style that blends tradition and modern chic
- Offers endless color and pattern possibilities
- Helps protect and maintain healthy hair
- Easy to maintain and simple to personalize
With these step-by-step instructions and care tips, you’re ready to transform your hair into standout double stitch buns that turn heads and elevate your spring style game.
References
- https://www.cosmopolitan.com/style-beauty/beauty/a35685944/two-braid-stitch-buns-tutorial/
- https://www.cosmopolitan.com/style-beauty/beauty/a44399863/double-stitch-braids-with-designs-how-to/
- https://www.youtube.com/watch?v=4Vf-ipmTsC0
- https://kreyolessence.com/blogs/press/cosmopolitan-the-braid-up-how-to-create-these-feed-in-stitch-braids
- https://www.dailymotion.com/video/x7zorif
- https://www.youtube.com/watch?v=W3RsTwjlOeg
- https://www.youtube.com/playlist?list=PLrx4fxhgMUObLCxt_QbtT-1Qqx0oN2-EN
- https://www.youtube.com/watch?v=YAFJ5P7X-DI
- https://www.youtube.com/watch?v=hsdGUbqBhA0