How to Master Bob Twist Braids: Your Ultimate Step-by-Step Guide
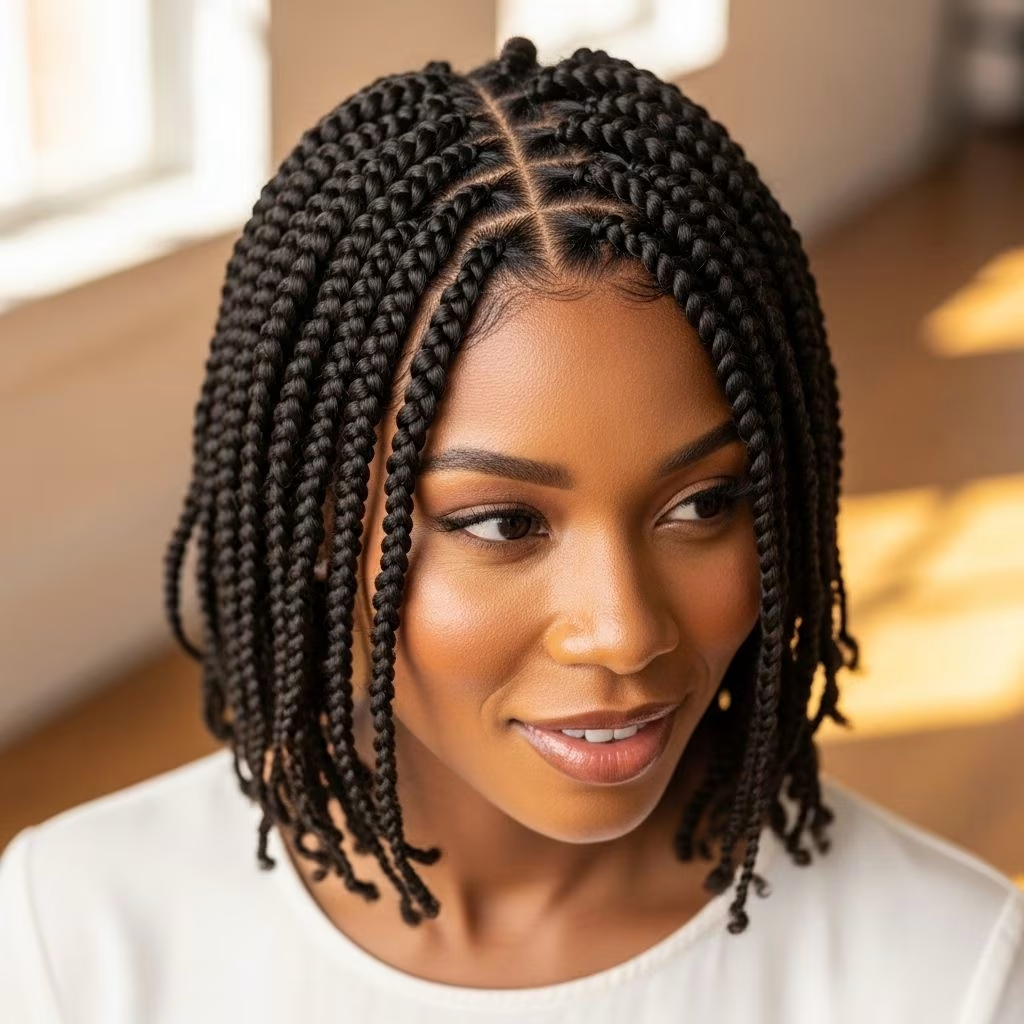
Bob twist braids are having a major moment. This chic, playful style is beloved for its versatility, easy maintenance, and the way it lets anyone show off their unique flair. If you’re ready to embrace the bob and try something fresh, this guide breaks down everything you need to know—whether you’re heading into the salon or planning to DIY at home. Featuring pro advice, product picks, and tips for longevity, welcome to your complete guide to bob twist braids.
Why Bob Twist Braids Are the Style to Try
There’s something undeniably timeless yet trendy about the bob. When paired with twist braids, you get a style that’s chic, head-turning, and incredibly practical. Here’s why bobs with twists are winning hearts everywhere:
- Low Maintenance: Unlike longer braids, the bob length won’t get in the way or tangle as easily.
- Chic Vibe: Instantly modernizes your look with a neat, sharp finish.
- Versatility: Suitable for both everyday wear and dressier occasions.
- Protective Style: Twists help protect your natural hair from damage and breakage.
This detailed guide is inspired by expert stylist Gloria Gwazuang of Magic Fingers Studio, who showcased the magic of bob twist braids on Cosmo’s ‘The Braid Up’ series.
What are Bob Twist Braids?
Bob twist braids combine the structured glamour of a chin-length bob with the texture and artistry of twist braids. Typically, these are achieved by parting the hair into neat sections, adding synthetic braiding hair (Kanekalon is a popular choice), and twisting to the desired length, which sits around the jawline or just below. The look is sealed at the ends and dressed up with accessories as desired.
Everything You’ll Need for Bob Twist Braids
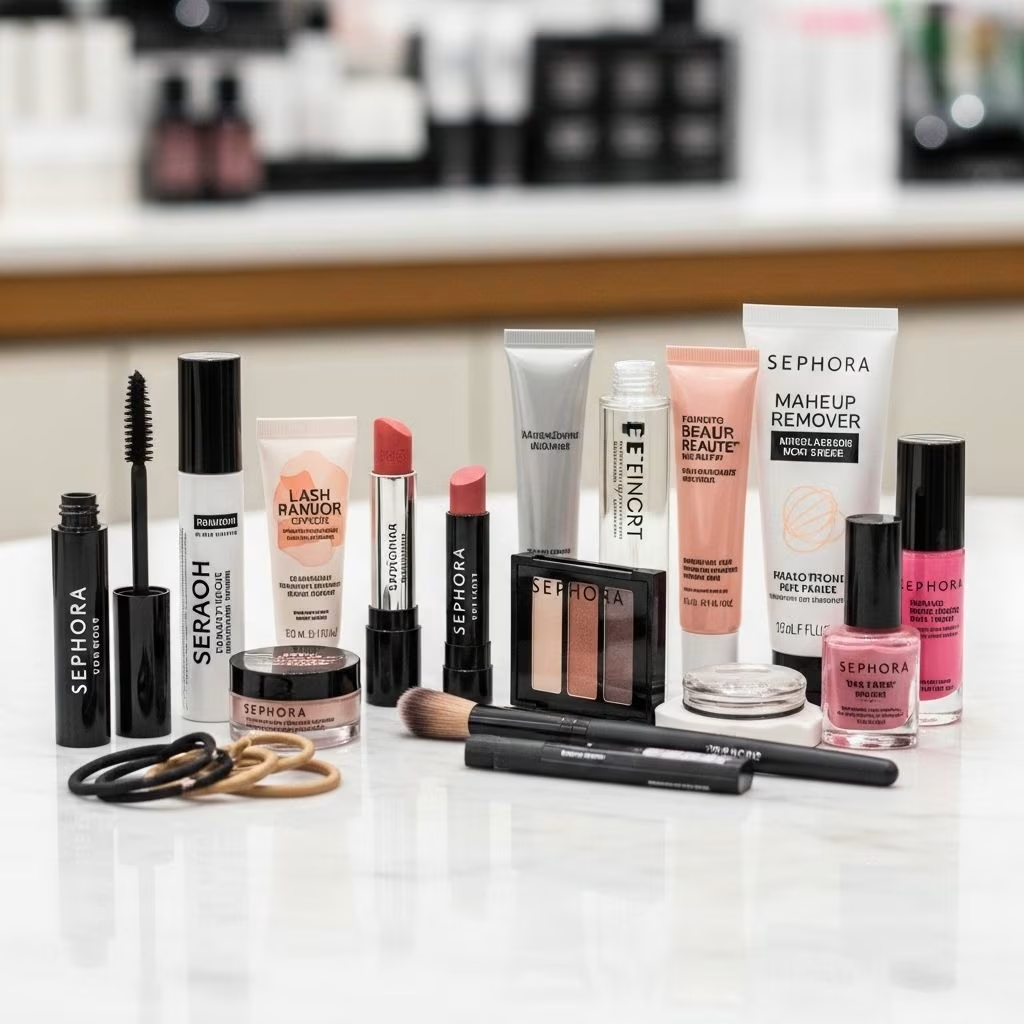
Before getting started, assemble these key items:
- Braiding Hair: Kanekalon synthetic hair is a go-to for achieving full, bouncy twists. Choose a color that matches your natural hair or try something bold.
- Mini Rubber Bands: Essential for securing the ends of your twists. Opt for bands that match your hair color for a seamless look and keep extras on hand in case any snap.
- Styling Gel or Edge Control: To keep your parts sleek and your edges smooth.
- Wide-tooth Comb: For detangling hair pre-installation.
- Accessories: Gold cuffs, beads, hair charms, and pins all elevate your finished braids.
- Bonnets or Silk Scarves: To protect your style while sleeping and to prevent frizz or premature aging of the braids.
Your Step-by-Step Guide to Creating Bob Twist Braids
This step-by-step method will help you achieve flawless bob twist braids at home, even for first-timers:
1. Prep and Section Your Hair
- Wash and deep-condition your hair to start with a healthy foundation.
- Detangle thoroughly using a wide-tooth comb.
- Use a rat-tail comb to part your hair into small, even sections (the size will determine how chunky or micro your twists appear).
- Clip the sections you’re not working on out of the way.
2. Add Braiding Hair
- Take a small piece of Kanekalon or similar braiding hair and fold it in half.
- Align the extension with your natural sectioned hair, then begin twisting tightly from the roots, blending your natural hair with the synthetic as you go.
- Twist downwards, stopping at your desired bob length (usually chin or shoulder-level).
3. Secure and Shape the Ends
- Once you hit the desired length, wrap a mini rubber band around the end of the twist to keep it from unraveling.
- Trim any excess braiding hair beyond the band for a tuck-under, blunt bob effect.
4. Accessorize Your Bob Twist Braids
- Slide on gold cuffs, braid rings, or beads for instant flair.
- Add hair charms at random or symmetrically to suit your mood.
5. Protect Your Style
- Every night, wrap your hair securely in a silk or satin bonnet or scarf. This guards against friction and keeps your style fresh, reducing frizz and unwanted flyaways.
- If any rubber band pops or a twist loosens, resecure with a new band as soon as possible to maintain the uniform shape of the bob.
Pro Tips for Flawless Bob Twist Braids
- Bring Plenty of Braiding Hair: Even though the style is shorter, you’ll need several packs, especially if you like dense, full twists.
- Rubber Bands are Everything: Secure ends carefully and carry spares for quick fixes on the go.
- Change Up Your Accessories: Rotate jewelry, beads, and cuffs to keep your look feeling new and fun all week long.
- Never Skip Your Nighttime Bonnet: Bonnet or silk scarf = mandatory for style longevity. Without one, your twists may frizz or lose their sharp, bouncy shape.
How Long Do Bob Twist Braids Last?
With the right care, bob twist braids can last anywhere from two to six weeks. Key longevity factors include:
- Nighttime Protection: Always wear a silk or satin bonnet or scarf to bed.
- Moisturizing: Lightly oil your scalp and spritz your roots with water or a leave-in as needed to keep everything hydrated.
- Gentle Touch-ups: Redo or resecure twists that come loose to prevent further unraveling.
Accessorizing Your Bob Twist Braids
Accessories can instantly upgrade your braids from simple to spectacular. Here are some ideas:
- Gold Cuffs: Classic, easy to snap on, and instantly eye-catching.
- Beads: Experiment with color, shape, and placement for playful contrast.
- Hair Charms: Add tiny metallic shapes or pins for a customized effect.
- Scarves and Headbands: Coordinate with your outfits for even more personality.
Pro-Recommended Products for Bob Twist Braids
| Product | Purpose | Why Stylists Love It |
|---|---|---|
| Kanekalon Braiding Hair | Synthetic, easy to twist, heat-friendly | Long-lasting, blends well, lightweight |
| Mini Rubber Bands | Secure twist ends | Prevents unraveling, creates neat finish |
| Satin Bonnet | Nighttime protection | Reduces frizz, keeps braids flawless longer |
| Edge Control Gel | Smooths roots and edges | Creates polished parts and baby hair |
Common Mistakes to Avoid with Bob Twist Braids
- Skipping Prep: Not washing and adequately detangling your hair before braiding can lead to itchiness and tangling underneath your twists.
- Forgetting Rubber Bands: Not securing twists tightly enough at the ends may lead to quick unraveling and a messy result.
- Neglecting Night Care: Sleeping without a bonnet or scarf is the fastest way to frizzy, “old” looking braids.
- Overloading with Accessories: Too many heavy beads or large cuffs can weigh down the bob and distort its shape.
How to Remove Bob Twist Braids Safely
Removal is simple, but take care to avoid damaging your natural hair:
- Step 1: Cut the synthetic braid just below the rubber band. Make sure you’re not cutting your own hair.
- Step 2: Unravel the twist gently and slide out the synthetic hair.
- Step 3: Finger-detangle and follow up with a moisturizing wash and deep conditioning treatment to rehydrate your hair.
Bob Twist Braids: Inspiring Variations and Ideas
- Classic Black Bob Twists: Timeless and suitable for any occasion.
- Ombre or Colored Twists: Try extensions in burgundy, honey blonde, or even pastel shades for a bold statement.
- Chunky Twists: Fewer, thicker twists for a bolder, retro look.
- Micro Twists: Ultra-small twists for a finer, bouncier silhouette.
- Asymmetric Bob: Experiment with an uneven cut for a modern, edgy effect.
FAQs: All About Bob Twist Braids
Q: How much braiding hair do I need for bob twists?
A: Most styles require 3–5 packs, but bring extra if you prefer dense or chunky twists.
Q: Can bob twist braids work on all textures?
A: Yes! The method is compatible with all hair types, though some textures may hold twists more tightly or need more gel for grip.
Q: Is heat required for installing or sealing the twists?
A: No heat is needed—just secure ends with rubber bands. You can dip the tips in hot water if you want a curlier finish, but it’s optional.
Q: Do bob twist braids damage hair?
A: When installed and removed properly, and if your hair and scalp are kept moisturized, bob twist braids are a protective style and should not cause damage.
Q: How do I keep my bob twists looking fresh?
A: Sleep with a bonnet, avoid excessive manipulation, and use a lightweight hair oil to moisturize your scalp every few days.
Quick-Reference: Bob Twist Braids Dos and Don’ts
| Dos | Don’ts |
|---|---|
| Prep and detangle hair | Install on dirty or tangled hair |
| Use matching rubber bands | Use too many heavy accessories |
| Sleep with a bonnet or scarf | Skip nightly protection |
| Moisturize scalp regularly | Neglect scalp care |
| Switch up accessories | Leave loose ends unsecured |
Final Thoughts
Bob twist braids are a fresh, beautiful, and practical way to express yourself while keeping your natural hair protected. By following the right prep, installation, and protective steps—plus adding a personal touch with accessories—you’ll enjoy a style that easily adapts to all occasions. Ask for inspiration from your stylist or let your creative side loose at home: bob twist braids are your blank canvas for healthy, confident hair days ahead.
References
- https://www.cosmopolitan.com/style-beauty/beauty/a38896606/bob-twist-braids-how-to/
- https://www.cosmopolitan.com/style-beauty/beauty/a20106845/senegalese-flat-twist-braids-tutorial/
- https://www.youtube.com/watch?v=kMrjvKwf_8o
- https://www.cosmopolitan.com/uk/beauty-hair/hair/a39609/half-up-twisted-knot-tutorial/
- https://www.youtube.com/watch?v=vFCQQ7FtU60
- https://www.youtube.com/watch?v=UPBEcsFIbVc
- https://www.youtube.com/playlist?list=PLrx4fxhgMUObLCxt_QbtT-1Qqx0oN2-EN