


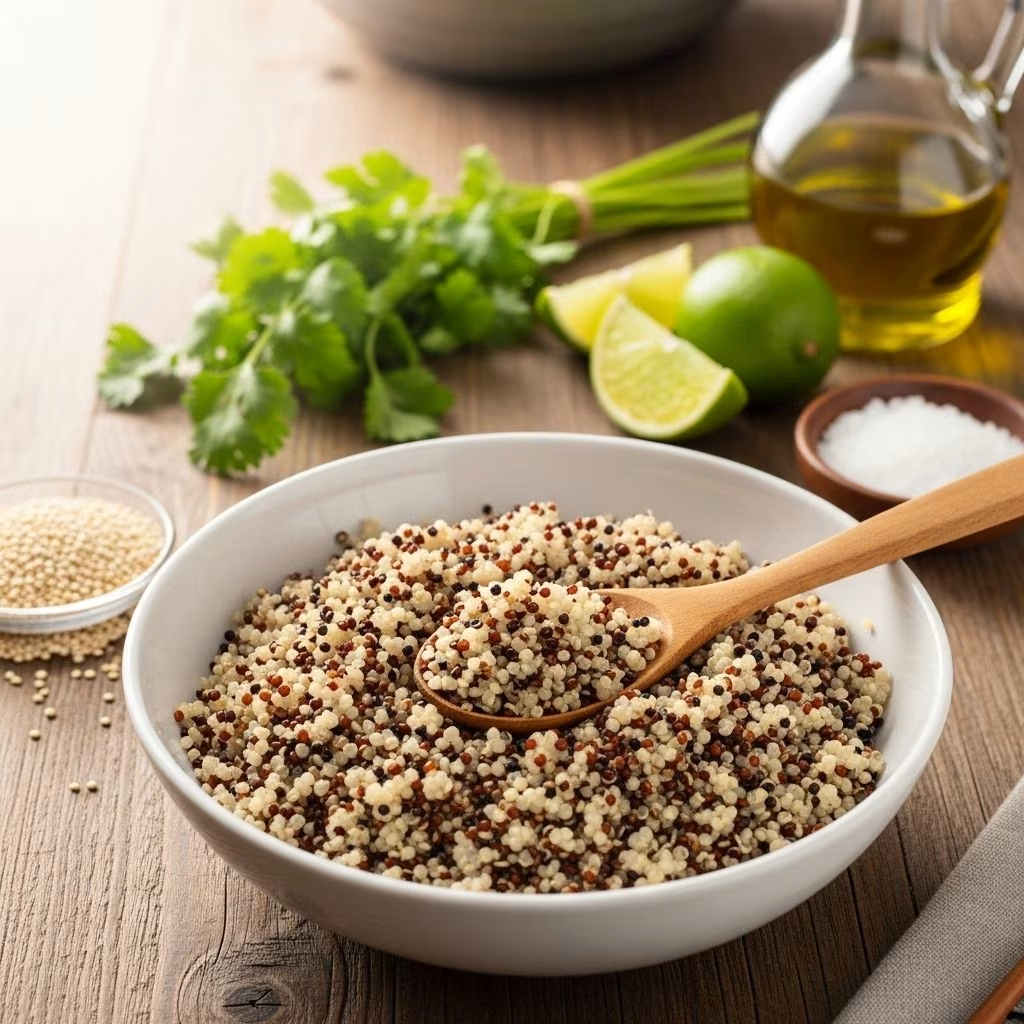
How to Make Light and Fluffy Quinoa Every Time
If you’ve ever tried to cook quinoa and ended up with a sticky, clumpy, or mushy mess, you’re not alone. Achieving the perfect, light, and fluffy quinoa is a process that requires a few simple but crucial tweaks to traditional methods. This in-depth guide will explore the best practices, troubleshooting tips, and flavorful ways to make quinoa that shines as a side dish, salad base, or complete meal.
What Is Quinoa?
Quinoa (pronounced KEEN-wah) is a small, round seed native to South America that has become a staple for healthy eaters worldwide. Though often called a grain, quinoa is a seed botanically and is naturally gluten-free. It packs a powerful nutritional punch, offering:
- Complete protein: Contains all nine essential amino acids.
- High fiber: Promotes digestion and satiety.
- Rich in minerals: A good source of magnesium, iron, and zinc.
- Low glycemic index: Helps regulate blood sugar.
Quinoa comes in a variety of colors, with white, red, and black being the most commonly available. Each offers a subtle variation in taste and texture.
Why Does Quinoa Get Mushy?
The biggest challenges when cooking quinoa are excess moisture and improper cooling. If you follow package directions or most basic recipes, you’ll see a suggested ratio of 2 cups of liquid for every cup of quinoa—which nearly always leads to soggy, overcooked grains. Furthermore, stirring in vinaigrettes or sauces immediately traps more moisture, doubling the problem. Getting the right water-to-quinoa ratio, seasoning, and post-cook handling is essential for perfect results.
Essential Equipment and Ingredients
- Medium saucepan with lid (preferably clear, to see contents)
- Fine-mesh strainer for rinsing
- Fork for fluffing
- Quinoa: Any color or variety
- Liquid: Water, vegetable broth, chicken broth, or a combination
- Salt: Kosher salt is strongly recommended over table salt
- Optional: White wine, aromatics, olive oil
Step-by-Step: Light and Fluffy Quinoa
1. Rinse the Quinoa
This step is debated by many home cooks, but rinsing is worth the effort. Quinoa’s natural coating, saponin, can give it a bitter or soapy taste. Place the quinoa in a fine-mesh strainer and rinse thoroughly under cold running water for 20–30 seconds. Let it drain well to remove excess water that could throw off the cooking ratio.
2. Choose the Right Water-to-Quinoa Ratio
This is the crucial step that makes or breaks the texture. For light, fluffy quinoa, use:
- 1 1/4 cups of liquid for every 1 cup of dry quinoa
For a larger batch:
- 2 1/2 cups broth + 2 cups dry quinoa
If you desire deeper flavor, use chicken or vegetable broth instead of water, or swap in a splash of white wine for complexity.
3. Season Generously
Quinoa is naturally quite bland and needs a firm seasoning hand. Add at least:
- 1 teaspoon kosher salt per cup of dry quinoa
- Additional spices as desired (garlic, cumin, bay leaf, etc.)
4. Bring to a Simmer
- Combine the rinsed quinoa, liquid, and salt in a saucepan.
- Set over medium heat and bring to a gentle simmer. Do not boil vigorously, as this leads to uneven texture.
- Once simmering, stir once and immediately reduce the heat to low.
5. Cover and Simmer
- Cover tightly with a fitted lid (do not remove during cooking).
- Let simmer undisturbed for 20 minutes.
Resist the temptation to peek—escaping steam will disrupt the absorption process.
6. Rest, Unmoved
- After 20 minutes, turn off the heat but do not remove the lid.
- Let quinoa sit (still covered) for at least 20 minutes. This step allows moisture to redistribute and excess steam to escape, yielding separate, fluffy grains.
7. Fluff and Cool
- After resting, remove the lid.
- Fluff gently with a fork, separating the grains.
- Let cool, uncovered if using for salads—this prevents sogginess.
Perfect Quinoa Cooking Table
| Quinoa | Liquid | Salt | Simmer (min) | Rest (min) |
|---|---|---|---|---|
| 1 cup | 1 1/4 cups | 1 tsp | 20 | 20 |
| 2 cups | 2 1/2 cups | 2 tsp | 20 | 20 |
Additional Tips for Superior Quinoa
- Use the right salt: Kosher salt flavors more efficiently than table salt; the higher volume avoids over-salting.
- Broth adds richness: Use a good-quality, low-sodium store-bought or homemade broth.
- No constant stirring: Quinoa doesn’t need stirring during cooking; just one mix at the start.
- Don’t skip the resting step: Cooling time is what separates perfect quinoa from dense, clumpy grains.
- Add aromatics: Try bay leaf, a smashed garlic clove, or a sprig of thyme in the pot for enhanced flavor (remove before serving).
- Cool for salads: If tossing with vinaigrette or other wet ingredients, ensure quinoa is completely cooled to avoid a gummy texture.
How to Customize Quinoa Flavor
Cooked quinoa is a blank canvas and easily takes on additional flavors. Try these ideas:
- Stir in fresh lemon juice and zest after cooking for brightness.
- Add chopped fresh herbs—parsley, cilantro, or basil—when fluffing.
- Mix in toasted nuts, crumbled feta, or minced garlic.
- Use a flavored oil (olive, garlic, or chili) after cooking.
- For a fast pilaf, sauté onion and spices in olive oil before adding quinoa and liquid.
Serving Ideas and Recipes
- Salad base: Toss cooled quinoa with chopped vegetables, a tangy vinaigrette, and seeds for lunch.
- Side dish: Simply seasoned, it pairs well with roasted meats, fish, or vegetables.
- In soups and stews: Stir in cooked quinoa at the end for added texture and nutrition.
- Bake into casseroles or blend into veggie burgers for a complete meal.
- Try new recipes:
- Quinoa with Buttery Roasted Vegetables
- Black Bean and Quinoa Enchilada Bake
- Quinoa with Tomato, Basil, and Mozzarella
Frequently Asked Questions (FAQs)
Do I have to rinse quinoa?
Rinsing is recommended to remove quinoa’s bitter natural coating (saponin), though many commercially packaged quinoas are pre-rinsed. If you notice off-flavors, always rinse.
Why does my quinoa always turn out mushy?
The most common culprit is using too much liquid or skipping the post-cook resting and cooling step. Use the reduced 1 1/4:1 liquid ratio and let it rest fully after cooking for the best result.
Can I use a rice cooker for quinoa?
Yes. Add quinoa and liquid as directed (use the same 1 1/4:1 ratio) and cook using your rice cooker’s settings. Avoid opening the lid early, and let it sit on warm for 10–15 minutes after the cooking cycle finishes.
How do I store and reheat cooked quinoa?
Store cooled, cooked quinoa in an airtight container in the fridge for up to 5 days. Reheat in the microwave or on the stovetop with a splash of water or broth to restore moisture.
What liquid can I use besides water for cooking quinoa?
Try vegetable broth, chicken broth, or mix in a splash of dry white wine for extra depth and richness.
Is quinoa healthy?
Absolutely; quinoa is a complete protein source, gluten-free, high in fiber, and packed with essential nutrients, making it one of the healthiest grains you can cook.
Common Quinoa Pitfalls and How to Fix Them
- Too soggy? Drain excess liquid after simmering and spread quinoa on a baking sheet to cool and dry.
- Crispy or burned? The burner was likely too high or the pan lacked adequate liquid; add an extra splash and reduce the heat next time.
- Clumpy/grainy? Not allowing for the resting time keeps the steam trapped; always let it sit before fluffing.
Conclusion: Quinoa Mastery Is Simple
Perfect, fluffy quinoa comes down to the right water ratio, careful cooking, and patience during the resting stage. Once you start practicing these steps, quinoa will become a staple that’s easy to prepare and transform with bold flavors. Experiment, adjust seasoning, and enjoy a grain that delivers on both nutrition and taste every time you make it!
References
- https://www.loveandlemons.com/quinoa/
- https://www.thepioneerwoman.com/food-cooking/recipes/a82326/how-to-cook-quinoa/
- https://www.thepioneerwoman.com/food-cooking/recipes/a87991/how-to-make-light-and-fluffy-quinoa/
- https://www.thepioneerwoman.com/food-cooking/recipes/g34917350/quinoa-recipes/
- https://www.thepioneerwoman.com/food-cooking/recipes/a80957/southwestern-quinoa-salad/


