


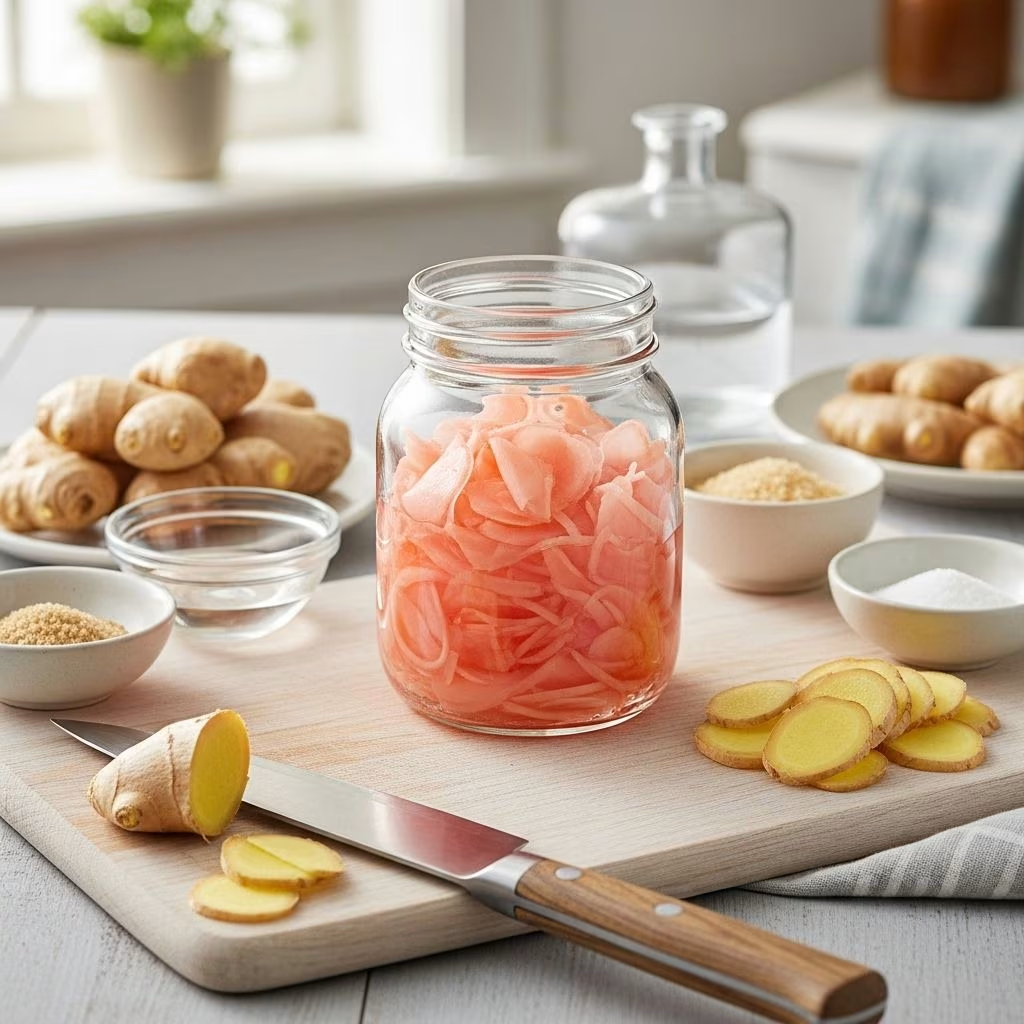
Have you ever found yourself repeatedly visiting the sushi counter at your local grocery store, trying to convince the staff to sell you more of that delicious pickled ginger? You’re not alone. That sweet, tangy, and slightly spicy condiment that accompanies sushi rolls has a way of becoming addictive, and before you know it, you’re buying container after container just to satisfy your family’s cravings.
The good news is that making your own pickled ginger at home is surprisingly simple and incredibly rewarding. Not only will you save money and avoid those awkward conversations at the grocery store counter, but you’ll also have complete control over the flavor and quality of your pickled ginger. This comprehensive guide will walk you through everything you need to know about creating restaurant-quality pickled ginger in your own kitchen.
Why Make Your Own Pickled Ginger?
There are numerous compelling reasons to start making your own pickled ginger at home. First and foremost, it’s incredibly cost-effective. Those small containers of store-bought pickled ginger can add up quickly, especially if you’re a frequent sushi lover or enjoy incorporating this flavorful condiment into various dishes.
Homemade pickled ginger also allows you to control the ingredients completely. You’ll know exactly what goes into your batch, avoiding any unnecessary preservatives or artificial additives that might be present in commercial versions. Additionally, you can adjust the sweetness, acidity, and salt levels to match your personal preferences perfectly.
The versatility of homemade pickled ginger extends far beyond sushi accompaniment. It makes an excellent addition to Asian-style salads, provides a zesty kick to oyster bar presentations, and can even serve as a unique snack for those who enjoy bold flavors. Some people, particularly children, find pickled ginger so appealing that they eat it like candy.
Selecting the Perfect Ginger
The foundation of excellent pickled ginger starts with choosing the right fresh ginger root. When shopping for ginger, look for pieces with smooth, tight skin rather than rough, wrinkled surfaces. Smooth skin indicates freshness, while wrinkled skin suggests the ginger is past its prime. Think of it this way: buy ginger with the kind of skin you wish you had!
Fresh ginger should feel firm to the touch and have a clean, spicy aroma. Avoid any pieces that feel soft, show signs of mold, or have dried-out sections. The size of the ginger pieces doesn’t matter as much as their quality, so focus on finding the freshest specimens available.
Essential Ingredients and Equipment
One of the beautiful aspects of making pickled ginger is how few ingredients you actually need. The basic recipe requires only:
- Fresh ginger root – approximately 4-6 ounces
- Rice vinegar – 1/2 cup (white vinegar can substitute if needed)
- Sugar – 2-3 tablespoons (adjust to taste)
- Salt – 1 teaspoon
- Water – 2-3 tablespoons
For equipment, you’ll need a small saucepan, a mandoline slicer or very sharp knife, clean glass containers (mason jars or Tupperware work well), and ideally a tablespoon for peeling the ginger.
Step-by-Step Preparation Process
Peeling the Ginger
The most challenging part of making pickled ginger is often the peeling process, but with the right technique, it becomes much more manageable. While you can certainly use a traditional vegetable peeler, ginger’s curved surface with its various nooks and crannies makes this approach somewhat awkward.
A more effective method involves using the rounded edge of a tablespoon to scrape away the skin. This technique works particularly well in the curved areas where a flat peeler might struggle. The spoon’s edge conforms better to ginger’s irregular shape, allowing you to remove the skin efficiently without wasting precious ginger flesh.
When the ginger is fresh and high-quality, the skin should come off easily with minimal pressure. If you encounter resistance, the ginger might not be as fresh as it appeared, or you might need to adjust your technique slightly.
Slicing the Ginger
Once your ginger is completely peeled, the next crucial step is slicing it into paper-thin pieces. This is where a mandoline slicer truly shines, creating uniform, translucent slices that will pickle evenly and provide the perfect texture.
Safety warning: When using a mandoline, maintain complete focus and never look away from your work. Distraction can lead to serious finger injuries. Always use the hand guard provided with your mandoline, and consider wearing cut-resistant gloves for additional protection.
If you don’t have a mandoline, a very sharp knife can work, but it requires more skill and patience to achieve consistently thin slices. The goal is to create slices thin enough that light can pass through them.
Preparing the Pickling Liquid
While you’re slicing the ginger, place the prepared slices into your chosen storage containers. Glass containers work best because they won’t absorb flavors or odors, and they can safely handle the hot pickling liquid you’ll be adding.
In a small saucepan, combine the rice vinegar, sugar, salt, and water. The rice vinegar provides the characteristic tangy flavor while being milder than white vinegar. The sugar balances the acidity and creates the sweet taste associated with restaurant-style pickled ginger. Salt enhances all the flavors and aids in the pickling process.
Bring this mixture to a vigorous boil over medium-high heat, stirring occasionally to ensure the sugar and salt dissolve completely. Once the mixture reaches a rolling boil, immediately remove it from the heat.
Combining and Marinating
Carefully pour the hot pickling liquid over the sliced ginger in your containers. The liquid should completely cover all the ginger pieces. If it doesn’t, you can prepare additional pickling liquid using the same proportions.
Cover the containers tightly and allow them to cool to room temperature before refrigerating. This initial cooling period allows the ginger to begin absorbing the pickling liquid while still warm, which aids in the flavor infusion process.
Understanding the Pickling Timeline
One of the most fascinating aspects of homemade pickled ginger is how its flavor profile evolves over time. Understanding this timeline helps you plan when to prepare your ginger based on your flavor preferences.
Within 2 hours: Your pickled ginger will have a sharp, intense flavor with pronounced heat from the fresh ginger. Some people prefer this stage for its bold, assertive taste.
After 24-36 hours: The ginger reaches its optimal flavor profile, resembling the sweet, mellow pickled ginger served in restaurants. The initial sharpness mellows considerably, while the sweet and tangy notes become more prominent.
Beyond 48 hours: The flavor continues to mellow and develop complexity. The longer marination creates an even more restaurant-like product with balanced sweetness and minimal heat.
Storage and Shelf Life
Proper storage is crucial for maintaining the quality and safety of your homemade pickled ginger. Always store your pickled ginger in the refrigerator, where it will maintain its best quality for up to two months. The acidic environment created by the vinegar helps preserve the ginger naturally.
Signs that your pickled ginger has passed its prime include changes in color (beyond the normal slight pinking that occurs naturally), off odors, or any visible mold growth. When in doubt, it’s better to prepare a fresh batch.
Canning Considerations
While you can certainly can pickled ginger for longer shelf life, it’s important to understand that simply placing hot liquid and ginger in mason jars doesn’t constitute proper canning. If you wish to can your pickled ginger for room-temperature storage, you must follow established safe canning procedures, including proper sterilization techniques and processing times.
For most home cooks, refrigerator storage provides plenty of convenience and shelf life without the additional complexity of proper canning procedures.
Culinary Applications and Serving Suggestions
Homemade pickled ginger’s applications extend far beyond traditional sushi service. Consider incorporating it into:
- Asian-inspired salads for a zesty crunch and flavor boost
- Grain bowls as a palate-cleansing element
- Stir-fries added at the end for fresh flavor
- Sandwich and burger toppings for unexpected zing
- Appetizer platters alongside other pickled vegetables
The versatility of pickled ginger makes it an excellent condiment to have readily available in your refrigerator for spontaneous culinary adventures.
Frequently Asked Questions (FAQs)
Q: Can I use white vinegar instead of rice vinegar?
A: Yes, white vinegar can substitute for rice vinegar, though rice vinegar provides a milder, more authentic flavor that’s preferred for pickled ginger.
Q: Why does my pickled ginger turn pink?
A: Young, fresh ginger naturally develops a light pink color when pickled due to natural compounds in the ginger. This is completely normal and desirable.
Q: How thin should I slice the ginger?
A: Aim for paper-thin slices, approximately 1-2mm thick. The thinner the slices, the better they’ll pickle and the more pleasant the texture will be.
Q: Can I adjust the sweetness of the pickling liquid?
A: Absolutely! Start with the recommended amount of sugar and adjust according to your taste preferences. You can always add more sweetness, but it’s difficult to reduce it once added.
Q: What’s the best way to store homemade pickled ginger?
A: Store in airtight glass containers in the refrigerator for up to two months. Ensure the ginger remains covered by the pickling liquid for best quality.


