


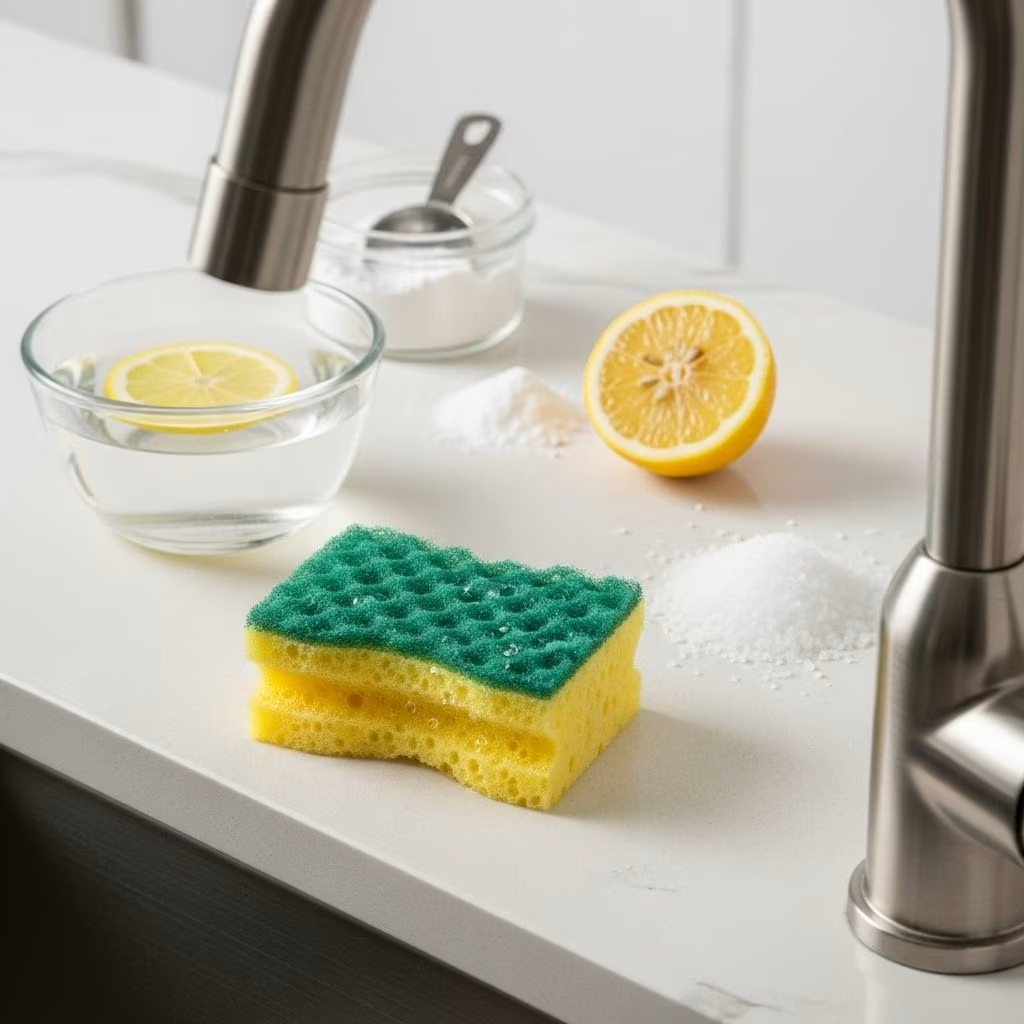
The Importance of Kitchen Sponge Hygiene
Kitchen sponges are indispensable tools for cleaning dishes and surfaces, but they also have a hidden downside: they harbor millions of bacteria, some of which can compromise your health. Proper cleaning, maintenance, and regular replacement of sponges are crucial for maintaining a hygienic kitchen environment. This guide covers the best methods for cleaning kitchen sponges, the science behind their contamination, safety precautions, and advice on when to replace them.
Why Are Kitchen Sponges So Dirty?
Sponges are designed to absorb and scrub, making them effective cleaning aids. However, their moist and porous structure creates a perfect breeding ground for bacteria, mold, and yeast. Studies have shown that after just two weeks of use, a sponge can contain up to 8 million bacteria, including coliforms that indicate contamination from fecal sources. This makes the average kitchen sponge one of the dirtiest items in any household.
- Moisture Retention: Sponges rarely dry out completely between uses, allowing bacteria to multiply rapidly.
- Food Residue: Food particles trapped within the sponge serve as nourishment for microbes.
- Microbial Diversity: Sponges can house various bacteria, molds, and yeasts, some of which may be pathogenic.
Consequences of Sponge Contamination
Using a contaminated sponge can spread pathogens to kitchen surfaces, utensils, dishes, and ultimately to your food. This increases the risk of foodborne illnesses, including those caused by E. coli, Salmonella, and other harmful bacteria.
- Spreading illness-causing bacteria throughout your kitchen.
- Promoting mold and unpleasant odors.
- Compromising overall kitchen sanitation.
How to Clean Kitchen Sponges: Methods and Best Practices
It is important to clean and sanitize your kitchen sponges regularly to reduce bacterial load. Below are proven cleaning techniques, categorized into daily maintenance, chemical-free options, and deep sanitization.
Daily Maintenance
- Rinse Thoroughly: After each use, rinse the sponge well with hot water and soap to remove food particles and reduce surface contamination.
- Wring Out Excess Water: Squeeze the sponge firmly to minimize residual moisture, which helps inhibit bacterial growth.
- Let It Dry: Store the sponge in a well-ventilated area to promote air drying. Hanging it up or placing it on a rack is recommended.
Advanced Cleaning and Sanitizing Techniques
1. Cleaning a Sponge in the Microwave
Microwaving is a powerful method for killing bacteria in kitchen sponges. Follow these steps for safe and effective sanitization:
- Wet the Sponge: Ensure the sponge is fully saturated with water before microwaving. Never microwave dry sponges; they can catch fire.
- Microwave Time: Place the sponge in the microwave and heat on high for one to two minutes. Research indicates that microwaving for as little as one minute can kill over 99% of bacteria.
- Metal Warning: Only microwave sponges without metal components (i.e., no scrubber pads).
- Safety First: Use caution when removing the sponge, as it will be extremely hot. Allow the sponge to cool for 10–15 minutes to avoid burns.
2. Cleaning a Sponge with Bleach Solution
Bleach is a highly effective disinfectant for kitchen sponges. To clean your sponge with bleach:
- Mix Solution: Combine one-quarter to one-half teaspoon of concentrated chlorine bleach (8.25% hypochlorite) with one quart of warm (not hot) water.
- Soak: Fully submerge the sponge and let it soak for one minute.
- Rinse and Dry: Thoroughly rinse the sponge with water and wring out excess moisture.
3. Cleaning a Sponge with Vinegar
For those who prefer chemical-free cleaning, white vinegar offers a safe alternative:
- Soak: Place the sponge in a bowl of undiluted white vinegar and let it sit for five minutes.
- Rinse and Squeeze: Rinse with water and remove excess moisture before reuse.
4. Cleaning a Sponge in the Dishwasher
The dishwasher provides a simple and effective method for sanitizing sponges while washing your dishes:
- Placement: Put the sponge on the top rack of your dishwasher.
- Settings: Run the dishwasher on its hottest, most extended cycle, preferably with a drying phase.
- Dry Completely: Let the sponge air dry before next use.
Comparative Effectiveness of Cleaning Methods
| Method | Bacteria Reduction | Convenience | Chemical-Free | Safety Precautions |
|---|---|---|---|---|
| Microwave | 99.99999% | High (fast) | Yes | Must wet sponge; avoid metal |
| Dishwasher | 99.9998% | Very High | Yes | Use hottest cycle |
| Bleach | Approx. 99% | Moderate | No | Proper dilution; rinse thoroughly |
| Vinegar | High | Moderate | Yes | Rinse well; less harsh odor |
When Should You Replace Your Kitchen Sponge?
Regular cleaning helps minimize bacteria in a sponge, but even with the best maintenance, sponges can’t last forever. Here’s how to tell when it’s time for a new one:
- Odor: Persistent foul smell indicates heavy bacterial growth, meaning it’s time to replace the sponge immediately.
- Discoloration or Staining: Visible color change, even after cleaning, suggests contamination.
- Physical Damage: Worn, torn, or crumbling sponges have more places for bacteria to hide.
- Duration: Replace your kitchen sponge every 1–2 weeks, or sooner if you notice any of the signs above.
Tips for Safe Sponge Use and Storage
- Use sponges only for their intended purpose (e.g., cleaning dishes, not the floor).
- Do not use the same sponge for raw meat spills and general kitchen cleaning—dedicate specific sponges for high-risk contaminants.
- Store sponges where they can dry rapidly. Avoid keeping them in damp sinks or enclosed containers.
- Consider switching to dishcloths or towels for some kitchen tasks, laundering them daily in hot soapy water.
Sanitation Alternatives: Should You Ditch the Sponge?
While sponges are difficult to sanitize completely and need frequent replacement, alternatives such as microfiber cloths or disposable paper towels can sometimes offer more hygienic options for specific tasks. Microfiber cloths are durable and effective but require daily laundering. Disposable towels eliminate cross-contamination but create more waste.
Frequently Asked Questions (FAQs) About Kitchen Sponges
How often should I clean my kitchen sponge?
Clean your sponge at least once a week using one of the effective sanitizing methods described above. For best results, disinfect daily if possible and replace every 1–2 weeks.
What is the fastest way to kill bacteria in a sponge?
Microwaving a fully wet sponge for 1–2 minutes is the fastest and most effective method, eliminating over 99% of bacteria.
Are chemical-free sponge cleaning methods as effective as bleach?
Microwave and dishwasher methods are highly effective without chemicals. Vinegar is less potent than bleach but still provides significant bacteria reduction.
Can I clean a metallic or scrub-pad sponge in the microwave?
No, never microwave sponges with any metallic components. Use the dishwasher or a bleach solution for these instead.
How do I keep my sponge clean every day?
Rinse thoroughly after each use, squeeze out water, store in a dry area, and disinfect frequently. Avoid leaving sponges in a damp, enclosed environment.
What should I do if my sponge starts to smell?
A foul odor is a clear sign that your sponge has become a breeding ground for bacteria and should be discarded immediately.
The Bottom Line: Healthy Kitchen Sponge Habits
Kitchen sponges, while helpful, are notorious for attracting bacteria. By understanding how to properly clean, disinfect, dry, and replace sponges, you reduce the risk of foodborne illness and maintain a healthier kitchen. Choose the cleaning method that works best for your household, monitor your sponge for signs of wear or contamination, and be proactive about hygiene. When in doubt, don’t hesitate to start fresh with a new sponge—your health may depend on it.


