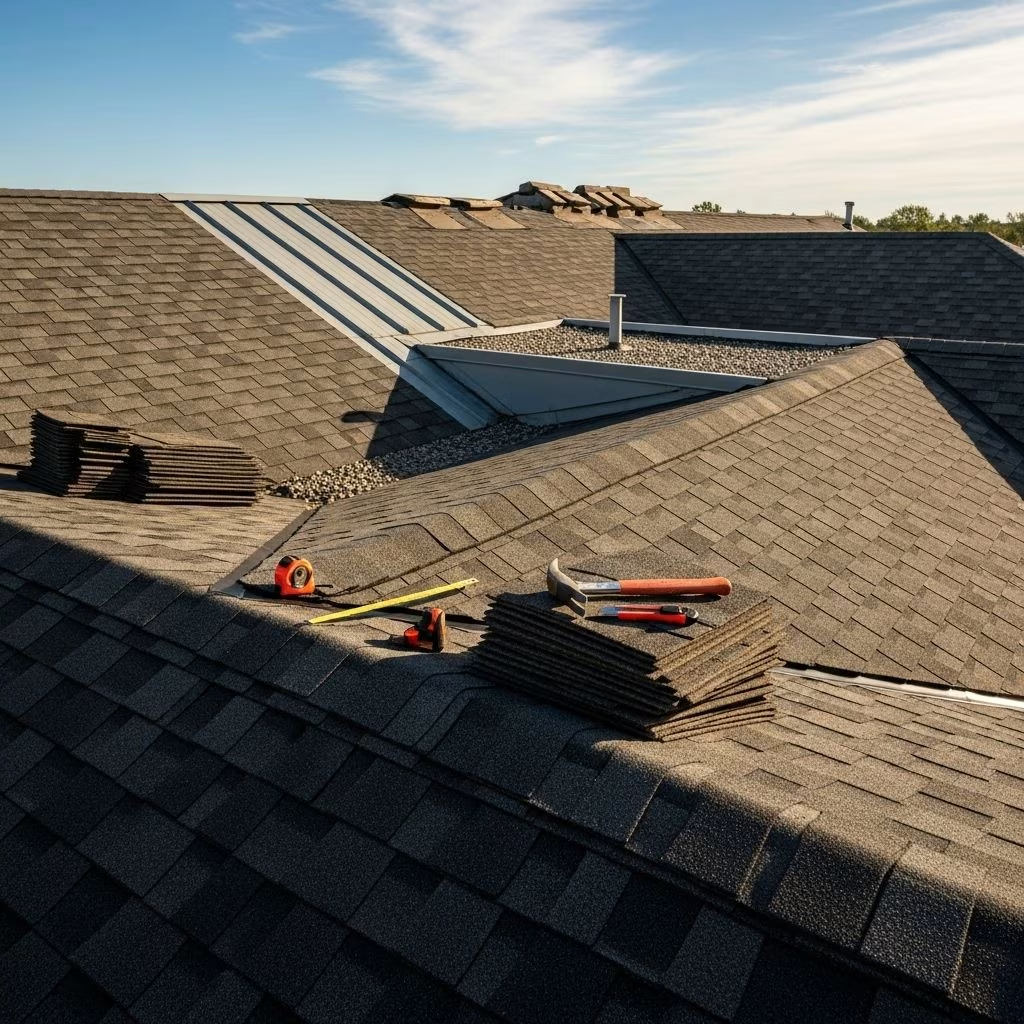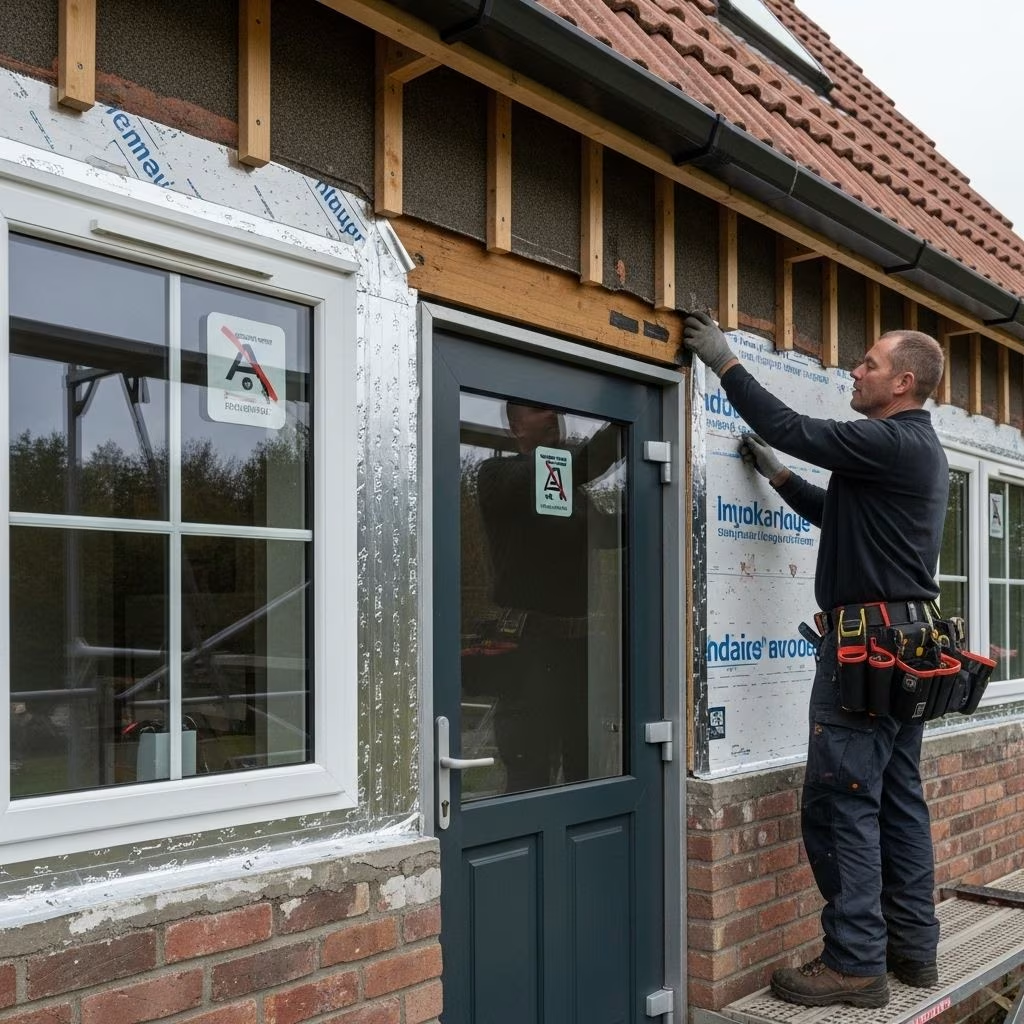
Properly installing flashing around windows and doors is one of the most crucial steps for protecting your home’s structure from water infiltration and the resulting damage. This comprehensive guide will walk you through the essential steps, materials, techniques, and troubleshooting strategies to ensure that your exterior doors and windows are correctly sealed for years of weather-resistant performance.
Why Proper Flashing Installation is Essential
Flashing acts as a weatherproof shield, redirecting water away from vulnerable seams and structural openings. Without correctly installed flashing, water can leak behind siding and trim, leading to rot, mold, and serious structural damage. Correct flashing:
- Prevents water infiltration at window and door perimeters
- Directs water away from wall cavities and framing
- Works in tandem with siding and weather-resistant barriers (WRBs)
- Supports warranty compliance for most window and door manufacturers
Tools and Materials Needed
Gather these basic tools and supplies before beginning any flashing installation:
- Utility knife & tape measure
- Hammer and flat pry bar
- Caulk gun & exterior-grade sealant
- Exterior flashing tape (self-adhering or butyl-based)
- Rigid or flexible pan flashing (for window or door sills)
- House wrap or water-resistive barrier (WRB)
- Construction tape (for seaming house wrap)
- Metal or vinyl drip cap (for window/door heads as needed)
- Level & square
- Staple gun or cap nails (for WRB)
- Safety glasses & gloves
Understanding Key Flashing Components
Before diving into the installation, familiarize yourself with these essential flashing elements and their functions:
| Component | Location & Purpose |
|---|---|
| Sill or Pan Flashing | Installed at the base of the rough opening to collect and drain away water entering around the window or door frame. |
| Jamb Flashing | Applied to the sides (jambs) of the opening, extending from the sill up and typically overlapping the pan flashing. |
| Head Flashing | Placed at the top (head) of the window or door to channel water over the window and away from the opening. |
| Drip Cap (Z-Flashing) | Metal or vinyl flashing fitted above the head casing to further direct water away from the face of windows or doors. |
| House Wrap (WRB) | A weather-resistant barrier providing a drainage surface and secondary defense against moisture. |
Step-by-Step Guide to Installing Flashing Around Windows
1. Prepare the Rough Opening and House Wrap
Start by exposing the rough opening. Ensure the framing is squared, level, and free from debris. Inspect the house wrap (WRB):
- Cut the house wrap at the window opening in an inverted “Y” or “I” shape, folding back the side and head flaps to expose the sheathing.
- Secure the flaps temporarily with tape or staples away from the opening; these will be integrated at the end.
2. Install Sill or Pan Flashing
The sill is the most vulnerable area for leaks, so it must be expertly flashed:
- Use a pre-formed pan or fabricate one from flexible flashing tape or sheet metal.
- Start the flashing at least 6 inches up each jamb and extend it 2 6 inches onto the exterior wall below the window.
- If using tape, ensure it is pressed tightly into corners and fully covers all wood surfaces.
- At corners, form a small vertical dam of flashing to contain any water seeping through.
- Do not seal the front edge of the pan flashing; leave a path for water to escape, never trapping it inside the wall.
3. Check Flange and Dry-Fit Window
- Dry-fit the window to ensure proper sizing and alignment with the opening before continuing. Confirm that the nailing flange or brick mold sits flat and square.
- Remove the window after checking fit and set it aside for final installation.
4. Set and Secure the Window
- Apply recommended sealant to the back of the window’s nailing flange or contact area. Do not seal the weep holes at the bottom.
- Place the window into the opening, square it, and secure it temporarily with a few nails or screws. Check alignment and operation.
- Fasten the window fully according to the manufacturer’s instructions, driving fasteners through the nailing flanges or brick mold.
5. Apply Jamb (Side) Flashing
- Starting at the bottom, apply self-adhering flashing tape over each jamb flange, overlapping the sill flashing by at least 2 inches.
- Extend the jamb flashing up to or just past the top corners of the window frame for maximum protection.
- Press flashing firmly, removing air bubbles and gaps. Overlap the window flanges and adhere it to the WRB for a continuous water barrier.
6. Install Head (Top) Flashing and Drip Cap
- Install a drip cap (Z-flashing) above the head casing of the window, tucking the upper leg of the cap behind the folded-back head flap of the WRB or house wrap.
- Apply head flashing tape over the window flange and the drip cap, extending 2 6 inches past each jamb flashing.
- Press the upper edge of the flashing firmly behind the house wrap flap, completing the shingle effect.
7. Integrate the House Wrap or WRB
- Fold down the upper head flap of the house wrap over the head flashing, creating a continuous drainage pathway.
- Seal the diagonal cuts at the head corners with small pieces of tape or flashing to prevent water intrusion.
- Do not seal the bottom edge of the window or sill flashing; this allows any trapped moisture to exit safely.
Step-by-Step Guide to Installing Flashing Around Doors
Door Flashing vs. Window Flashing: What’s Different?
The basic principles are identical for door flashing, with modifications to accommodate door thresholds and brick mold details:
- Many exterior doors include a threshold that must be flashed just like a window sill.
- Additional sealant is needed where brick mold or trim meets siding and WRB.
- Drip caps are strongly recommended above doors exposed to direct weather (not shielded by porches or overhangs).
Door Flashing Steps
- Prepare the rough opening as for windows, ensuring WRB is cut and folded back to expose the sheathing.
- Install pan flashing or a formed threshold pan at the base. Some doors also benefit from a continuous bead of sealant at the sill/WRB interface (ensure this does not trap water).
- Set and secure the door per manufacturer’s instructions, maintaining alignment and reveal.
- Apply jamb (side) flashing and head (top) flashing, layering each as described above. Drip caps or Z-flashing above the door are especially important in unprotected exposures.
- Integrate the house wrap/WRB as with windows, ensuring the shingle effect is maintained for drainage.
Best Practices for Flashing Installation
- Work from the bottom up (shingle style): Always layer flashing and WRB materials so that upper layers lap over lower layers, directing water outside.
- Use compatible flashing materials: Check that sealants, tapes, and membranes are recommended by manufacturers for contact with vinyl, metal, or wood, as needed.
- Follow manufacturer’s instructions: Most window and door brands require strict installation practices for warranty compliance.
- Check for code compliance: Flashing should meet local codes and industry standards (such as ASTM and AAMA standards for flashing materials and practices).
- Never permanently seal the bottom edge: Moisture must have a path to escape – never seal the bottom of windows, doors, or pan flashing tight against the sheathing or WRB.
Common Flashing Mistakes to Avoid
- Improper layering of house wrap and flashing so that water runs behind, not over, critical barriers.
- Omitting sill or pan flashing, which leads to undetectable leaks and major repairs.
- Sealing every edge (especially at the bottom), thus trapping water inside the wall system where it accelerates rot and mold.
- Not extending head flashing far enough beyond the jambs, exposing vertical joints to leaks.
- Poor adhesion of flashing tape due to dust, cold, or wet surfaces – clean and dry surfaces are a must.
- Ignoring manufacturer specifications, jeopardizing performance and warranty.
Frequently Asked Questions (FAQs)
When should flashing be installed around windows and doors?
Flashing should always be installed during new construction or when replacing siding, windows, or doors. Adding flashing after siding is in place is extremely difficult and often ineffective.
Should flashing go under or over house wrap?
Refer to the shingle principle: the bottom (sill) flashing goes under the house wrap; the top (head) flashing tucks under the house wrap flap; side (jamb) flashings layer over the window flanges and under the head flashing. This guides water to drain outward and downward.
Is caulk alone enough to waterproof a window or door?
No. Caulk or sealant should only be used to supplement mechanical flashing systems, as it can fail over time due to movement and UV exposure. Always use physical flashing in combination with sealants as manufacturers recommend.
What types of flashing are best?
- Self-adhered membrane (butyl or asphalt-based) is the most common and versatile for sills, jambs, and headers.
- Pre-formed rigid pans or flexible pans provide maximum protection at sills and thresholds.
- Metal drip caps or Z-flashing are ideal for head protection, especially in harsher climates.
Can I flash windows and doors in existing homes?
Flashing upgrades are possible when replacing old windows, doors, or siding. While more challenging, the same layering principles, cleanup, and careful taping are required for effective protection.
Advanced Tips and Troubleshooting
- Inspect under windows and doors for signs of historic water damage during any renovation. Address rot and repair framing as needed before flashing.
- Consider fluid-applied (liquid membrane) flashing for non-standard openings or where tapes are hard to form.
- Where trims or brick moldings are present, properly layer sealant, cap flashing, and WRB to prevent hidden water trails behind decorative elements.
- Always provide a pathway for drainage: At the sill or threshold, leave an escape route for any accidental water intrusion.
- Double-check local codes for updated requirements – newer codes may require specific tape widths, materials, or extra layers in particular climates.
Quick Troubleshooting Table
| Problem | Possible Cause | Recommended Fix |
|---|---|---|
| Water stains below window or door | Improperly installed or missing sill/pan flashing | Strip area, repair damage, and reflash properly from bottom up |
| Drafts around window/door | Missing or insufficient sealants, gaps in WRB | Inspect for cracks and gaps; add backer rod and caulk or foam as needed |
| Bubbling/flaking paint near frame exterior | Chronic water infiltration behind siding or trim | Check flashing and repair compromised sections |
| Visible mold or rot at wall/floor junction under windows | Sealed-up bottom trapping water; no drainage path | Reinstall flashing, ensuring unsealed gap at bottom for drainage |
Checklist: Flashing Installation for Windows and Doors
- House wrap (WRB) properly cut, folded, and integrated?
- Sill or pan flashing extends up jambs & out beyond wall plane?
- Flashing tapes overlapped 2 6 inches at joints, shingled from bottom up?
- Window/door properly shimmed, leveled, and squared?
- Drip cap or Z-flashing above exposed windows/doors?
- All sealants applied per manufacturer? No sealed bottom edges?
- Final WRB flap and corner seals in place, with clear path for drainage?
Frequently Asked Questions (FAQs)
How long does it take to install flashing around a window?
For a standard window, expect the process to take approximately 60 70 minutes, depending on experience and weather. More complex or irregular openings, or repairs that require removal of rotted wood, will require more time.
Is professional installation recommended?
While skilled DIYers can tackle flashing projects, complex or high-value openings, irregular framing, and historic renovations often benefit from the expertise of a licensed contractor to prevent costly mistakes.
How do I maintain flashed windows and doors?
Annually inspect and re-caulk any visible exterior seams, look for signs of leaks or damage, and touch up paint on metal flashings as needed.
Are there eco-friendly flashing options?
Many modern flashing tapes use low-VOC adhesives and recyclable backing materials. Check manufacturer product documentation for eco-certifications.
Final Thoughts
Taking the time and care to correctly install flashing around your windows and doors will deliver decades of protection, keeping your home dry, energy efficient, and structurally sound. Invest in the best materials and work meticulously for worry-free results.
References
- https://www.iccsafe.org/wp-content/uploads/proclamations/TN05-Window-and-Door-Flashing_pdf.pdf
- https://www.youtube.com/watch?v=atiNDETcEy8
- https://www.youtube.com/watch?v=MOoh1xnpNE0
- https://www.youtube.com/watch?v=i2LyNX-bXKA
- https://www.finehomebuilding.com/list/window-and-door-flashing-guide
- https://www.youtube.com/watch?v=DGmLFvZ7Jg0