The moment you’ve been waiting for is almost here: closing day on your new home. Before you sign the papers and make it official, there’s one final – and crucial – step in the process: the final walkthrough. This pivotal visit ensures the home’s condition matches the sales contract, all agreed-upon repairs are done, and your soon-to-be new space is ready for you. Here’s everything you need to know to make your final walkthrough smooth, organized, and thorough.
What Is a Final Walkthrough?
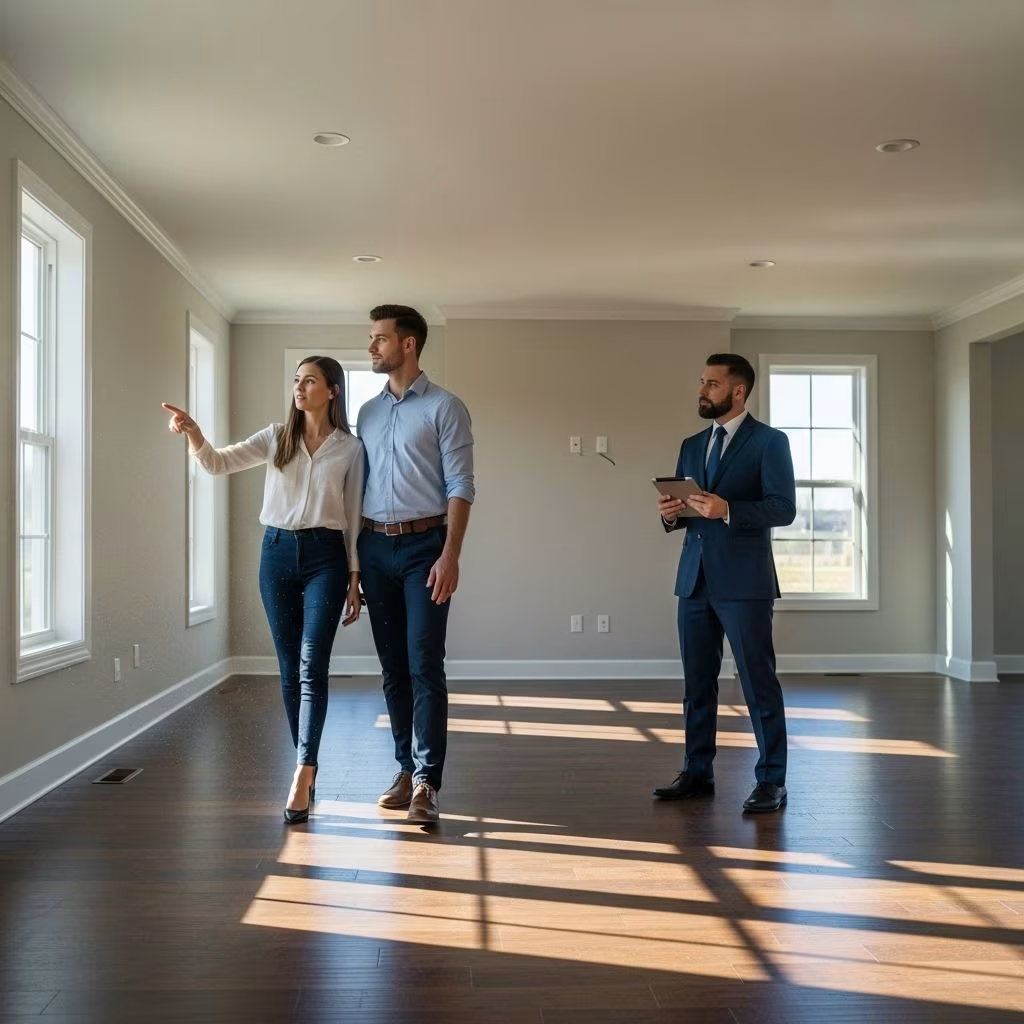
A final walkthrough is the last opportunity for buyers to inspect the property before the official closing on a home purchase. Typically scheduled within 24 to 72 hours before closing, this is not a full inspection, but a focused check to ensure the property is in the agreed-upon condition and that any seller-promised repairs have been completed. Walking through the property also gives you peace of mind that you’re making a sound investment before taking legal responsibility for the home.
Why the Final Walkthrough Matters
- Ensures Promised Repairs Are Complete: Confirms that the seller addressed the issues outlined in the contract or inspection report.
- Prevents Surprises: Detects last-minute damages or missing items that may have occurred since your last visit.
- Verifies Move-Out Condition: Checks that the sellers have completely moved out and left the home empty (unless otherwise agreed).
- Documents Home Condition: Offers a documented record (through photos and notes) of exactly how the property looked prior to your ownership.
What to Bring to the Final Walkthrough
Walking into your final walkthrough prepared will help you stay organized and confident. Here’s your essential kit:
- Purchase agreement & inspection reports: For reference on repairs, items included, and agreed conditions.
- Repair receipts and warranties: To verify completion and have on file for future reference.
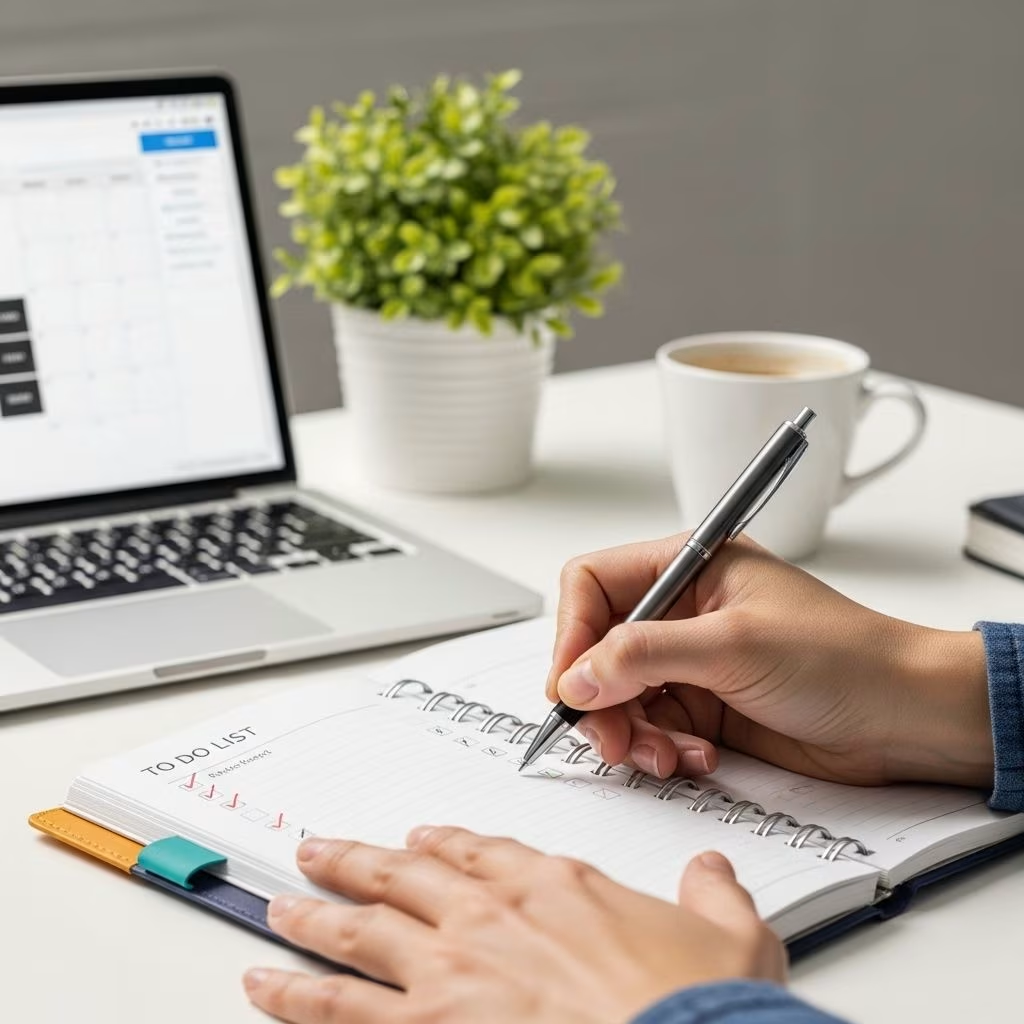
- Checklist: A printed or digital walkthrough checklist.
- Pen and notepad: For taking notes about any concerns or reminders.
- Phone or camera: To photograph or video evidence of repairs, damage, or the overall home condition.
- Small device (e.g., phone charger or nightlight): To test electrical outlets.
- Your real estate agent: Their expertise is invaluable for identifying and solving last-minute issues.
When Does the Final Walkthrough Take Place?
The final walkthrough is usually scheduled within 24–72 hours before closing, often the day before. This short window means you can spot any last-minute changes and still have time to address them before the legal transfer of ownership takes place.
Who Should Attend the Final Walkthrough?
- The buyer (and co-buyers, if any)
- The buyer’s real estate agent
- Optional: Contractors if major repairs were promised, or legal counsel for complex contracts
It’s important on this visit that the seller is not present, for your comfort and to discuss any concerns openly with your agent.
What Should You Check During a Final Walkthrough?
A methodical approach is best for the walkthrough. Use this room-by-room checklist to avoid missing anything:
General Interior Checklist
- All promised repairs are complete; request proof/receipts if necessary.
- Previous owner’s belongings are removed from all rooms, closets, basement, attic, garage, sheds, and storage areas.
- Walls, ceilings, and floors are in the condition agreed upon (look for new scratches, holes, stains, or damages).
- Carpets, flooring, and tiles are undamaged and not excessively dirty.
- Doors and windows open, close, and lock securely.
- Window screens and treatments (blinds/curtains) are present if included in the contract.
- No obvious signs of pests, mold, mildew, or water damage.
Electrical & Mechanical Systems
- All light fixtures and ceiling fans work. Bulbs present where expected.
- Test all electrical outlets using a nightlight or charger.
- Heating and cooling systems operate; test thermostats, ventilation, and visible ductwork for response.
- Smoke and carbon monoxide detectors function and are present where required by law.
- Check doorbells and any built-in security systems.
Appliances & Plumbing Systems
- Test built-in appliances (stove, oven, microwave, fridge, dishwasher, washer/dryer, garbage disposal, etc.).
- Run faucets to check water pressure, hot/cold response, and look for leaks under sinks.
- Flush every toilet for leaks and function; check around the base for moisture.
- Inspect showers and tubs for cracks, chips, working drains, and secure fixtures.
- Check for working exhaust fans in bathrooms and kitchen.
- Verify that all sinks and appliances included in the sale are in proper working order.
Attic, Basement, and Garage
- Space is clear of previous owner’s belongings or trash.
- No musty or unusual odors; check for water stains or dampness.
- Garage door (and remotes) function, including safety sensors.
- Any promised storage units, organizers, or systems are present.
Exterior & Outdoor Spaces
- Landscaping, garden features, mailboxes, sheds, and fences match contract terms and are in good condition.
- Confirm that all inclusions (like outdoor lighting, fountains, playsets, pools, and spas) function.
- No new damage to siding, roof, gutters, or downspouts.
- Check all outdoor faucets for leaks and function.
- Check for signs of animal activity or pest infestation.
- Sprinkler systems run and cover all areas effectively (if present).
Additional Items
- All keys, remotes, codes, and manuals for included items are provided (ask your agent to confirm receipt).
- Ensure personal property to remain with the home (per contract) is undamaged and in place.
- Double-check all included fixtures (light fixtures, mirrors, etc.) haven’t been swapped or removed.
Common Issues Found During the Final Walkthrough
- Incomplete or unsatisfactory repairs.
- Missing or changed fixtures/appliances.
- Damage from move-out (scuffed floors, scratched walls, broken doors).
- Unexpected items left behind (junk in attic, basement, closets, or yard).
- New evidence of leaks, pests, or mold.
- Non-working systems or utilities disconnected too early.
If any issues arise: Notify your agent immediately. Many states allow buyers to delay closing or require sellers to remedy issues before final transfer. You may also negotiate escrow holdbacks or a credit for unresolved problems.
Frequently Asked Questions (FAQs)
Does the final walkthrough replace the home inspection?
No, the final walkthrough is not a full inspection. It is a focused check to ensure repairs are completed and the property’s condition hasn’t changed since your initial inspection.
What if I find a problem during the final walkthrough?
Raise it with your real estate agent immediately. Depending on the severity, you may request the seller resolve the issue before closing, negotiate a credit, or—rarely—delay or even cancel closing.
Can I bring someone else with me to the walkthrough?
Yes. You should always bring your real estate agent. If major repairs were required, you may also bring a contractor to verify workmanship.
Should the utilities be on during the final walkthrough?
Absolutely. All utilities (water, electricity, gas) should remain active until after closing and possession transfer. This lets you test all systems effectively.
Can anything delay closing because of the final walkthrough?
Yes, but only significant or unresolved issues typically delay closing. Most concerns are settled with quick repairs or financial credits if both parties work cooperatively.
Expert Tips for a Smooth Final Walkthrough
- Prepare a Checklist: Print or save the checklist above to keep your visit focused.
- Go Room by Room: Systematically move through the house to avoid overlooking any area.
- Photograph Everything: Take clear photos of problem areas, repairs, and overall condition for reference.
- Test, Don’t Assume: Don’t just look—test outlets, faucets, appliances, and every key feature.
- Communicate Quickly: If any item isn’t right, contact your agent immediately for fast resolution.
Printable Final Walkthrough Checklist
| Area | What to Check |
|---|---|
| General Interior | Walls, floors, ceilings, doors, windows, locks, missing items, move-out damage |
| Electrical Systems | Outlets, switches, lights, ceiling fans, doorbell, smoke/CO detectors |
| Plumbing & Appliances | Faucets (pressure, leaks), water temperature, drains, toilets, all built-in appliances |
| Heating & Cooling | Test thermostats, HVAC systems, vents, exhaust fans |
| Exterior & Systems | Landscaping, fences, exterior lights, mailboxes, sheds, pools, outdoor faucets, sprinklers |
| Garage & Outbuildings | Garage doors, remotes, attic/basement/garage condition, storage units, animal/pest signs |
| Included Personal Property | Keys, remotes, manuals, warranties, included fixtures/appliances/items per contract |
Final Walkthrough: What Comes Next?
Once your walkthrough checklist is complete and the home meets the contract’s conditions, you’re ready for the closing appointment. You’ll sign documents, pay closing costs, and receive the keys to your new home. If you do encounter concerns during your walkthrough, work with your agent to resolve them promptly so closing is not delayed.
Final Thoughts: Peace of Mind Before Closing
The final walkthrough isn’t just a formality—it’s your last safeguard against surprise issues before you move in. By staying organized, asking questions, and closely tracking repairs and inclusions, you’ll ensure your dream home really is what you envisioned on day one. Happy moving!
References
- https://americanlifestylemag.com/real-estate/buying-selling/the-final-walkthrough-checklist/
- https://www.homelight.com/blog/buyer-final-walkthrough-checklist/
- https://bhgrecareer.com/bebetterblog/closing-day-checklist/
- https://www.youtube.com/watch?v=DcZBDiXe1tA
- https://www.tonykarakhomes.com/blog/2024/5/3/the-complete-final-walkthrough-checklist
- https://www.dsldmortgage.com/blog/homebuyers-final-walkthrough-checklist/