What Is a Scarf Joint?
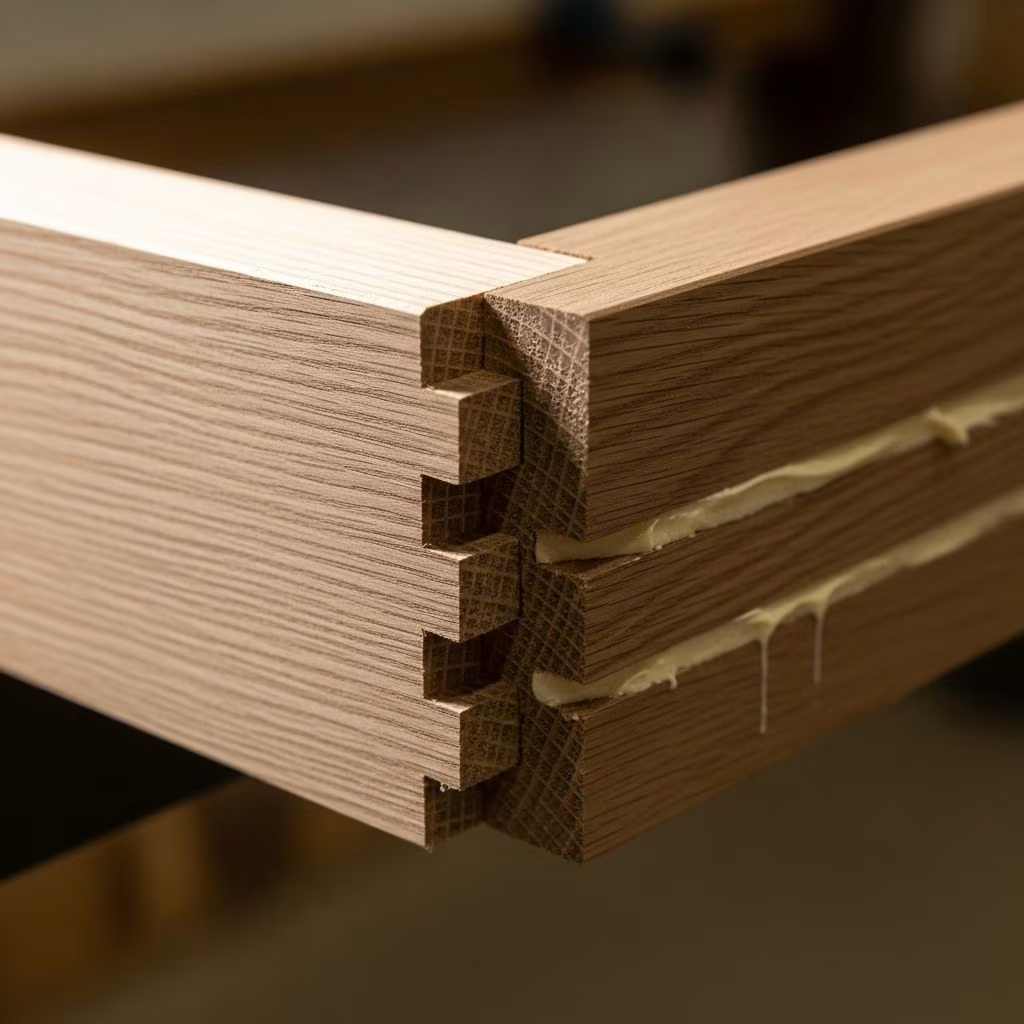
A scarf joint is an essential woodworking technique used to join two pieces of timber end-to-end, creating a longer, single piece of wood. This joint is commonly deployed in carpentry when the required timber length exceeds the available stock or when extending existing beams during renovation or repair. Known for blending strength and visual subtlety, scarf joints are integral in both structural and aesthetic woodwork applications.
Rather than simply butting timber ends together as with a butt joint, the scarf joint involves cutting the ends of each piece at a specific angle. The resulting matching surfaces maximize glue or fastener exposure, helping distribute stress more evenly across the wood and minimizing the risk of breakage under tension or bending forces.
Scarf joints are valued not only for their structural integrity but also for their visual appeal. When properly crafted, they create a smooth, uninterrupted finish that is far less noticeable than many other joint types, making them ideal for visible architectural elements and quality finish work.
Why Use a Scarf Joint?
- Extension of Length: Allows carpenters to join shorter timbers to create longer beams for roofs, floors, and frames.
- Strength and Durability: Distributes stress across the joint, significantly surpassing the simple butt joint in strength, especially where tension is present.
- Repair Work: Ideal for replacing damaged sections of beams or extending existing structure without starting from scratch.
- Visual Seamlessness: The angled joint can be blended into the surrounding wood, minimizing visible seams and enhancing the finished appearance.
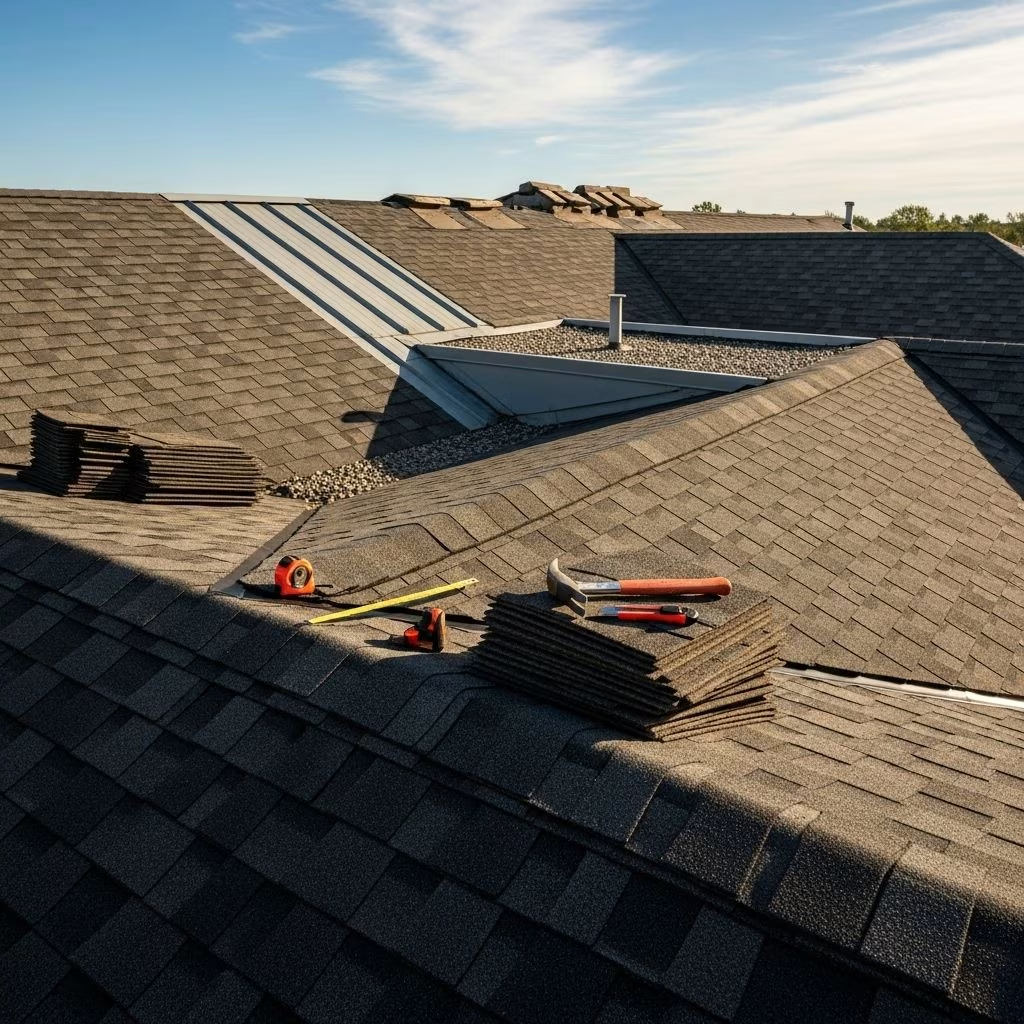
- Structural Applications: Commonly used in roof ridges, valley rafters, and other load-bearing timber assemblies.
Types of Scarf Joints
Scarf joints come in several forms, each suited to specific situations and strength requirements. Understanding these types helps woodworkers choose the most appropriate joint for their project:
| Type | Description | Best Use Case |
|---|---|---|
| Plain Scarf Joint | Simple diagonal cut, pieces glued or fastened together. Lowest complexity and relatively easy to create. | Non-structural extensions, moderate load situations. |
| Keyed or Wedged Scarf Joint | Incorporates a wooden key or wedge for mechanical interlocking, significantly increasing joint strength. | Structural beams under tension or load; framing and heavy timber construction. |
| Hooked Scarf Joint | Features interlocking hooked shapes to resist pulling forces and improve overall stability. | Beams subject to strong tension; historical timber frames. |
| Tabled Scarf Joint | Has a tabled section and shoulders for precise mechanical fit. Sometimes includes keys or wedges for added security. | High-strength applications in traditional timber framing. |
How Scarf Joints Work: The Principles
The defining feature of a scarf joint is its angled cut. Typical scarf angles range from 30° to 60°, selected based on structural requirements and available timber.
Key Principle: The length of the scarf joint should be at least three times the height of the timber being joined for maximum strength. For example, for a timber 180mm high, the joint should be at least 540mm long.
Mechanical interlocking (keys, wedges) and precise alignments further strengthen the joint, making it resilient under compression, tension, and bending. Always measure and mark carefully; a well-laid-out joint ensures tight, seamless assembly and long-term durability.
Step-by-Step Guide: Making a Scarf Joint
1. Assess and Prepare Your Timber
- Walk around the timber to evaluate quality and select the best ends for joinery.
- Confirm required beam length and cross-check against plans.
- Mark any imperfections and decide if these need special considerations (rot, flaws, warping).
2. Find and Mark the Reference Faces
- Select a reference face (for horizontal beams, it should point upwards for flat, stable flooring or decking).
- Identify the adjacent face most square to the reference face; their intersection forms the arris—your key layout point.
- Mark the arris and ensure this is clear before continuing.
3. Layout the Joint on Timber
- Use a framing square to mark out the exact joint length—minimum three times the timber’s thickness.
- Mark 90° shoulders at both ends using a speed square for precise, clean transitions.
- Extend layout lines to all sides that will form the joint.
4. Precision Cutting
- Ensure saws are sharp and set to the correct bevel angle for joint style.
- For large beams, a circular saw or chainsaw may be required, but keep cuts well-controlled and stay slightly off the line to allow for refining.
- Chisels and hand saws finish the joint, ensuring square edges and a clean fit.
- Check squareness frequently throughout the cut to prevent gaps at assembly.
5. Test Fit and Refine
- Dry fit both timber ends together, checking alignment and fit before fixing.
- Any tightness or misalignment should be carefully trimmed or shaved with a chisel, always erring on the side of caution to avoid over-removal.
6. Assemble and Secure
- Apply quality wood glue generously to both joint faces.
- For keyed or wedged joints, insert keys, wedges, or tabled components according to design.
- Clamp securely, or drive mechanical fasteners (screws or bolts as needed).
- Allow glue to cure per manufacturer instructions, maintaining pressure for a seamless bond.
Pro Tips for Flawless Scarf Joints
- Take your time: Precision is key. Rushing leads to gaps, poor strength, and visible seams.
- Check squareness frequently: Especially critical with large timbers and power tools.
- Use sharp tools: Dull chisels create ragged edges and uneven joins.
- Mark carefully: Reference and adjacent faces provide accurate layout; work from these for every measurement.
- Consider load: Choose the joint style appropriate for your project’s expected stresses.
- Dry fit before gluing: Ensures alignment and reveals any last-minute adjustments needed.
Common Application Scenarios
- Extending Roof Ridge Beams
- Valley Rafters in Timber Framing
- Home Repair & Restoration: Especially where original beams or timbers require patching or lengthening.
- Decorative Joinery: Custom furniture, exposed timber frames, and architectural details.
Potential Challenges and How to Avoid Them
- Misalignment between pieces: Double-check measurements and squareness before final cuts.
- Gaps at joint faces: Sand or pare with sharp chisels, but avoid over-removal.
- Insufficient glue coverage: Use a consistent, generous layer of adhesive; clamp tightly for best results.
- Weak joints due to short scarf length: Always use the minimum recommended length (three times timber height).
- Surface imperfections: Use wood filler sparingly when needed and ensure a clean, well-sanded finish before assembly.
Frequently Asked Questions (FAQs) About Scarf Joints
Q: What is the ideal angle for cutting a scarf joint?
A: The most commonly used angles are between 30° and 60°, with a steeper angle providing more contact surface and strength. The precise angle depends on load and aesthetic needs.
Q: How long should a scarf joint be for maximum strength?
A: The length of the joint should be at least three times the height of the timber to ensure durable, stable connections as recommended in professional carpentry.
Q: Can scarf joints be used for structural applications?
A: Yes, especially in timber framing for elements like ridge beams and valley rafters. For high-stress situations, use keyed or wedged scarf joints for added mechanical strength.
Q: Are scarf joints suitable for visible architectural elements?
A: Absolutely. The angled nature of the cut allows for a blended, seamless appearance ideal for exposed beams and decorative woodwork.
Q: What is the difference between a plain scarf and a keyed scarf joint?
A: A plain scarf joint is a simple angle cut without additional mechanical elements, while a keyed scarf joint includes a wooden key or wedge for interlocking strength and resistance to tension.
Additional Resources for Scarf Joint Mastery
- Video Tutorials: Search YouTube for step-by-step scarf joint demonstrations.
- Timber Framing Guides: In-depth articles, such as those on Instructables and traditional joinery sites, provide tips and troubleshooting help.
- Carpentry Forums: Engage with peers to discuss challenges, techniques, and innovations for complex projects.
Conclusion: The Art and Practice of Scarf Joints
Mastering scarf joints is essential for woodworkers, carpenters, and DIY enthusiasts seeking to create strong, seamless timber connections in both new construction and restoration projects. By understanding the principles, types, and best practices outlined here, you can achieve professional-grade results in your home improvement endeavors. Always prioritize careful measurement, accurate layout, and precise cutting for a flawless scarf joint—your finished timber will both look and perform at its best for years to come.
References
- https://www.youtube.com/watch?v=-SUtoKKNKHQ
- https://www.instructables.com/A-Timber-Frame-Scarf-Joint/
- https://www.youtube.com/watch?v=62XDxg6sGMU
- https://www.smallboatschool.com/blog/scarfing-how-to-make-short-wood-long
- https://sandypointboatworks.com/boat-building-articles-journals/boat-building-articles/making-a-proper-scarf-joint-boat-building-joinery
- https://www.youtube.com/watch?v=Li-TrxNAnOc
- https://www.woodworkingtalk.com/threads/scarf-joints.237901/