


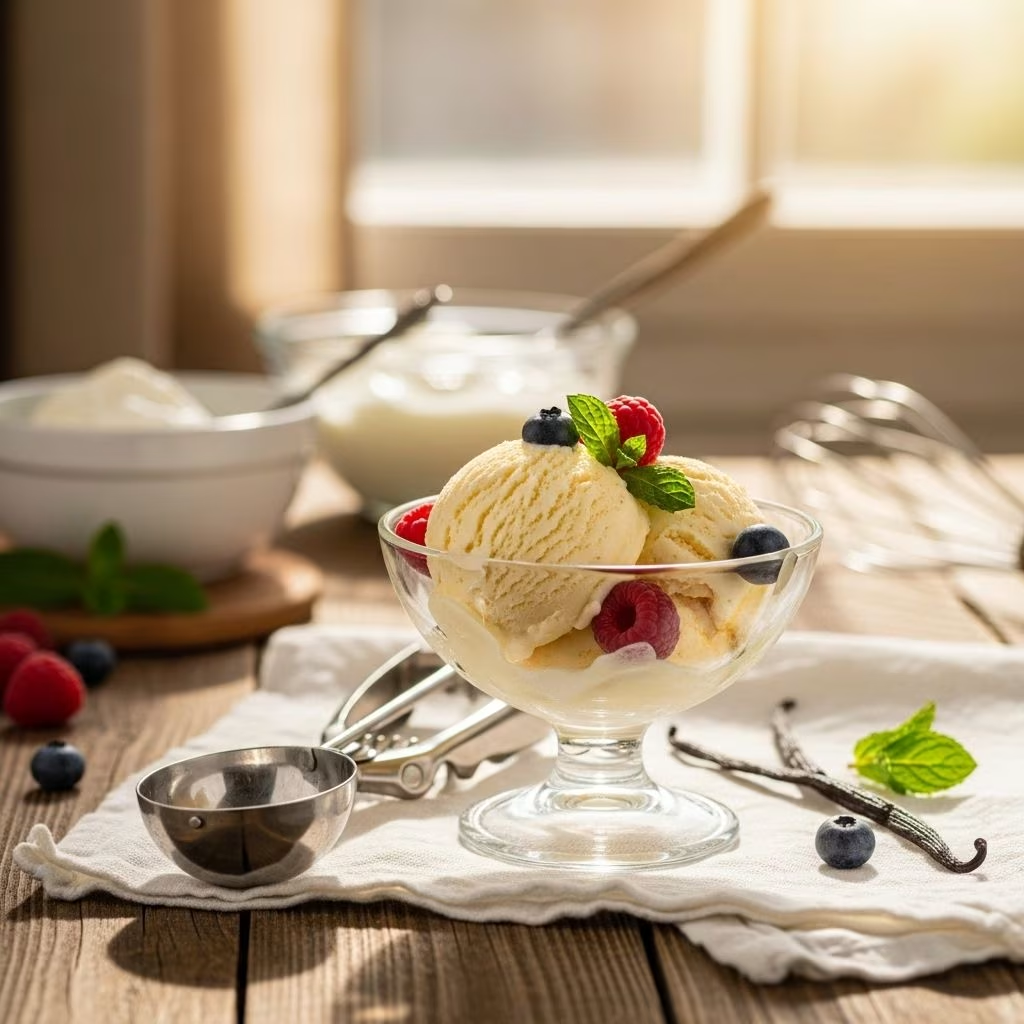
The Ultimate Guide to Homemade Ice Cream
Few summer treats evoke pure joy like a scoop of homemade ice cream. Outshining store-bought pints with the freshest flavors and your favorite add-ins, homemade ice cream is easier than you might think. Whether you love the classic vanilla or crave creative dairy-free options, this detailed guide will walk you through everything—from essential tips and step-by-step instructions to troubleshooting and delicious flavor variations.
Why Make Ice Cream at Home?
- Flavor Control: Choose your own ingredients and customize sweetness, richness, and flavors.
- Endless Variety: Invent unique combinations or replicate your favorite classics.
- Freshness: Homemade ice cream is fresher since it skips the stabilizers and artificial flavors often found in store brands.
- Fun Project: Churning ice cream can be a rewarding activity for friends and family of all ages.
Classic Five-Ingredient Vanilla Ice Cream
This easy vanilla ice cream is rich and creamy, made with just a handful of ingredients and no eggs. Simple and spectacular, it’s the perfect summer dessert base.
Ingredients
- 1 1/2 cups heavy cream
- 1 1/2 cups whole milk
- 2/3 cup cane sugar
- 1 tablespoon pure vanilla extract
- 1/8 teaspoon fine sea salt
Instructions
- Chill Your Ice Cream Maker: At least 12 hours before making ice cream, place the bowl of your ice cream maker in the freezer. A fully frozen bowl is crucial for proper churning and thickening.
- Make the Ice Cream Base: In a medium saucepan over medium-low heat, combine the cream, milk, sugar, vanilla, and salt. Whisk frequently and warm for about 5 minutes, until the sugar dissolves and the mixture is gently heated.
- Chill the Mixture: Remove the saucepan from the heat and pour the base into a heatproof bowl. Cover and refrigerate for at least 2 hours—or up to overnight. A well-chilled base leads to a smoother final texture.
- Churn: Once the base is thoroughly chilled, whisk well and pour into your ice cream maker. Churn according to the manufacturer’s instructions, usually for 20–30 minutes. The texture should be soft and similar to soft-serve.
- Firm Up in the Freezer: For a scoopable consistency, transfer the churned ice cream to an airtight container and freeze for 2–4 hours before serving.
- Serve and Store: Enjoy in cones, with your favorite toppings, or as a side to your summer desserts. Store leftover ice cream in the freezer for up to a month. If too firm, let rest at room temperature briefly to soften.
Troubleshooting & Tips
- Soft Out of the Churn? That’s normal! For a firmer scoop, always freeze for a few hours after churning.
- No Ice Cream Maker? While this recipe is designed for a machine, some readers have found success with freezer-only methods. Results may be more icy or less creamy without churning.
- Flavor Boost: Add scraped vanilla bean for a more intense vanilla profile.
Vegan & Dairy-Free Ice Cream Options
Craving homemade ice cream without dairy? Coconut milk-based recipes yield a surprising richness and creaminess, making vegan ice cream just as satisfying as traditional versions. Here’s a favorite you can customize endlessly.
Vegan Meyer Lemon Ice Cream
- 1 1/2 cups full-fat coconut milk (1 can)
- 1 1/2 tablespoons cornstarch or tapioca starch
- 1/3 cup sugar (use unrefined sugar or fine monk fruit sweetener for refined sugar-free)
- Zest and juice of 1 small Meyer lemon (about 1/4 cup juice)
- 1/8 teaspoon salt
- Optional: crushed vanilla wafers for topping
Method
- Whisk 1/4 cup of coconut milk with cornstarch in a small bowl until no lumps remain.
- Add the rest of the coconut milk, sugar, Meyer lemon zest and juice, and salt. Whisk to combine.
- Pour into your ice cream maker and churn according to the manufacturer’s directions.
- For a firmer texture, freeze for 30 minutes before serving. Top with crushed wafers or any toppings you like.
Tips & Customizations
- Substitute arrowroot starch for cornstarch if needed.
- Mix in fresh passion fruit pulp or a pinch of cayenne for added intrigue.
- Enjoy the mixture as a chilled custard (without churning), especially paired with fruit.
Homemade Chocolate Ice Cream
Indulgent, ultra-chocolatey, and wonderfully creamy, this homemade chocolate ice cream is a must for cocoa lovers. Blending both cocoa powder and real dark chocolate gives this recipe an intensely satisfying flavor.
Ingredients
- 1 1/2 cups heavy cream
- 1/4 cup unsweetened cocoa powder
- 2/3 cup cane sugar
- 1/8 teaspoon sea salt
- 3 ounces dark chocolate (70–85% cacao), chopped
- 1 1/2 cups whole milk
- 1 teaspoon vanilla extract
Instructions
- In a medium saucepan, whisk cream, cocoa powder, sugar, and salt. Bring to a gentle boil, then simmer for 30 seconds.
- Remove from heat. Add chopped chocolate and whisk until completely smooth.
- Whisk in the whole milk and vanilla.
- Transfer to a heatproof bowl and let cool to room temperature. Cover and chill for at least 2 hours or overnight.
- After chilling, whisk and churn in your ice cream maker per manufacturer’s instructions (20–30 minutes).
- For firmer ice cream, transfer to an airtight container and freeze 2–4 hours before serving. Store up to one month.
Expert Tips
- For a more pronounced chocolate flavor, some readers have experimented with substituting more cocoa powder for the chopped chocolate—adjust to taste.
- If the ice cream is rock-solid from the freezer, let it sit at room temperature for a few minutes, then scoop.
Flavor Variations & Creative Toppings
Homemade ice cream recipes are a blank canvas. Try these inspiring variations for every taste and occasion:
- Fresh Fruit Swirls: Add a swirl of strawberry, raspberry, or peach puree just before the final stages of churning.
- Chocolate Chips & Cookie Crumbles: Stir in chopped chocolate, crushed cookies, or nuts for textural contrast.
- Spices: Infuse your milk/cream base with cinnamon, cardamom, or even a touch of cayenne for spicy kick.
- Herbal Notes: Add a sprig of mint or basil during heating for subtle herby undertones.
- Dairy-Free Banana Ice Cream: Simply blend frozen bananas until creamy for an instant vegan delight. Optional: add nut butter, cocoa, or berries.
Essential Homemade Ice Cream Equipment
- Ice Cream Maker: The most reliable results come from an at-home electric ice cream maker. The KitchenAid mixer attachment and Cuisinart models are highly rated for performance and price.
- Freezer-Safe Container: Use a lidded, airtight container to store your ice cream and prevent freezer burn.
- Sturdy Whisk & Heatproof Bowls: For base preparation and chilling.
Top Tips for Ice Cream Success
- Always freeze the machine bowl overnight. A fully chilled bowl is key for proper churning.
- Cool the ice cream base thoroughly before churning for maximum smoothness.
- After churning, transfer to the freezer for a firmer, scoopable texture.
- Customize flavors with extracts, spices, or mix-ins for limitless variations.
- Don’t overfill the ice cream maker. The mixture should only fill up to 2/3 of the bowl to allow for proper aeration as it thickens.
Frequently Asked Questions (FAQ)
Can I make this ice cream without an ice cream maker?
While the recipes are developed for ice cream makers to ensure a creamy texture, some readers have shared success with non-machine freezer methods. The resulting texture may be less creamy and icier, but it is possible with manual stirring at intervals as the ice cream freezes.
How long does homemade ice cream last in the freezer?
Store homemade ice cream in an airtight container for up to one month. Over time, the flavor may diminish and more ice crystals may form, but well-sealed ice cream should maintain good quality if consumed in about two weeks.
Why is my homemade ice cream icy instead of creamy?
Iciness, rather than creamy smoothness, often results from insufficient fat content or not chilling the custard base long enough. Using full-fat dairy and thorough chilling will help prevent this issue. Also, churning while the base is as cold as possible ensures smaller ice crystals and better texture.
Can I use less sugar or substitute it?
Sugar is not only for sweetness; it also affects scoopability and texture. You may reduce sugar, but less sugar can increase iciness. Substitutes like monk fruit sweetener work for some recipes (especially with coconut milk), but for best results start with a well-tested substitution.
How can I get a stronger vanilla flavor?
For extra robust vanilla flavor, add seeds scraped from a whole vanilla bean in addition to extract. Infusing the milk with the whole bean during heating can also intensify the flavor profile.
Serving Ideas for Homemade Ice Cream
- Classic homemade ice cream cones or waffle bowls
- As a topping for fruit crisps, pies, or grilled fruits
- With chocolate or fruit sauces
- Sandwiched between homemade cookies for ice cream sandwiches
- Swirled with caramel, berry jams, or nut butters for a custom sundae
Reader Tips & Substitutions
- Add a teaspoon of vanilla for warmer undertones.
- Monk fruit sweetener has been used successfully for a lower-sugar version.
- Some readers cook the coconut milk mixture for custard-like consistency or use the chilled mixture as a topping for fruit and nuts.
- Arrowroot starch can often be substituted for cornstarch in dairy-free variations.
Final Thoughts
Homemade ice cream delivers delicious rewards for modest effort. With a reliable recipe, patience for chilling, and creative mix-ins, you can enjoy rich, creamy ice cream—tailored just to your taste—all summer long (and beyond!).
References
- https://www.loveandlemons.com/vegan-meyer-lemon-ice-cream/
- https://www.loveandlemons.com/chocolate-ice-cream/
- https://www.loveandlemons.com/homemade-ice-cream-recipe/
- https://www.youtube.com/watch?v=ywVOvaaMlXk
- https://www.loveandlemons.com/vegan-ice-cream/
- https://www.loveandlemons.com/banana-ice-cream/


