


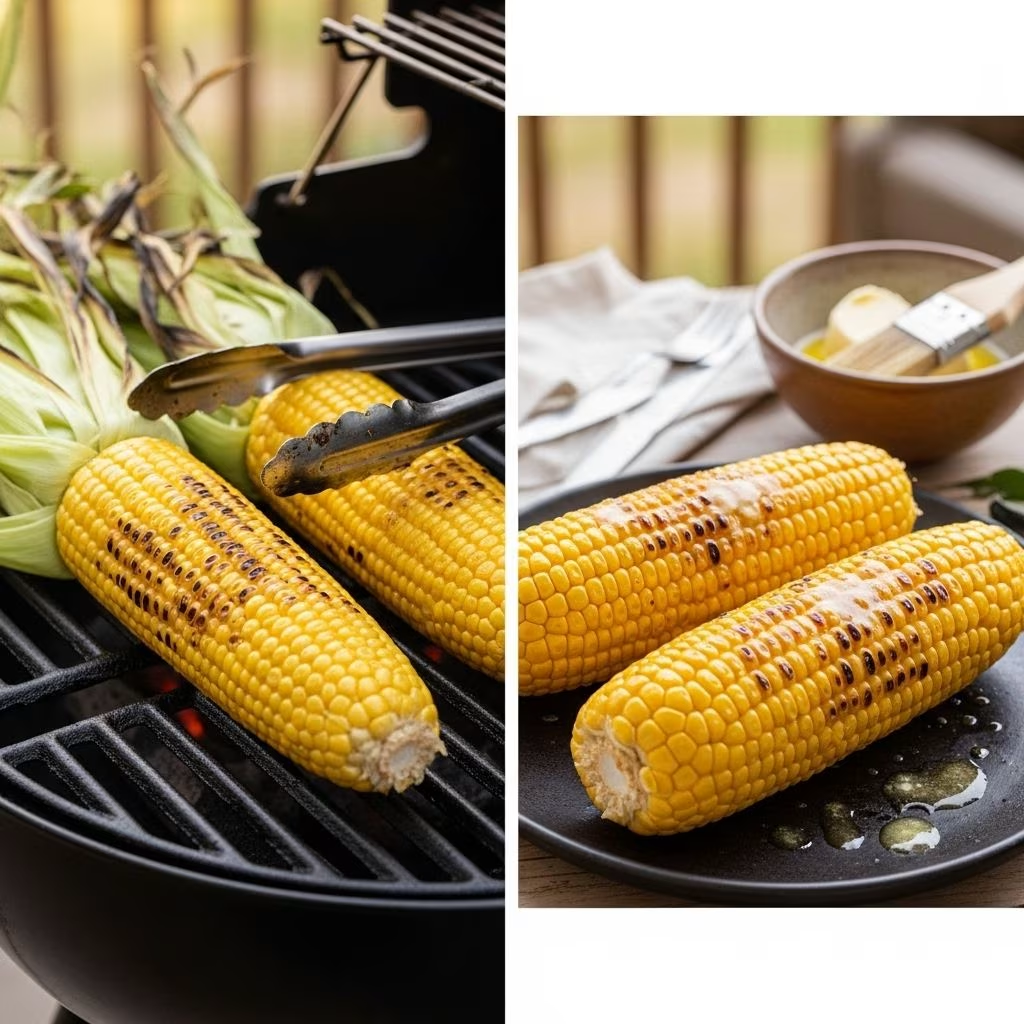
How to Grill Corn on the Cob (2 Easy Methods for Perfect Results)
Grilled corn on the cob is synonymous with summer, bringing smoky flavor, juicy sweetness, and irresistible crunch to any barbecue or weeknight dinner. Whether you’re a grilling novice or a seasoned pitmaster, learning the best ways to grill corn guarantees it will always be a highlight of your seasonal menu.
This comprehensive guide covers everything you need to know: two foolproof grilling methods, how to prep and serve, topping inspiration beyond butter and salt, expert troubleshooting, and answers to all your corn-related questions. Sweet corn season doesn’t last forever, so let’s savor every cob!
Why Grill Corn on the Cob?
Nothing underscores summer’s bounty quite like freshly grilled corn on the cob. The direct heat of the grill caramelizes the natural sugars in the kernels, creating a balance of smoky-charred flavor with the corn’s signature sweetness. The contrast between crisp, slightly blackened kernels and the juicy interior is what makes grill-roasted corn so addictive.
- Versatile: Makes a crowd-pleasing side for BBQs, picnics, or weeknight dinners.
- Fast & easy: With minimal prep, you can have grilled corn ready in less than 20 minutes.
- Customizable: Enjoy classic butter and salt, or experiment with creative toppings and flavor combinations.
How to Grill Corn: 2 Foolproof Methods
You can grill corn on the cob with or without the husk. Both methods are delicious, but they produce slightly different results. Here’s how to pick the best method for your taste and how to do it step by step.
Method 1: Grilling Corn in the Husk
Using the husk traps steam around the kernels, keeping the corn ultra-juicy and sweet, with a milder char flavor. This method is perfect if you love your corn soft and succulent, with a subtle smokiness but no direct charring on the kernels.
- Step 1: Remove the silk. Gently peel the husks back from each ear, leaving them attached at the base. Remove as much corn silk as possible with your fingers.
- Step 2: Re-cover and soak. Fold the husks back up over the corn. Submerge the ears in a large pot of cold water for at least 10 minutes—this prevents the husks from burning and keeps the corn moist.
- Step 3: Preheat the grill. Aim for medium-high heat (around 400°F/200°C).
- Step 4: Grill and rotate. Place the soaked corn (in husks) directly on the grill. Cook for about 15 minutes total, turning every 3–5 minutes so each side is evenly cooked and steaming inside the husk.
- Step 5: Finish and serve. Remove from the grill. Carefully pull back (or tie) the husks—use as a handle if desired. Serve hot with butter, salt, and other toppings.
Benefits of Husks-On Grilling
- Keeps kernels extra juicy and tender.
- Great for milder smoky flavor and less direct char.
- Prevents the corn from drying out, ideal for less experienced grillers.
Method 2: Grilling Corn without the Husk
Removing the husk allows the kernels to develop an authentic charred and smoky flavor from direct contact with hot grill grates. The corn gets a deeper flavor profile, with crisp, darkened spots and maximum grill aroma.
- Step 1: Shuck the corn. Remove all husks and silks from each ear.
- Step 2: Prepare the grill. Heat grill or grill pan to medium-high (about 400°F/200°C).
- Step 3: Grill and turn. Lay the naked ears directly on the grates. Turn every 3–5 minutes—the goal is for all sides to get a light char and the kernels to deepen in color, usually about 12–15 minutes total.
- Step 4: Serve immediately. Brush with butter, season with salt and pepper, or slather on your favorite toppings while the corn is hot.
Benefits of Husked (No-Husk) Grilling
- Maximizes smoky, charred flavor.
- Delivers classic grill marks and crispy exterior.
- Ready to eat right off the grill—no extra peeling required.
| Method | Texture | Flavor | Best For… |
|---|---|---|---|
| With Husks | Extra juicy, plump | Sweet, mild smoke | Moist-eating corn lovers, beginners |
| Without Husks | Crisp, lightly charred | Deep, smoky, caramelized | Char lovers, strong flavor fans |
Grilled Corn on the Cob Recipe
Ingredients
- 4 fresh ears of corn, husks-on or husked
- Unsalted butter (or dairy-free spread)
- Kosher or sea salt
- Optional: freshly ground black pepper, flavored butters, fresh herbs, cheese, or sauces
Instructions
- Preheat your grill or grill pan to medium-high heat.
- Prepare corn per your chosen method (husks on and soaked, or husked). See the specific steps above.
- Grill, turning every 3–5 minutes, until the corn is bright yellow and tender (15 minutes for either method).
- Remove from grill, dress with butter and season to taste. Serve hot!
Creative Topping Ideas for Grilled Corn
Butter and salt are classics, but grilled corn on the cob is a blank canvas for flavorful toppings. Try these delicious ideas to impress your guests and make every bite exciting:
- Classic Mexican Street Corn (Elote): Slather hot corn with mayonnaise, sprinkle with cotija or feta cheese, chili powder, cilantro, and finish with a squeeze of lime.
- Garlic-Parmesan: Mix melted butter with minced garlic and chopped parsley; brush on grilled corn and finish with grated parmesan.
- Spicy Buffalo: Toss cooked ears with melted butter and buffalo hot sauce, then sprinkle with crumbled blue cheese and chives.
- Herb & Lime: Brush with a blend of olive oil, lime zest, cilantro, and a dash of smoked paprika.
- Cajun: Mix soft butter with Cajun seasoning and rub over grilled corn; serve with a squeeze of lemon.
- Sweet & Smoky: Glaze with honey-butter and a hint of smoked salt for a unique twist.
What to Serve with Grilled Corn on the Cob
Grilled corn is the ultimate side for summer cookouts, but it pairs well with a huge variety of dishes. Try serving it with:
- Barbecue classics: Ribs, burgers, grilled steaks, or veggie burgers
- Seafood favorites: Grilled shrimp skewers, crab cakes, or fish tacos
- Marinated chicken: Cilantro-lime or spicy grilled chicken thighs and wings
- Summer salads: Watermelon-feta salad, tomato-cucumber panzanella, or bright leafy greens
- Other grilled veggies: Zucchini, peppers, asparagus, and portobello mushrooms
How to Store and Use Leftover Grilled Corn
- Best fresh: Grilled corn is at its peak when just off the grill, but leftovers can be kept for later.
- Cooling: Let cooked cobs cool to room temperature.
- Storage: Wrap leftover cobs tightly in foil or place in an airtight container. Refrigerate for up to 4 days.
- To reheat: Place in a 350°F oven for 6–10 minutes, or microwave briefly. You can also re-grill for 2–3 minutes to refresh the char.
- Corn off the cob: If preferred, shave kernels off with a sharp knife and store in a container—great for salsas, salads, tacos, or soups!
Expert Tips & Troubleshooting
- Choosing the best corn: Pick ears with bright green husks, moist silk, and plump kernels. The fresher the corn, the sweeter and juicier it will be.
- Pre-soak (for husk-on): Don’t skip soaking—this protects the husks and prevents scorching.
- Rotating is key: Regular turning ensures even cooking, prevents burning, and evenly caramelizes sugars.
- Don’t overcook: Overcooked corn gets dry and chewy. 12-15 minutes is usually perfect.
- Topping right away: Add butter and toppings while the corn is hot for the best absorption and flavor distribution.
Frequently Asked Questions (FAQs)
Q: Should I soak corn before grilling if the husks are off?
A: No, soaking is only needed if grilling with the husks on. Soaking prevents the husks from burning and keeps the corn moist. Bare (shucked) corn can go directly on the grill.
Q: Can I grill frozen corn on the cob?
A: Yes, you can grill frozen corn straight from the freezer, but for best texture and flavor, thaw and pat dry before grilling.
Q: How do I get the most flavor?
A: Grill the corn without husks for the deepest charred flavor. For juicier corn, use the husk-on method but finish bare on the grates for 1–2 minutes for extra color.
Q: What type of grill works best?
A: Both gas and charcoal grills work beautifully. Charcoal gives a stronger smoky flavor, while gas is more convenient for temperature control.
Q: Can I prepare corn ahead for a party?
A: Absolutely! Grill corn, then wrap in foil to keep warm for up to an hour, or refrigerate and reheat just before serving. You can also shave the kernels to use in salads and salsas.
Nutrition and Dietary Notes
- Gluten-Free: Grilled corn is naturally gluten-free and vegan (when served plain or with dairy-free toppings).
- Dairy-Free Options: Swap butter for olive oil or plant-based spread.
- Low-Fat: For a lighter option, brush with a little fresh lime juice or low-fat seasoned yogurt.
Variations and Serving Suggestions
- Mexican Elote Salad: Shave grilled kernels into a bowl, toss with mayo, lime, cotija, cilantro, and chili powder for a vibrant salad.
- Grilled Corn Salsa: Dice grilled kernels with tomatoes, red onion, jalapeño, lime, and herbs for a refreshing dip or taco topping.
- Lemon-Parmesan Corn: Brush grilled ears with lemon butter, top with grated parmesan, and a sprinkle of black pepper.
- Herb Butter Bonanza: Mix chopped fresh basil, chives, or tarragon into soft butter and spread over hot corn for garden-fresh flavor.
Key Takeaways
- Grilled corn is easy, delicious, and endlessly customizable—perfect for summer gatherings or simple weeknight meals.
- The husk-on method gives ultra-juicy, lightly smoked corn; husk-off promises bold charred flavor.
- Add butter and salt, or customize with cheese, spices, herbs, or sauces.
- Pair with BBQ staples, salads, or eat right from the grill—summer perfection!


