How to Cut Your Own Hair at Home: Step-by-Step Guide
There are times when a trip to the salon just isn’t possible—be it because of a packed schedule, budget constraints, or global events that keep you indoors. If you find yourself staring at your split ends in the mirror, tempted to reach for the scissors, you’re not alone. With expert guidance, appropriate tools, and a little patience, cutting your own hair at home can be done without disastrous results. This guide covers everything you need to know, from whether it’s a good idea in the first place to pro-approved techniques for every hair type.
Is It Okay to Cut Your Own Hair?
Before you set your sights on a DIY haircut, it’s important to acknowledge that professional hairstylists are professionals for a reason. As Stephen Thevenot, senior stylist at David Mallet in NYC, emphasizes, “Hair cutting is an art form, but it also requires a lot of geometry.” Even a basic trim requires understanding of how hair falls and how small mistakes can quickly become much bigger ones.
Kamara Brown Lewis, a respected stylist, suggests, “A trim is definitely better if you go with a pro.” If you do have a misstep, it usually means you’ll need a professional correction—and may lose more length than you intended. So when possible, defer to the experts, but if you absolutely must proceed, do so with caution and the right knowledge.
Alternatives to Cutting: Caring For Split Ends
If you’re looking for a way to hide split ends in the interim, try a DIY hair dusting: carefully trim off individual split ends strand by strand, minimizing the loss of overall length. Alternatively, load up on deep conditioners, serums, and nourishing oils that help hair appear shinier, healthier, and smoother between salon visits.
- Deep Conditioners: Repair and smooth damaged hair.
- Hair Serums: Tame frizz and add shine.
- Hair Oils: Seal split ends and lock in moisture.
Some stylist-approved products for split ends include:
- Olaplex No. 3 Hair Perfector
- Haitian Black Castor Oil
- Bread Beauty Supply Everyday Gloss
- IGK Good Behavior Spirulina Protein Smoothing Spray
Essential Tools You’ll Need
Before you start, invest in the right tools. A kitchen scissors won’t deliver a clean, even cut and can actually cause more split ends. Pro stylists recommend the following:
- Sharp hair-cutting shears (never use regular scissors)
- Wide-tooth comb
- Sectioning clips or scrunchies
- Hair ties
- Spray bottle with water (especially for curly hair)
Step-by-Step: How to Cut Your Own Hair at Home
1. Sectioning Your Hair
Sectioning is crucial for precision and symmetry. Here’s how to do it:
- Divide your hair in half from ear to ear.
- Clip or tie the top half up and separate both the top and bottom sections into their own halves, aiming for at least four sections in total.
- For thick or long hair, divide each section again for better control.
Why section? This helps you work with uniform amounts of hair, ensuring an even trim on all sides.
2. Detangle for Accuracy
Before making any cuts, thoroughly comb each section to remove knots and ensure hair is fully stretched to its natural length. This prevents unevenness and unpredictable results.
3. Decide How Much to Trim
Be conservative with your first DIY haircut. Kamara Brown Lewis advises, “If you think you want to take off more than you should, you can’t go back.” Always err on the side of caution: you can always cut more, but you can’t put hair back on.
4. The Basic Cut
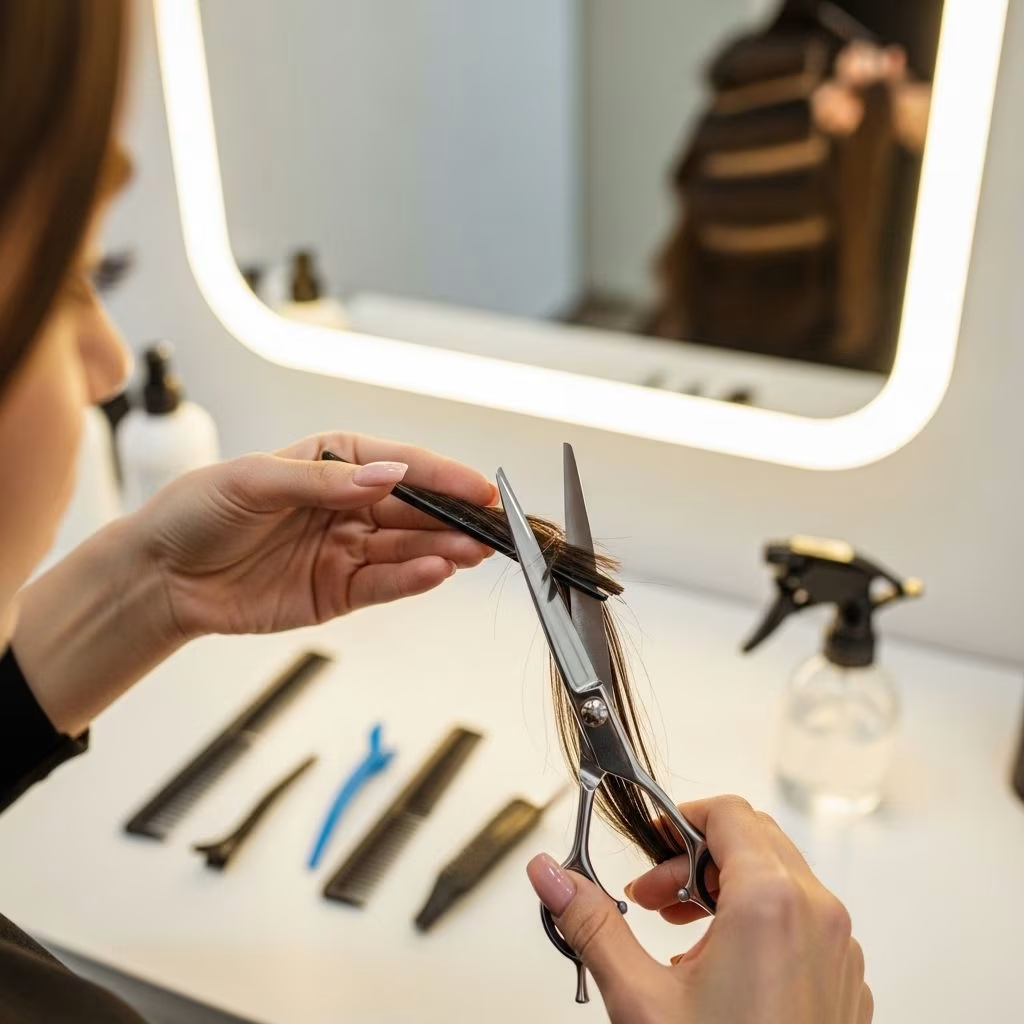
Take down one section at a time and hold it between two fingers. Slide your fingers down toward the bottom, leaving out the portion you want to snip. Keep your fingers straight as a guide, then carefully trim the ends just below your finger line. Repeat for each section.
- Use a mirror to check symmetry throughout.
- Cut vertically into the ends (point cutting) for a softer, more textured finish.
- If working with natural curls, trim curl by curl for the most flattering shape.
Special Consideration for Curly and Textured Hair
Curly and coily hair types (3a-4c) should work on dry, styled hair to best see the natural curl pattern. Hydrated and detangled curls will give you the most accurate results. Work in small sections, trimming each curl individually as needed.
Popular DIY Haircut Techniques
Depending on what you want to achieve—just a clean-up, a straight-across cut, or layers—there are different techniques you can follow at home. Below are some of the most popular ones recommended by stylists:
1. Blunt Trim (Straight-Across Cut)
- Comb all hair straight down.
- Section into parts as described above.
- Trim each section, using your fingers as a guide for a straight edge.
2. U-Cut or V-Cut
- For a subtle U-shape, bring all hair to the front of your shoulders and trim the edges at an angle.
- For a V-shape, angle the sides slightly sharper, cutting longer on the outer sections.
3. DIY Dusting
- Take small sections of dried hair.
- Look for split ends poking out and snip them individually.
- This method maintains length but refreshes texture.
4. Ponytail Layer Method
Adapted for easy layers:
- Brush dry, smooth hair and flip your head upside down.
- Secure all hair into a tight ponytail at the front center of your hairline (near the forehead).
- Decide the length of your shortest layers and trim the tip of the ponytail straight across.
- Release the ponytail, shake out your hair, and check the shape. Point-cut for softer layers if desired.
Pro Tip Table: What to Do and What to Avoid
| Do | Don’t |
|---|---|
| Use sharp hair-cutting shears | Use dull or household scissors |
| Work in small, manageable sections | Trim large chunks at once |
| Cut less than you think initially | Get overzealous on the first snip |
| Keep hair detangled before each cut | Cut hair with knots or tangles |
| Use mirrors for back and sides | Rely on feel alone |
Aftercare: Finishing Touches For Best Results
- Use a shine spray or serum to smooth down flyaways and add a salon-fresh glimmer.
- Texturizing sprays can help layers fall naturally and disguise any minor unevenness.
- Brush and style as usual to see the final shape.
What If You Make a Mistake?
Even the most careful at-home haircutter can slip up. If you’ve taken off more than you intended, prioritize blunt ends over ragged ones (even if it means a slightly shorter look). In most cases, you should schedule a professional correction ASAP and avoid further attempts at home to prevent compounding errors.
Expert FAQs: Your Home Haircut Questions Answered
Q: Should I cut hair while it’s wet or dry?
For blunt cuts or straight-across trims, slightly damp hair is fine. If you have curly or textured hair, cut while dry and styled to best see the shape and minimize shrinkage surprises.
Q: How do I avoid uneven lengths?
Always cut less than you think you need to. Work in symmetrical sections and use a mirror to check progress with every step. If unsure, ask a friend for help with the back.
Q: What if my split ends keep coming back?
Frequent heat styling, dehydration, and harsh mechanical brushing can cause more splits. Use heat protectant, limit hot tools, and deep condition regularly. Trim splits as soon as they appear using dusting.
Q: Can I create layers at home?
Yes, using the ponytail method or by point-cutting the ends of each section, but subtle, long layers are safest for beginners. Overly ambitious layer attempts can lead to choppiness.
Q: Are there specific products to help post-cut?
Look for nourishing oils (like argan or castor), repairing serums, and smoothing sprays to keep ends healthy and polished between salon visits.
Summary: Who Should Cut Their Hair at Home?
Anyone confident with a steady hand, patience, and the right tools can attempt a basic haircut or trim at home—especially if you’re looking to keep up with minor maintenance. For dramatic changes, new styles, or precise layers, nothing beats the expertise of a professional stylist. If you’ve read through these tips and still feel hesitant, waiting for your next appointment is never the wrong choice.
- Minor trims and split-end dusting are safest for beginners.
- Extensive restyling should be left to the pros.
- When in doubt, treat split ends with deep conditioners and hair oils until you can visit the salon.
Quick Reference Checklist: At-Home Haircutting
- Invest in sharp, quality shears.
- Section hair carefully for control.
- Start small—err on the side of caution.
- Use a mirror for all angles.
- Finish with shine or texture spray for a professional finish.
Frequently Asked Questions (FAQs)
Q: Is it really necessary to buy special haircutting scissors?
Yes. Kitchen or craft scissors can damage the hair cuticle and lead to more split ends. High-quality hair shears deliver precise, clean cuts and protect hair health.
Q: How can I safely cut curly or coily hair?
Work with fully dried and styled curls. Cut curl by curl, focusing on the ends and keeping the natural pattern. This ensures better control and shape, avoiding uneven bounce.
Q: What’s the biggest mistake to avoid?
The most common DIY error is cutting too much at once. Always take off less than you think and cut in small increments.
Q: Can I fix a mistake right away?
If you make a minor error, point-cut to blend harsh lines. Avoid multiple corrections in one session—call a pro for major fixes.
Q: Will my hair grow back healthier after cutting?
Regular trims help prevent split ends from traveling up the shaft, leading to healthier hair over time. Pair trims with conditioning treatments for best results.
References
- https://www.cosmopolitan.com/style-beauty/beauty/a29858128/how-to-cut-your-own-hair/
- https://www.cosmopolitan.com/uk/beauty-hair/hair/a20987/how-to-cut-your-own-hair-video-beauty-lab/
- https://kreyolessence.com/blogs/press/cosmopolitan-how-to-trim-your-own-hair-at-home-in-2022-without-messing-it-up
- https://www.youtube.com/watch?v=uKL1Y6Dd9Z4