Classic Stitch Braids with Beads: The Ultimate How-To Guide
Stitch braids with beads are a visually stunning and protective hairstyle with deep roots in Black hair culture. This guide covers everything you need to transform your look, from prepping your natural hair to installing chic beads—and keeps your style looking fresh for weeks.
What Are Stitch Braids?
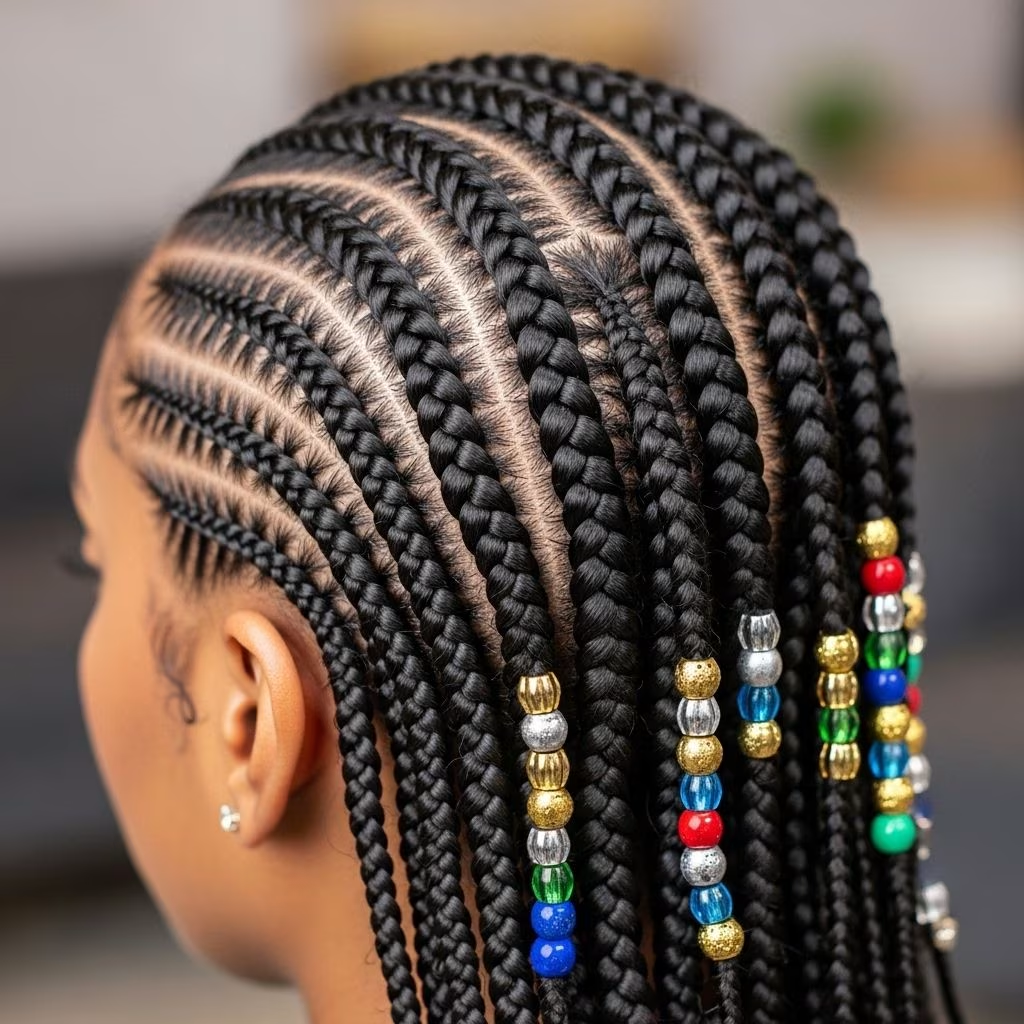
Stitch braids are a protective hairstyle featuring neatly parted horizontal sections braided close to the scalp. The look is defined by distinctive ‘stitch’ partings, with extension hair often incorporated for length and fullness. Adorning these braids with beads adds personality and flair to the final look.
- Origin: Rooted in African and Afro-diasporic traditions.
- Protective benefits: Helps shield natural hair from environmental damage and manipulation.
- Customizable: Can be worn in various thicknesses, lengths, and patterns, embellished with beads or accessories.
Why Are Stitch Braids So Popular?
Stitch braids with beads appeal for numerous reasons:
- Visual impact: Crisp, defined lines create an eye-catching pattern.
- Longevity: When properly cared for, stitch braids can last up to 6–8 weeks depending on hair type and maintenance.
- Versatility: Suitable for both everyday wear and special occasions.
- Low manipulation: They reduce daily styling stress on natural hair.
- Styling freedom: Finish with beads, rings, or colored string for a personalized statement.
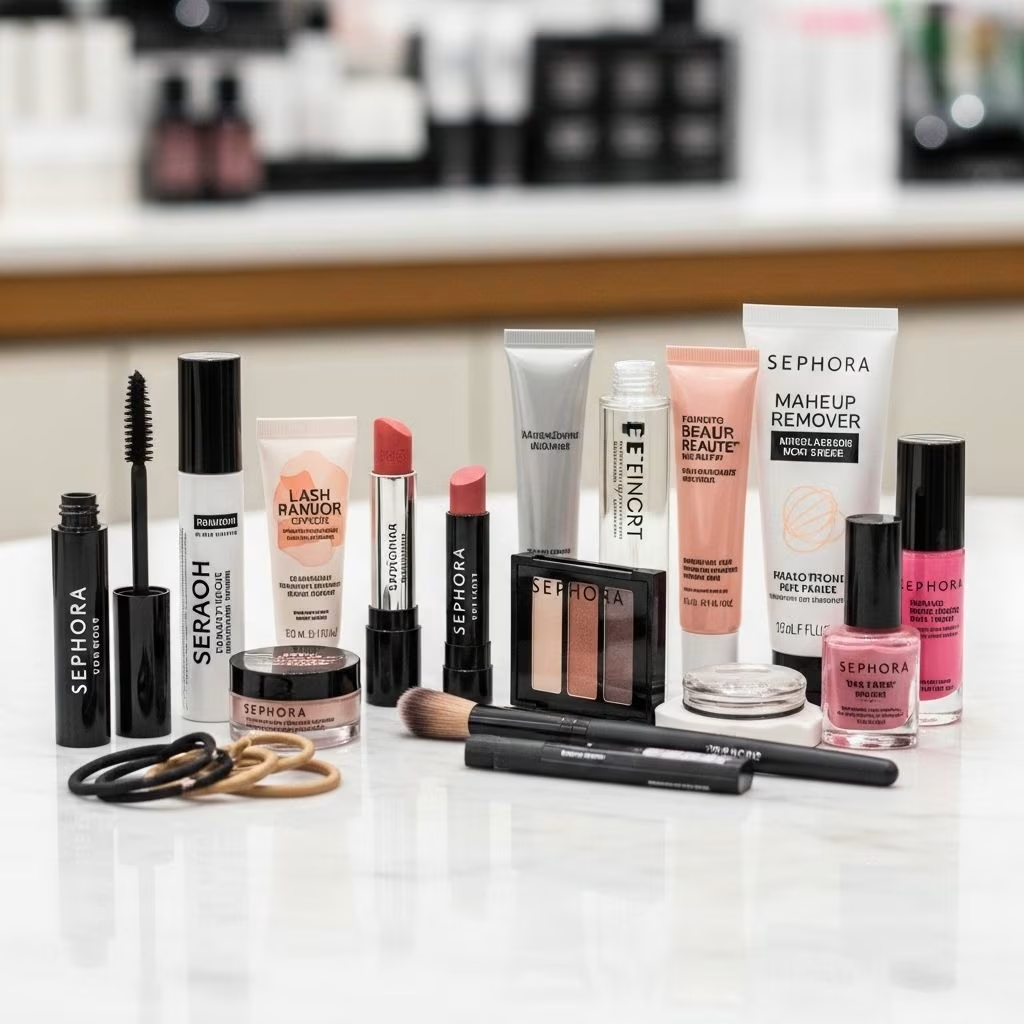
Tools & Products You’ll Need
- Tail comb (for precise parting)
- Edge control or hair gel (strong hold for sleek parts)
- Braiding hair extensions (if desired for length and fullness)
- Beads (variety of colors/sizes)
- Beading tool or small bobby pin (for threading beads)
- Elastic bands (optional, for sectioning or the rubber band method)
- Moisturizing leave-in conditioner or mousse
- Clips for sectioning
- Hair oil or scalp treatment
Tip: Select high-quality synthetic hair for a natural look and minimal tangling. Choose beads that won’t snag your strands.
Prepping Your Hair for Braiding
Proper prep ensures neat, long-lasting stitch braids.
- Wash and condition: Start on clean, detangled hair. Use a nourishing shampoo and hydrating conditioner.
- Moisturize: Apply a leave-in conditioner or lightweight hair oil to seal in moisture, focusing on the ends.
- Stretch if needed: For a sleeker look, stretch your hair with braids, twists, or gentle blow-drying. However, some prefer to braid on natural texture for fullness.
- Detangle: Use a wide-tooth comb or detangling brush to remove knots before sectioning.
Step-by-Step: How to Create Classic Stitch Braids with Beads
Technique 1: The Rubber Band Method
This approach uses elastic bands to neatly define and secure each stitch section before braiding.
- 1. Section your hair: Split freshly washed hair into equal parts using a tail comb. Aim for 6–8 horizontal sections for a classic look.
- 2. Apply edge control: Use strong-hold gel or wax on the roots of each part for a sleek base.
- 3. Part and secure: Divide each part into smaller horizontal rows. Tie an elastic band at the start of each horizontal section to hold the hair firmly in place.
- 4. Feed in hair extensions: Holding two sections at a time, feed in braiding hair and start cornrowing, incorporating your natural hair and extension together. Continue to braid, repeating the process for each row.
- 5. Finish with beads: Once you’ve braided to the ends, use a beading tool or bobby pin to insert beads onto the tips. Secure each bead with a knot or small elastic.
Technique 2: The Comb/Finger Stitch Method
This traditional method uses a tail comb or fingers to create visible ‘stitches.’
- 1. Section hair: Part the hair you want to braid using a tail comb.
- 2. Apply gel or wax: Slick down the roots with edge control for a neat finish.
- 3. Create horizontal stitches: With the pointed end of the comb (or your fingers), make small horizontal parts as you braid each row. This creates the signature ‘stitch’ look.
- 4. Feed in extensions: Add braiding hair gradually as you cornrow from the hairline to the nape, using soft tension for comfort.
- 5. Bead tips: Once braids are complete, adorn the ends with beads of your choice for a playful or elegant finish.
Styling Inspiration: Classic Stitch Braid Looks
Browse these stitch braid and bead styles for your next hair appointment or DIY session:
- Six straight-back braids with beads: A timeless, low-maintenance favorite for school or work.
- Freestyle partings: Try zig-zag or curved stitch partings for an edgy twist.
- Chunky short bob: Stitch braids stopped at chin-length with bold, colorful beads for a Y2K-inspired look.
- Ombre extensions: Incorporate two-toned or bright braiding hair for a pop of color.
- Mini cornrows with clear beads: Delicate, intricate, and statement-making.
Table: Stitch Braid Variations
| Braid Style | Bead Type | Ideal For | Longevity |
|---|---|---|---|
| 6–8 Straight backs | Large clear or wooden beads | Classic look, school or work | Up to 6 weeks |
| Freestyle stitch pattern | Colored beads | Trendy, bold statements | 4–6 weeks |
| Chunky bob-length | Ombre beads | Y2K aesthetics | 3–5 weeks |
| Mini-stitch braids | Gold accent beads | Delicate, intricate style | 4 weeks |
Pro Tips for Perfect Stitch Braids
- Use enough gel: A strong-hold edge control is key for crisp, long-lasting parts.
- Keep sections even: Symmetrical partings elevate the stitch effect.
- Work with tension: The braids should be snug but not painfully tight, which could cause breakage or irritation.
- Be gentle with beads: Secure beads with a knot or mini elastic, but avoid excessive force that could stress braid ends.
- Finish with mousse: Applying a foaming wrap mousse smooths flyaways and offers a polished look.
How to Maintain and Care for Your Stitch Braids
Keeping your stitch braids fresh and your scalp healthy is essential.
- Wear a silk or satin scarf/bonnet at night to reduce friction and keep your style sleek.
- Moisturize your scalp every 2–3 days with a light oil or leave-in spray to prevent dryness and flaking.
- Cleanse gently: Use a diluted shampoo or scalp cleanser to remove buildup once a week, massaging only the scalp to avoid frizz.
- Avoid heavy oils (which can cause beads to slip off) and products with alcohol.
- Refresh edges: Use edge control to lay baby hairs as needed.
- Remove beads carefully: Cut or undo the ends above the bead, unravel gently to minimize breakage, and detangle thoroughly before washing.
FAQs: Classic Stitch Braids with Beads
How long do stitch braids with beads typically last?
On average, stitch braids can last 4–8 weeks, depending on your hair type and care regimen. For coily type 4 hair, expect around 4–6 weeks. Looser curl patterns may stretch to 7–8 weeks.
*Maintenance is essential for long-lasting style.*
Do I need to straighten my hair before braiding?
No, straightening isn’t mandatory. You can work with your natural texture. However, stretching your hair (through blow-drying or banding) can help you achieve a sleeker finished braid.
What’s the difference between the rubber band and comb/finger methods?
The rubber band method uses elastic bands for neat, defined parts, making it ideal for beginners. The comb/finger method uses a tail comb or fingers to section hair as you braid, creating a more traditional stitch look with pronounced lines.
How can I prevent my natural hair from frizzing in stitch braids?
- Use a firm, non-flaking edge control for each part.
- Set your finished style with mousse and tie down with a scarf while drying.
- Protect at night with satin/silk and avoid excessive water exposure.
What products help keep stitch braids sleek?
- Edge control: For taming roots and flyaways.
- Foam mousse: For a smooth, set finish.
- Light oil: For scalp hydration without product buildup.
Are stitch braids suitable for kids?
Absolutely! They’re gentle on hair if not braided too tight, and beads add a playful touch that kids love. Always opt for lightweight beads and check weekly for tension or discomfort.
Pro-Approved Styling Ideas
For even more creative inspiration, try these fresh takes:
- Criss-cross parting: Overlap braid bases for complex, runway-ready effects.
- Mixed bead colors: Coordinate, contrast, or create ombre bead effects on each braid.
- Braided ponytails: Gather stitch braids into a high ponytail or bun, securing with a fabric scrunchie or decorative wrap.
- Hair jewelry: Add cowrie shells or gold cuffs alongside beads for extra glam.
Safety and Scalp Health
Stitch braids are protective, but maintaining scalp comfort is important:
- Do not braid too tightly—watch for scalp redness or bumps.
- Apply a soothing scalp oil (like tea tree or peppermint) if you experience itching.
- Let your hair breathe between installs to prevent tension alopecia.
- Encourage gentle removal—never yank out braids or beads.
Final Thoughts on Stitch Braids with Beads
Stitch braids with beads’ timeless appeal lies in both their visual power and their ability to protect natural hair. With the right prep, skill, and maintenance, you can wear this look for weeks while celebrating cultural identity and personal flair.
Frequently Asked Questions (FAQs)
Q: What are the best products for slicking parts and edges?
A: Strong-hold edge controls or gel (like those based on castor oil or shea butter) create crisp, lasting parts and smooth flyaways.
Q: Can I add beads to any braid style?
A: Yes. Beads can enhance most braids, but work especially well on classic stitch and box braids for their secure bases and neat finish.
Q: How do I avoid losing beads?
A: Secure beads at the end of each braid with a knot or tiny rubber band, ensuring the bead doesn’t slip off over time.
Q: Will my braids get frizzy after a week or two?
A: Some frizz is natural, especially as your hair grows and with friction. Using mousse and sleeping with a silk scarf will minimize frizziness for longer-lasting style.
Q: Are stitch braids protective?
A: Yes, when properly installed and maintained, stitch braids are an excellent protective style that supports hair health and length retention.
Ready for Your Next Braid Adventure?
Classic stitch braids with beads provide a brilliant canvas for both tradition and trend. Whether you opt for sleek straight-backs or playful, chunky beaded styles, the possibilities are as wide as your imagination. Gather your supplies, prep your hair, and create a show-stopping look that lasts!