Hair Dusting: The Secret to Healthier Hair Without Losing Length
If you’re determined to maintain long, luscious hair but struggle with split ends and breakage, hair dusting is the technique you need to know. A favorite among hair professionals and celebrities alike, hair dusting targets only the damaged tips—giving you smoother, healthier hair while preserving your hard-earned growth.
Whether you’re a regular at the salon or looking to DIY your hair maintenance, read on for an in-depth guide to everything you need to know about dusting, including expert advice, step-by-step instructions, and answers to common questions.
Contents
- What Is Hair Dusting?
- Benefits of Hair Dusting
- Is Hair Dusting Healthy for Hair?
- Who Should Try Hair Dusting?
- How to Dust Your Hair at Home
- Hair Dusting for Different Hair Types
- Professional Dusting vs. DIY Dusting
- Expert Tips for Best Results
- Frequently Asked Questions (FAQs)
What Is Hair Dusting?
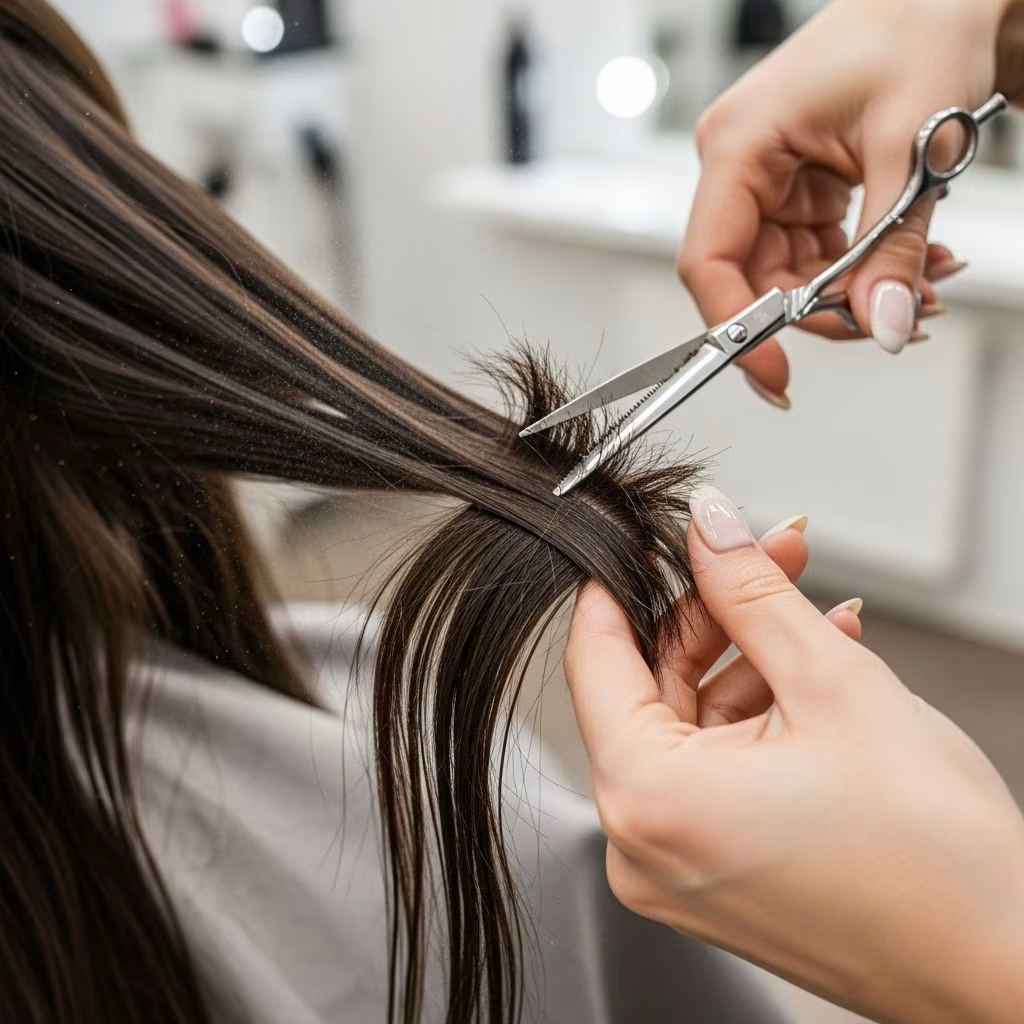
Hair dusting is a precise, minimal trimming method where only split ends and damaged tips are snipped off, strand by strand, without sacrificing overall length.
This is different from a traditional trim where you lose a noticeable amount of hair; with dusting, the removed hairs are so minute they look like dust on the stylist’s cape.
- Targets individual split ends along the shaft
- Leaves length virtually unchanged
- Removes damage before it can travel up the strand
As celebrity hairstylist Cash Lawless notes, split ends cause breakage that results in uneven lengths and can slow overall growth if not managed.
Benefits of Hair Dusting
- Preserves hair length: Only the tips are removed, so the overall length stays the same.
- Promotes stronger hair: Dusting prevents split ends from traveling up the hair shaft and causing more damage.
- Reduces breakage: Lower risk of breakage means fuller, more voluminous hair.
- Allows for healthier hair growth: By removing frayed ends, you maintain a healthy foundation for future growth.
- Improves appearance: Hair looks smoother, shinier, and less frizzy after dusting.
For those who are hesitant to sacrifice any length during trims, dusting offers a gentle, effective alternative.
Is Hair Dusting Healthy for Hair?
Absolutely—the purpose of hair dusting is to remove unhealthy, irreparable damage and reveal fresh, healthy-looking ends.
Healthy ends minimize the likelihood of breakage and allow you to use heat, bleach, or chemical treatments more safely (with appropriate aftercare). What’s not healthy? Ignoring split ends until they worsen.
- Split ends do not repair themselves; they must be trimmed.
- Leaving split ends untreated can result in shorter, more uneven strands from breakage.
- Combining dusting with regular deep conditioning and protective styling further improves hair health.
Who Should Try Hair Dusting?
Ideal candidates for hair dusting:
- Anyone growing out their hair and wants to retain maximum length
- Individuals with visible split ends or damage but not ready for a major cut
- Those with fine, fragile, or processed hair prone to breakage
- Anyone who regularly styles with heat or undergoes coloring treatments
- People with curly, wavy, or straight hair experiencing frizz from damaged ends
Dusting is also recommended for the “indecisive girl”—the one who regrets short cuts and is desperately growing out her style without wanting frequent trims.
How to Dust Your Hair at Home
If you prefer a hands-on approach or can’t make it to the salon, dusting can be safely done at home with patience and attention to detail.
- Use sharp, professional hair-cutting scissors—never kitchen or craft scissors.
- Work in small, manageable sections for best visibility.
- Follow these steps for straight, wavy, or curly hair (see below for textural differences).
Step-by-Step Guide: Hair Dusting
- Start with clean, dry hair: Smooth and straighten your hair if possible; flyaways and split ends are easier to see.
- Section your hair: Divide into 4 vertical sections at the back (nape to crown) and smaller sections at the front for detailed work.
- Isolate damaged ends: For straight hair, pull each section flat between index and middle finger; damaged ends will stick out.
- For curly/wavy hair: Twist the section tightly and trim hairs that poke out—these are likely the split or broken ends.
- Snip carefully: Only the ends that look frayed, split, or dry; avoid cutting new growth or healthy hairs.
- Repeat as needed: Move section by section until all damage is removed.
| Step | Straight Hair | Curly/Wavy Hair |
|---|---|---|
| Preparation | Dry, smooth, sectioned | Dry, detangled, twist sections |
| Identify Damage | Pull strands flat, reveal ends | Twist strands, snip protruding ends |
| Cutting | Cut only dust-like clippings | Cut visible split/damaged hairs |
Hair Dusting for Different Hair Types
Straight Hair
- Best done on dry, smooth hair to spot frayed, uneven ends.
- Use fingers to pull each section taut and trim visible tips.
Curly and Wavy Hair
- Twist each section to reveal damaged, broken or split ends poking out.
- Trim sparingly; not all stray hairs are split ends—some are healthy new growth.
Textured or Coily Hair
- Section thoroughly and detangle before dusting.
- Dust more frequently due to increased risk of split ends from dryness and styling.
Professional Dusting vs. DIY Dusting
| Aspect | Professional Dusting | DIY Dusting |
|---|---|---|
| Precision | Expert hands, highly precise | Requires patience, less precise |
| Time Required | Can be lengthy in salon | Flexible to your schedule |
| Tools | Professional scissors, combs | Good-quality shears a must |
| Risk | Low (if done by expert) | Higher if rushed or using wrong tools |
If you’re hesitant, seeing a professional is best, especially for your first dusting. Over time, with experience, DIY dusting can be an effective strategy for ongoing maintenance.
Expert Tips for Best Results
- Schedule dusting every 4–8 weeks to keep ends healthy, especially if you’re growing your hair.
- Don’t skip deep conditioning—in combination with dusting, this builds hair strength.
- Avoid dusting hair that’s recently colored or chemically treated until it’s fully recovered.
- Never ‘dust’ wet hair—split ends are less visible and risk of uneven trims increases.
- If unsure, only trim the most obvious damage and consult a professional for difficult texture.
Frequently Asked Questions (FAQs)
Q: Does hair dusting replace regular trims?
A: No, dusting helps maintain health between trims but you’ll still need an occasional full haircut to keep shape, especially for short styles.
Q: Will dusting make my hair grow faster?
A: While dusting doesn’t speed up hair growth, it prevents breakage and allows you to maintain length more effectively.
Q: How often should I dust my hair?
A: Most experts recommend every 4–8 weeks, or as soon as you spot split ends.
Q: Can I dust my hair if it’s curly or coily?
A: Yes, but adjust your technique by twisting sections and trimming protruding tips; consider more frequent dusting to handle increased split ends.
Q: Is hair dusting safe to DIY?
A: If you use proper scissors and follow directions, yes; beginners should go slow and focus on visible damage until confident in technique.
Conclusion: Why Hair Dusting Is Worth Trying
Hair dusting has become a trusted method among professionals and DIYers for one simple reason: it preserves length while ensuring maximum health for your hair. By regularly targeting and removing only split ends and damaged tips, dusting helps you avoid the dreaded ‘big chop’ and enjoy your healthiest, glossiest hair yet.
Ready to try dusting? Gather your tools, study your strands, and enjoy a no-compromise approach to hair care.
References
- https://www.cosmopolitanme.com/beauty/1835-hair-dusting-means-youll-never-have-to-lose-your-length-again
- https://scissortec.com/blogs/news/dusting-what-is-it-and-how-does-it-work
- https://www.cosmopolitan.com/style-beauty/beauty/a38887570/hair-dusting/
- https://www.cosmopolitan.com/uk/beauty-hair/hair/a46659034/how-to-get-rid-prevent-split-ends/
- https://www.refinery29.com/en-us/hair-dusting-healthy-hair-technique