How to Safely Remove Eyelash Extensions at Home
Eyelash extensions enhance your overall look and minimize time spent on daily makeup. But when they’re ready to come off, knowing the safest way to remove them at home is crucial to avoid lash damage or irritation. This comprehensive guide walks you through expert-approved methods, cautions, and essential aftercare for removing eyelash extensions on your own.
Why You Should Avoid Picking or Pulling Extensions
One of the most critical rules: Never pick or pull out eyelash extensions. Doing so risks pulling out your natural lashes, disrupting the lash growth cycle and causing lasting damage to hair follicles. Always follow gentle removal techniques to preserve the health and fullness of your natural lashes.
The Professional vs. At-Home Removal Debate
- Professional removal: Performed by certified lash technicians, this guarantees safe removal with minimal risk of irritation or damage.
Pros: Quick, comfortable, and safest for eyes and natural lashes.
Cons: Requires a salon appointment; may be costly. - At-home removal: Possible using the right products and methods.
Pros: Convenient and cost-effective if performed carefully.
Cons: Higher risk if done improperly; patience and precision are necessary.
Ultimately, experts recommend seeing a professional whenever possible, but at-home removal can be safe if you follow instructions and use suitable products.
Essential Preparation for Lash Extension Removal
- Clean your eye area: Start with a thorough cleanse to remove oil, makeup, and debris from your lashes and lids.
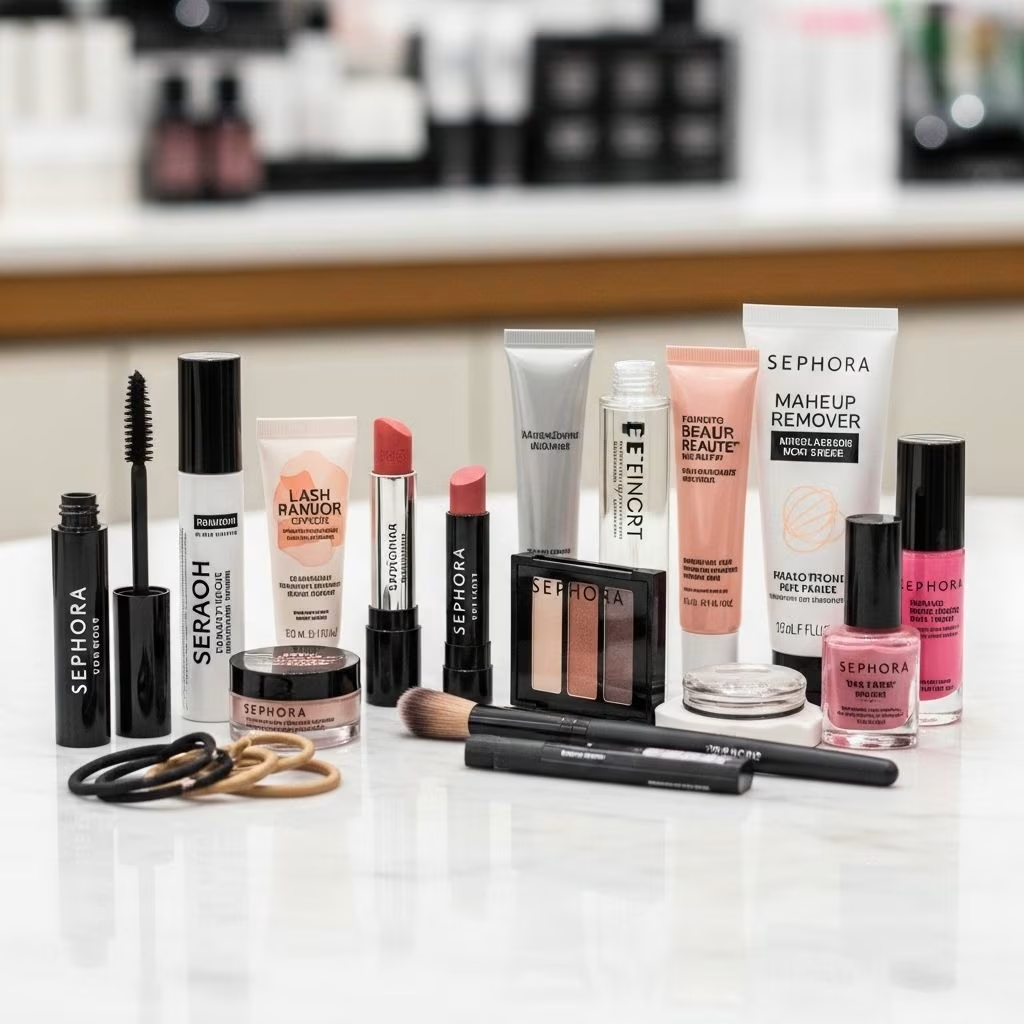
- Gather supplies:
- Oil-based remover or coconut/castor oil
- Soft cotton pads
- Clean tweezers (for gentle extension handling)
- Mirror and gentle lighting
- Wash your hands: Always work with freshly washed hands to minimize the risk of eye irritation or infection.
Step-by-Step: How To Remove Lash Extensions Safely
Step 1: Soften the Lash Adhesive
The key to safe removal is gently dissolving the lash glue. Lash adhesives are designed to be long-lasting and water- or oil-resistant, so direct soaking is necessary.
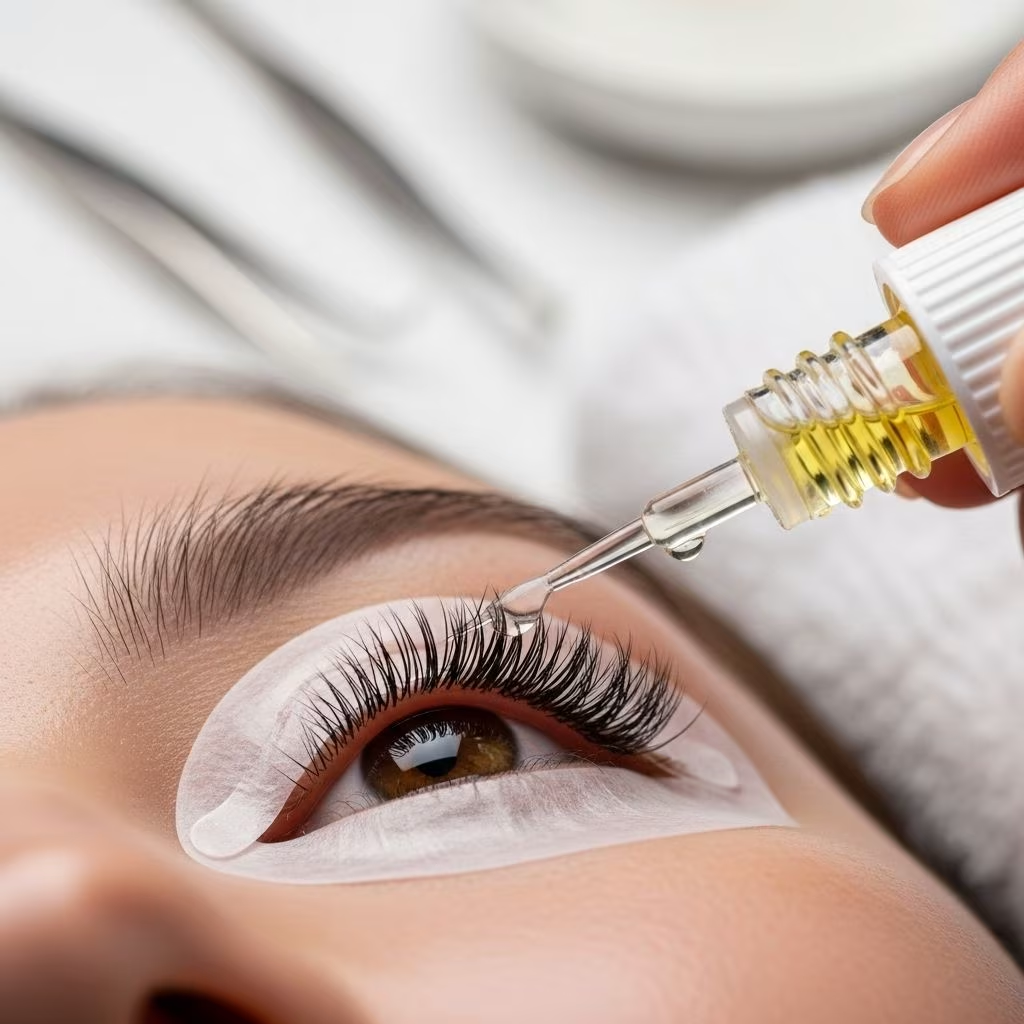
- Choose an oil-based makeup remover or a natural oil (coconut, castor, baby oil).
- Warm a small amount of oil between your fingers.
Tip: Coconut oil is especially nourishing and effective at dissolving glue while moisturizing natural lashes. - Soak a cotton pad in the chosen oil or remover, and gently press it to your closed lash line—hold for 2-5 minutes to let the oil penetrate and break down the adhesive.
Step 2: Loosen and Remove Extensions
- After soaking, gently sweep the cotton pad downward over your lashes. Extensions that are loosened may slip off easily.
- If some remain, use a clean tweezer to softly grasp individual extensions at their base, nearest the lash line.
- Never force or yank out lashes. If resistance is felt, reapply oil and wait another few minutes.
- Repeat the soaking and gentle sweeping process until all extensions are removed. This may take several tries spread over a few days for best results.
Step 3: Cleanse and Soothe Lashes
- Wash your eyes gently with a mild cleanser or lash shampoo to remove any oily residue and lingering adhesive.
- Pat the area dry—don’t rub!
- Apply a nourishing lash serum or natural oil (castor/coconut oil) to encourage healing and growth.
Step 4: Practice Lash TLC
- For the next few days, avoid mascara and lash curlers.
- Keep the eye area hydrated and skip eye makeup if possible to allow natural lashes to recover.
Common Methods for At-Home Lash Extension Removal
| Method | How It Works | Advantages | Precautions |
|---|---|---|---|
| Oil-Based Makeup Remover | Dissolves lash glue with oil and makeup-dissolving compounds | Easy, gentle, widely available | Avoid direct eye contact, repeated use may be needed |
| Coconut Oil | Soothes and nourishes while softening adhesive | Naturally moisturizing, safe for lashes | May not work on very strong glue, multiple applications may be needed |
| Castor Oil | Softens glue and promotes natural lash health | Popular for nightly lash treatments | Slow-acting, ensure purity to avoid irritation |
| Professional Remover | Specially formulated for lash adhesives | Strongest, safest (when used by pros) | Not recommended for self-use (may irritate eyes) |
What to Avoid When Removing Eyelash Extensions
- Don’t use steam: Despite old beauty lore, steaming isn’t effective for modern professional-grade adhesives, and may risk burns or irritation.
- Don’t use harsh chemicals or stripping agents: Acetone, alcohol, and non-cosmetic solvents can damage skin and eyes.
- Don’t force the process: If extensions won’t come off easily, be patient and repeat gentle oil application over several days.
- Don’t tug, pull, or rub excessively: This can break natural lashes or damage follicles.
Expert Tips for Speeding Up Lash Extension Shedding
- Use oil-based products: Makeup removers, cleansers, and moisturizers with natural oils will breakdown adhesive faster.
- Avoid waterproof makeup: These formulas can harden the adhesive and make removal more difficult.
- Take warm showers: Warm (not hot) water may help loosen glue, but don’t rely on steam as a primary method.
- Be patient: At-home removal may require several rounds of oil treatment and gentle wiping to fully shed all extensions.
Nourishing Natural Lashes Post-Removal
- Apply lash serum: Strengthens and hydrates natural lashes to promote recovery.
- Massage natural oils: Use coconut or castor oil nightly for shine, strength, and growth.
- Let lashes rest: Skip new extensions or heavy makeup for at least a week post-removal.
Frequently Asked Questions (FAQs) About Eyelash Extension Removal
Q: Is it safe to remove eyelash extensions at home?
A: Yes, if you use oil-based removers and gentle techniques. However, professional removal is always safest for preventing natural lash damage and irritation.
Q: Can I just use regular makeup remover?
A: Only oil-based makeup removers are effective against lash adhesive. Water-based removers won’t break down the glue, and harsh formulas can irritate your eyes.
Q: How long does it take for extensions to naturally shed?
A: Lash extensions typically shed over 4-8 weeks as your natural lash cycle continues. Using oil-based products can help speed up this process.
Q: Will I lose my natural lashes if I remove extensions?
A: When removed cautiously, your natural lashes will remain intact. Picking, pulling, or harsh removal causes loss and sometimes permanent damage.
Q: What’s the best oil for removing eyelash extensions?
A: Coconut oil is most recommended thanks to its moisturizing properties and adhesive-breaking ability. Castor oil is also effective and promotes healthy regrowth.
Q: What aftercare should I follow?
A: Cleanse gently, nourish with serum or oil, avoid eye makeup for several days, and let natural lashes recover before your next appointment.
Quick Dos and Don’ts for Lash Extension Removal
- Do: Use oil-based products, soak gently, remove extensions patiently, follow up with lash aftercare.
- Don’t: Pick, pull, rub harshly, use chemical solvents, rush the process, ignore lash health.
Summary: How to Remove Lash Extensions At Home
Removing eyelash extensions at home doesn’t have to be daunting. The safest, most effective approach relies on oil-based removers, coconut or castor oil, patient soaking, and gentle technical handling. Never pick at lashes, rush the process, or use harsh chemicals. Once extensions are removed, care for your natural lashes with nourishing treatments and allow a rest period before considering new extensions. For those who need expert help or clarification, don’t hesitate to consult a professional lash artist for guidance.
References
- https://cameocollege.com/safely-remove-eyelash-extensions-at-home-a-guide/
- https://www.beautycoursesonline.com.au/blog/how-to-remove-eyelash-extensions/
- https://nouveaulashes.com/eyelash-treatment-aftercare/remove-eyelash-extensions
- https://www.youtube.com/watch?v=hsh53y5KpbA
- https://www.youtube.com/watch?v=ewW58ydbDe4
- https://www.ipsy.com/blog/how-to-remove-eyelash-extensions