


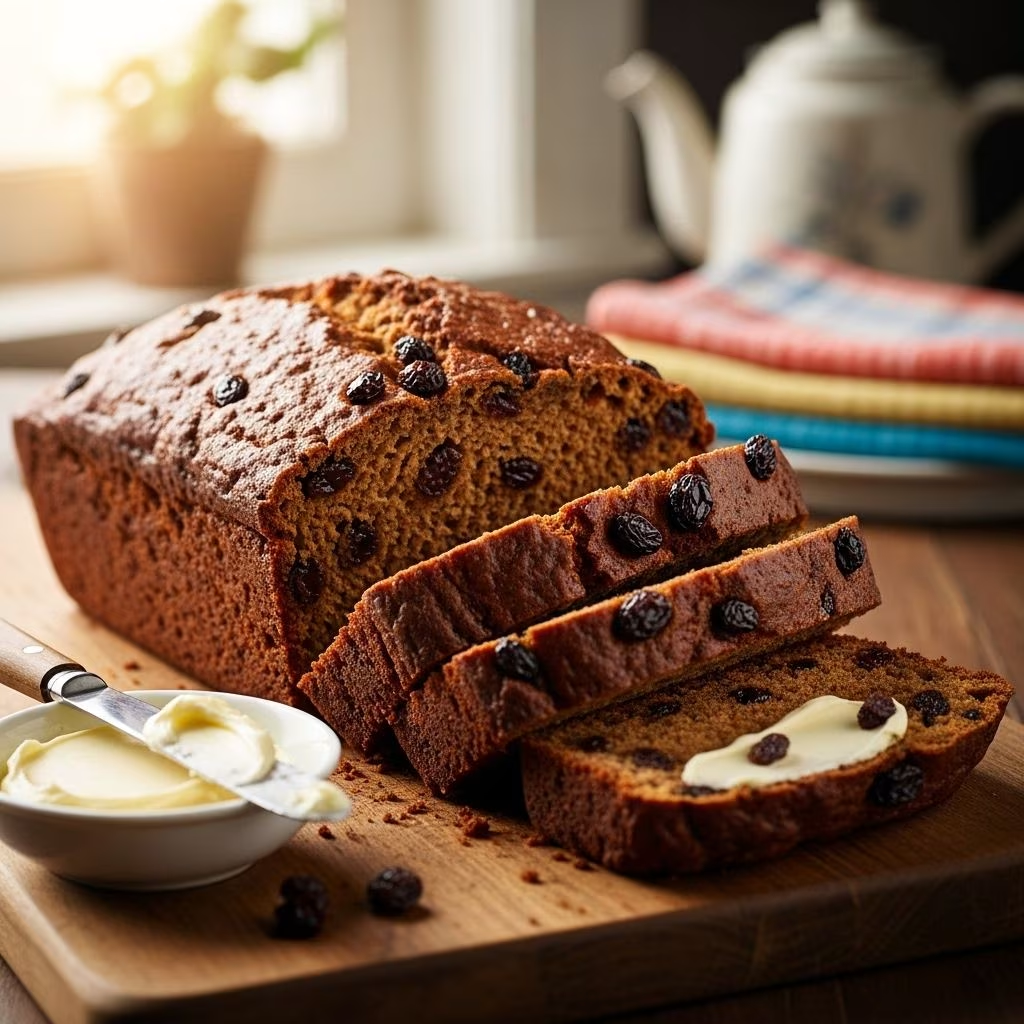
Gluten-Free Boston Brown Bread: A Classic With a Modern Twist
Boston brown bread, a time-honored staple of New England cuisine, is renowned for its deep molasses flavor, signature steamed preparation, and hearty whole grain profile. Traditionally made with wheat, rye, and cornmeal, making a satisfying gluten-free version can be challenging. This detailed guide will help you bake gluten-free Boston brown bread at home that remains true to classic taste and texture—moist, tender, and bursting with rich, earthy flavors.
Why Boston Brown Bread?
This beloved bread has roots tracing back to colonial New England, where home cooks made the most of local grains and minimal resources. Its telltale dark color and sweet undertones come from molasses, while cornmeal and rye (here substituted with gluten-free alternatives) deliver texture and taste. Usually cooked by steaming in a can or pudding mold, it’s the perfect complement to a hearty supper of baked beans or ham.
Can Boston Brown Bread Really Be Gluten-Free?
Absolutely! Although Boston brown bread relies on gluten-containing grains such as wheat and rye, thoughtful selection of gluten-free flours and binders can closely replicate the original. The trick is blending gluten-free whole grain flours and starches to achieve the right crumb, chew, and density—a challenge this recipe fully addresses.
- Innovative Flour Blends: Sorghum flour, brown rice flour, and gluten-free oat flour combine for robust flavor and body.
- Binding Power: Psyllium husk, brown sugar, and molasses help with moisture and structural integrity.
- Classic Preparation: The bread is steamed, not baked, preserving the authentic, moist texture.
Understanding the Traditional Ingredients and Their Gluten-Free Swaps
Let’s break down the core components of Boston brown bread and how to adapt them:
| Traditional Ingredient | Gluten-Free Replacement | Purpose |
|---|---|---|
| Whole-wheat Flour | Sorghum Flour | Earthy flavor, bulk |
| Rye Flour | Oat Flour (gluten-free) | Hearty, savory notes |
| Cornmeal | Cornmeal (unchanged) | Texture, slight crunch |
| Molasses | Molasses (unchanged) | Signature sweetness, color |
| Buttermilk | Dairy or non-dairy buttermilk | Tang, moisture |
| Baking Soda | Baking Soda (unchanged) | Leavening |
| Salt | Salt (unchanged) | Flavor enhancer |
| Raisins | Raisins or currants | Pops of sweetness |
Essential Equipment for Steaming Boston Brown Bread
One of the most distinct techniques for Boston brown bread is its steaming method. Here’s what you’ll need:
- Pudding Mold or Coffee Cans: Classic breads are made in cleaned coffee cans; any tall, heat-safe mold or loaf pan will do.
- Large Pot with Lid: The bread mold must fit inside, with enough space for water below to steam without touching the batter.
- Rack or Trivet: To keep the mold off the bottom of the pot and prevent scorching.
- Foil and Kitchen Twine: Used to tightly seal the mold, keeping out condensation.
Gluten-Free Boston Brown Bread Recipe
This recipe yields a classic Boston brown bread that’s naturally gluten-free, soft, sliceable, and flavorful.
Ingredients
- 3/4 cup (90g) gluten-free oat flour
- 3/4 cup (90g) sorghum flour
- 1/2 cup (80g) cornmeal (medium- or coarsely-ground)
- 1/4 cup (35g) brown rice flour
- 1/4 cup (30g) potato starch or tapioca starch
- 1 tbsp (8g) psyllium husk powder
- 1 1/2 tsp baking soda
- 1/2 tsp kosher salt
- 3/4 cup (180ml) dairy or non-dairy buttermilk*
- 2/3 cup (160ml) unsulphured molasses
- 1/3 cup (67g) light brown sugar
- 1/3 cup (50g) raisins or currants
- 2 tbsp (28g) melted unsalted butter or vegan alternative
*To make a non-dairy buttermilk, mix 3/4 cup unsweetened non-dairy milk with 2 tsp lemon juice or apple cider vinegar and let sit for 3–5 minutes.
Step-by-Step Directions
1. Prepare the Steaming Setup
- Grease your mold or coffee can with butter or nonstick spray. Line the bottom with parchment if desired.
- Fill a large stockpot with enough water to come an inch or two up the side of your bread mold—but not so high it risks bubbling into the bread. Place a rack, canning ring, or steamer basket on the bottom.
- Start heating water to a boil, then reduce to a simmer.
2. Mix the Dry Ingredients
- In a large bowl, whisk together oat flour, sorghum flour, cornmeal, brown rice flour, starch, psyllium husk, baking soda, and salt. Ensure the mixture is well blended.
3. Combine the Wet Ingredients
- In a separate bowl, whisk together buttermilk, molasses, brown sugar, and melted butter until smooth.
4. Make the Batter
- Pour the wet ingredients into the dry. Stir with a spatula or wooden spoon just until combined (overmixing will make the batter dense).
- Fold in raisins or currants.
5. Fill the Mold and Steam
- Spoon batter into the prepared mold, filling about 2/3 full (it will rise).
- Cover tightly with foil or the mold’s lid. Secure with kitchen twine if needed to ensure a tight seal.
- Set the mold in the pot on the rack. Cover the pot with a tight-fitting lid.
- Steam gently for 2 hours, checking the water level occasionally and adding more boiling water as necessary to maintain level.
6. Cool and Serve
- Remove the mold from the pot. Let cool for 10–15 minutes before carefully unmolding—the bread will be moist and delicate at first.
- Slice and serve warm, ideally with butter, cream cheese, or as a sweet-salty side to baked beans.
Expert Tips for Success
- Moisture is Key: Gluten-free flours can absorb more liquid; don’t be alarmed if your batter appears wetter than conventional quick breads.
- Seal Tightly: To prevent water from seeping into the bread, ensure the mold’s foil or lid is well-sealed.
- No Pudding Mold? No Problem: Use cleaned coffee cans, mini-loaf pans (must fit in your steamer), or metal mixing bowls.
- Check Doneness: A skewer inserted in the center should come out mostly clean, though the crumb will be quite moist.
- Flavor Variations: Add orange zest, chopped nuts, or switch raisins for dried cranberries for a twist.
Classic Pairings and Serving Suggestions
Boston brown bread’s subtly sweet, malty flavor makes it a wonderful companion for various dishes. Consider these classic serving ideas:
- With New England Baked Beans: The definitive pairing; serve in thick slices alongside a bowl of slow-cooked beans.
- Warm With Butter or Cream Cheese: Its dense softness absorbs spreads beautifully.
- As a Breakfast Bread: Toast and top with honey, nut butters, or jam.
- Savory Sandwiches: Use for mini open-faced sandwiches with ham or cheese.
Storing and Freezing Gluten-Free Boston Brown Bread
Gluten-free breads have a shorter shelf life, but brown bread keeps well when handled properly:
- Room Temperature: Wrap tightly in plastic or foil; keep for up to 2 days.
- Refrigeration: Store in an airtight container for 4–5 days. Best served warmed after refrigeration.
- Freezing: Slice and freeze portions individually, wrapping them in plastic and then foil. Thaw at room temperature, then reheat.
Troubleshooting Common Issues
- Bread is Gummy or Dense: Ensure accurate measurements, do not overmix, and confirm doneness by steaming for the full recommended time.
- Crumbly Texture: Psyllium husk and proper hydration help with binding; increase slightly if necessary.
- Bread Didn’t Rise: Use fresh baking soda, ensure the batter is not overmixed, and start steaming as soon as the batter is ready.
Nutrition and Health Benefits
Boston brown bread carries the benefit of being whole grain and relatively low in fat. Making it gluten-free allows those with celiac or gluten sensitivities to enjoy this tradition without compromise. Oat, rice, and sorghum flours supply fiber, while molasses contributes iron and other minerals.
- Dietary-Friendly: Dairy-free, vegan alternatives work well in this recipe.
- Allergen Notes: Ensure oat flour is certified gluten-free for those with celiac disease. Substitute raisins with dried fruit or omit if desired.
Frequently Asked Questions (FAQs)
Q: Can I substitute other flours in this recipe?
A: Yes. You can experiment with millet or teff flour for slightly different flavors and textures, though sticking closely to this blend yields the most classic result.
Q: Is there a way to bake Boston brown bread instead of steaming?
A: While steaming gives the characteristic moistness, you can bake in a covered loaf pan at 325°F (163°C) for 45–55 minutes, though the texture will be a bit less pudding-like.
Q: Can I make this bread vegan?
A: Absolutely! Use non-dairy buttermilk and melted vegan butter or coconut oil. The results remain rich and satisfying.
Q: Why does my brown bread taste bitter?
A: Using blackstrap molasses can make the bread bitter. Opt for unsulphured light or dark molasses for a balanced, sweet flavor.
Q: Can I skip the raisins?
A: Yes! While raisins or currants are traditional, the recipe works perfectly well without them if preferred.
Conclusion: Bringing Tradition to Modern Tables
Baking gluten-free Boston brown bread at home connects you to a rich culinary history—one that’s adaptable to modern diets without sacrificing flavor or authenticity. Try this recipe as the centerpiece of a New England-style meal or as a wholesome treat anytime. Steaming bread at home may seem unusual, but it ensures the uniquely moist, supple crumb that makes Boston brown bread so beloved.
With the right blend of gluten-free flours, careful preparation, and steaming, you can bring the signature flavors of this New England favorite to your own kitchen, ready to share and savor with everyone, gluten-free or not.


