


The Ultimate Guide to Making Kentucky Bourbon Balls
Bourbon balls are treats sent straight from heaven… or Kentucky. One of the two! These festive Christmas candies are rich, decadent, and feel a little special – maybe because they’re exclusively for grown-ups. Unlike many holiday treats, bourbon balls are extremely easy to make because they require zero cooking other than toasting the walnuts. They’re bound together by vanilla wafers and made in a food processor, making them one of the most accessible holiday confections you can create.
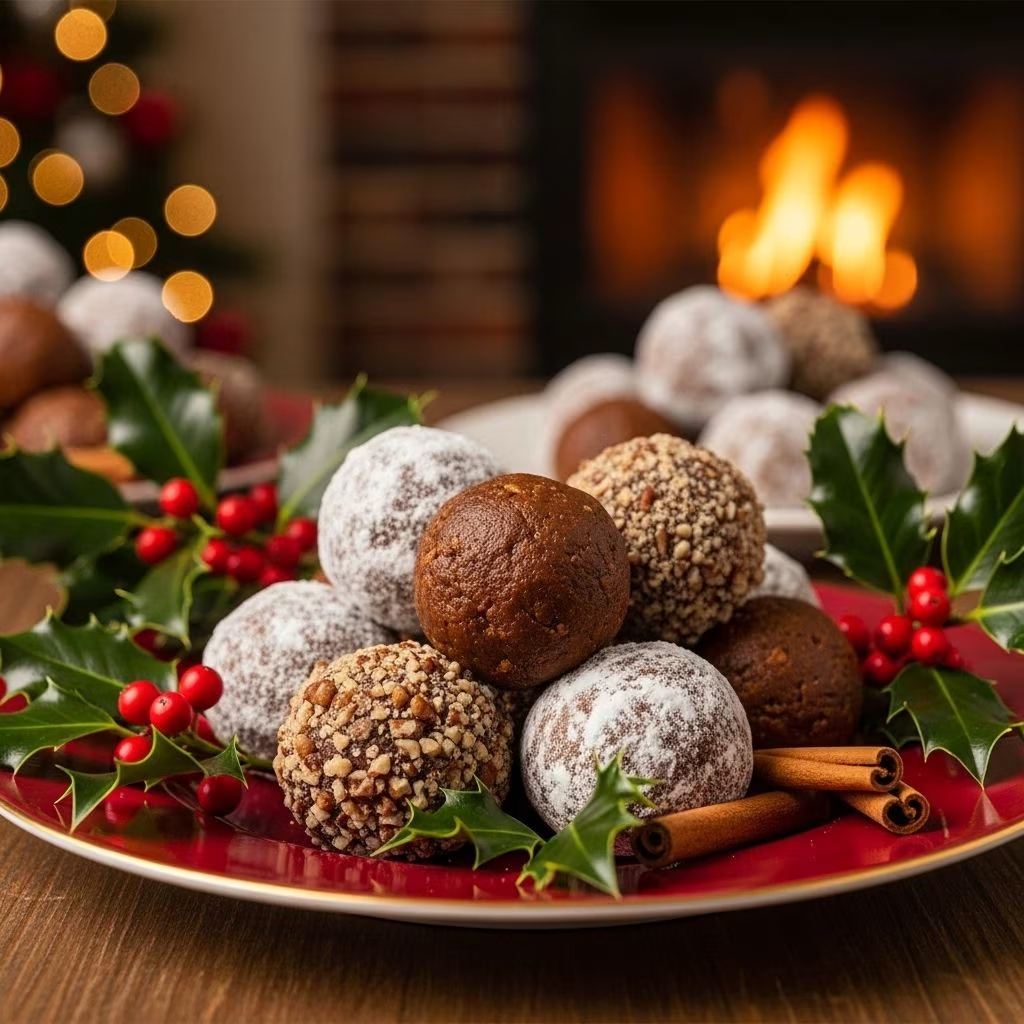
The best part about bourbon balls is their versatility in presentation. You can roll them in cocoa powder, powdered sugar, chopped nuts, or colorful Christmas sprinkles, depending on your preference. Many bakers love creating a variety of coatings and packing them together in little tins for sweet homemade Christmas gifts that friends and family will treasure.
What Are Bourbon Balls?
Bourbon balls are little chocolate treats, similar to truffles but with a distinctive bourbon twist that sets them apart from other confections. These delightful candies were invented in Frankfort, Kentucky, in 1938 by the Rebecca Ruth Candy Company, and they’ve since become a beloved hit throughout Kentucky and far beyond its borders.
The beauty of bourbon balls lies in their simplicity and the way they capture the essence of Kentucky’s most famous spirit. Unlike traditional truffles that often require tempering chocolate or complex techniques, bourbon balls rely on the natural binding properties of crushed cookies and the moisture from bourbon to create their signature texture.
You’ll find different versions of bourbon balls across various regions and bakeries. Some recipes feature pecans instead of walnuts, while others are dipped in chocolate rather than rolled in dry coatings. The version we’re exploring today is particularly appealing because it’s simple, requires no special equipment beyond a food processor, and can be completed in just 20 minutes.
Essential Ingredients for Perfect Bourbon Balls
Creating exceptional bourbon balls starts with selecting quality ingredients. Each component plays a crucial role in developing the final flavor and texture profile that makes these treats so irresistible.
The Foundation: Vanilla Wafers and Walnuts
The base of our bourbon balls consists of an 11-ounce box of vanilla wafers combined with one cup of toasted walnuts. The vanilla wafers provide structure and a subtle sweetness that complements the bourbon, while the walnuts add richness and texture. Toasting the walnuts is crucial as it intensifies their flavor and creates a more complex taste profile.
Sweetening and Flavoring Elements
One cup of powdered sugar serves as the primary sweetener, while half a teaspoon of kosher salt enhances all the other flavors. The liquid components include half a cup of bourbon, two tablespoons of maple syrup, and one teaspoon of vanilla bean paste. These ingredients work together to create moisture, binding, and the signature flavor that makes bourbon balls so distinctive.
Coating Options
The beauty of bourbon balls lies in their customizable coatings. You can choose from unsweetened cocoa powder for a rich chocolate finish, powdered sugar for elegance, nonpareils for festive color, chopped toasted walnuts for extra texture, or chopped pistachios for a unique twist. Having multiple coating options allows you to create variety in a single batch.
How to Toast Walnuts for Maximum Flavor
Toasting walnuts is a simple but critical step that dramatically improves the final taste of your bourbon balls. Properly toasted nuts develop deeper, more complex flavors that complement the bourbon beautifully.
Oven Toasting Method
To toast nuts in the oven, preheat your oven to 350 degrees Fahrenheit. Spread the walnuts in a single layer on a baking sheet, ensuring they’re not overlapping. Toast the walnuts for six to eight minutes, watching carefully as they darken slightly in color and develop a nutty aroma. The key is to remove them just as they become fragrant – over-toasted nuts can become bitter.
Stovetop Toasting Alternative
For more control over the toasting process, you can use the stovetop method. Add the nuts to a dry skillet and toast over medium heat, shaking the pan or stirring frequently for about five minutes. This method allows you to monitor the nuts more closely and achieve even browning.
Step-by-Step Bourbon Balls Recipe
Preparation Phase
Begin by gathering all your ingredients and ensuring your food processor is clean and dry. Line a baking sheet with parchment paper and prepare your coating bowls – you’ll want separate small bowls for each coating option you plan to use.
Creating the Base Mixture
In your food processor, combine the vanilla wafers and toasted walnuts. Process for 15 to 20 seconds until the mixture is finely ground but not powdery. The texture should be similar to coarse breadcrumbs with some small nut pieces remaining for texture.
Add the powdered sugar and kosher salt to the processor and pulse a few times to combine evenly. Transfer this dry mixture to a large mixing bowl, giving you more room to incorporate the wet ingredients properly.
Incorporating Wet Ingredients
Using a rubber spatula, mix in the bourbon, maple syrup, and vanilla bean paste until the mixture is well combined and holds together when pressed. The consistency should be moist enough to form balls but not so wet that they won’t hold their shape.
Shaping the Bourbon Balls
Using a 1-tablespoon scoop for consistency, portion the mixture and roll it between your palms to create smooth 1-inch balls. This step requires gentle pressure – too much force can make the balls dense, while too little won’t achieve the proper spherical shape.
Applying Coatings
Place your desired coatings in separate shallow bowls. Roll each bourbon ball thoroughly in your chosen coating, ensuring complete coverage. Return the coated balls to the parchment-lined baking sheet, spacing them so they don’t touch.
Storage and Serving Recommendations
Bourbon balls can be served immediately after coating, but they benefit from a brief chilling period that helps them firm up and allows the flavors to meld. For optimal texture and taste, cover and refrigerate the bourbon balls for at least 30 minutes before serving.
Short-Term Storage
Fresh bourbon balls will keep in an airtight container in the refrigerator for up to five days. The cool temperature helps maintain their shape and prevents the bourbon from making them too soft.
Long-Term Storage Options
For longer storage, bourbon balls freeze exceptionally well. Place them in an airtight container or freezer bag and store in the freezer for up to three months. When ready to serve, simply thaw them in the refrigerator for a few hours.
Variations and Customization Ideas
Nut Variations
While walnuts are traditional, pecans make an excellent substitute and are actually more common in some Southern variations. Almonds or hazelnuts can also work, though they’ll create a different flavor profile.
Cookie Base Alternatives
Though vanilla wafers are classic, you can experiment with other cookies. Graham crackers, gingersnaps, or even chocolate wafers can create interesting variations on the traditional recipe.
Bourbon Selection
The type of bourbon you choose will significantly impact the final flavor. A good-quality bourbon with notes that complement the other ingredients works best. Avoid using your most expensive bourbon, as the other flavors will mask some of its subtleties.
Troubleshooting Common Issues
Mixture Too Dry
If your mixture won’t hold together when forming balls, add bourbon one teaspoon at a time until it reaches the proper consistency. Be careful not to add too much, as this can make the balls too soft.
Mixture Too Wet
If the mixture is too wet and won’t hold its shape, add more ground vanilla wafers or powdered sugar gradually until you achieve the right consistency.
Uneven Coating
For the most attractive presentation, make sure your bourbon balls are smooth before coating. Any cracks or rough spots will show through the coating and affect the final appearance.
Frequently Asked Questions
Q: Can children eat bourbon balls?
A: No, bourbon balls should only be served to adults. Since they’re not baked, the alcohol doesn’t cook off, so they retain their alcoholic content.
Q: How long do bourbon balls need to set?
A: While you can serve them immediately, bourbon balls benefit from at least 30 minutes of chilling to firm up and allow flavors to meld properly.
Q: Can I make bourbon balls without a food processor?
A: Yes, you can crush the vanilla wafers in a sealed bag with a rolling pin and finely chop the nuts by hand, though a food processor makes the job much easier and creates more consistent results.
Q: What’s the best bourbon to use for bourbon balls?
A: Use a good-quality bourbon that you enjoy drinking, but not your most expensive bottle. The other ingredients will mask some of the bourbon’s subtle notes.
Q: How far in advance can I make bourbon balls?
A: Bourbon balls can be made up to 5 days ahead and stored in the refrigerator, or up to 3 months ahead if frozen. They actually improve in flavor after a day or two.
The Perfect Holiday Gift
Bourbon balls make exceptional homemade gifts that show thoughtfulness and care. Their sophisticated flavor appeals to adult palates, and their beautiful appearance when properly coated makes them feel special and festive. Pack them in decorative tins or boxes with parchment paper between layers for an impressive presentation that friends and family will appreciate long after the holidays end.
References
- https://www.thepioneerwoman.com/food-cooking/recipes/a62843056/bourbon-balls-recipe/
- https://www.tastingtable.com/687115/how-to-make-kentucky-bourbon-balls-kentucky-derby-recipe/
- https://www.thepioneerwoman.com/food-cooking/recipes/a41805246/rum-balls-recipe/
- https://www.youtube.com/watch?v=AAkR1RDlBEc


