


How to Make Perfect English Muffins at Home
There’s something uniquely satisfying about making your own English muffins from scratch. Their signature tang, open crumb, and golden crust make them a beloved staple for breakfast and brunch. This comprehensive guide walks you through every step, from activating the yeast to mastering the griddle, so you can achieve bakery-quality English muffins from your own kitchen.
What are English Muffins?
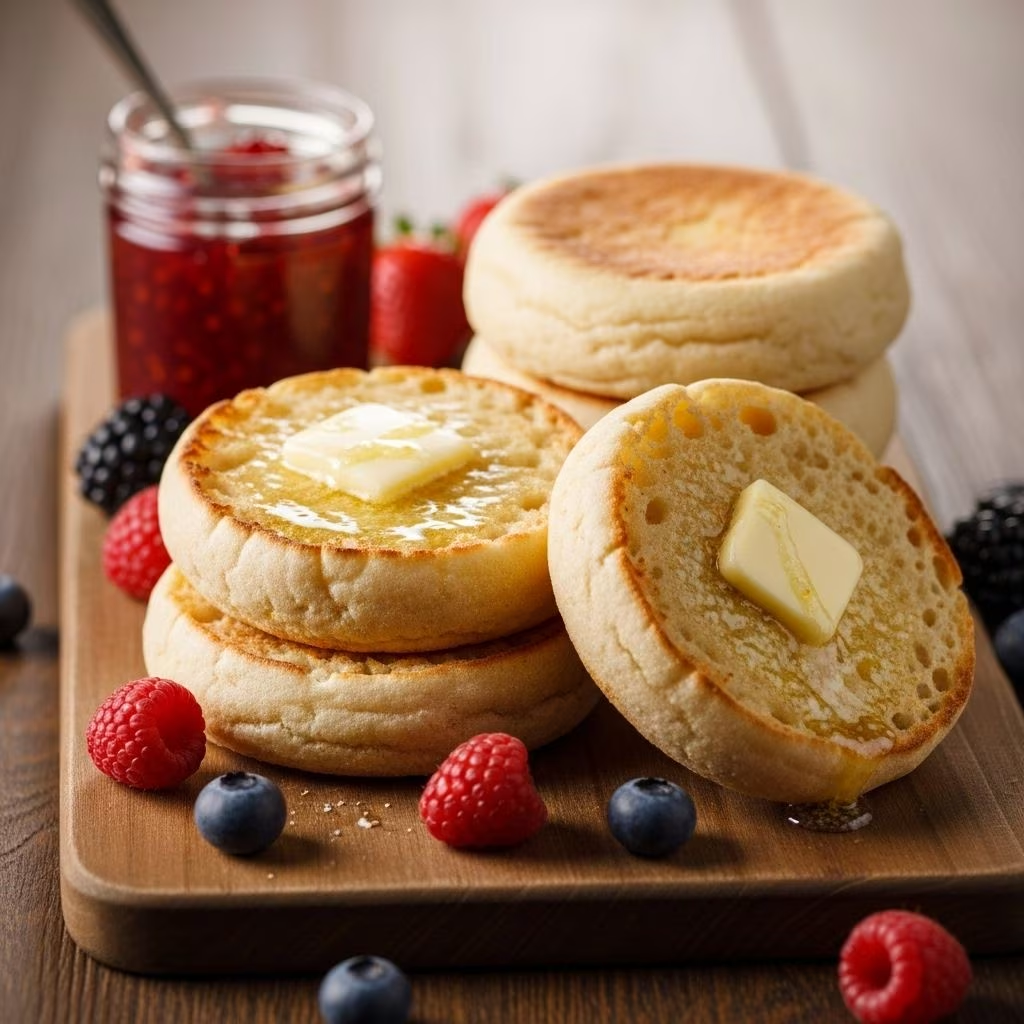
English muffins are round, flat, yeast-leavened breads, typically cooked on a griddle and finished in the oven. Recognized for their nooks and crannies—those little air pockets that catch melted butter—they’re ideal for breakfast sandwiches or simply toasted with jam.
Key Ingredients for Homemade English Muffins
- Active dry yeast: For leavening and signature texture.
- Warm water: Activates the yeast (temperature should be about 105°F; not hot or the yeast can die).
- Honey: Adds a touch of sweetness and feeds the yeast.
- All-purpose flour: The primary structure of the dough.
- Salt: Balances flavor.
- Softened butter: Adds flavor and tenderness.
- Cornmeal: For dusting, preventing sticking, and giving muffins their classic crust.
Equipment You’ll Need
- Stand mixer with dough hook (recommended for best kneading)
- Mixing bowls
- Baking sheets
- Parchment paper (cut into squares)
- Griddle or large nonstick skillet
- Oven
- Spatula (preferably metal)
- Cooling rack
Step-by-Step Guide to Making English Muffins
1. Activating the Yeast
In a medium bowl, whisk together warm water and honey. Sprinkle the yeast over the surface, wait a few moments, then whisk gently to incorporate. Let the mixture sit for 5–10 minutes until it looks foamy and bubbly—this means your yeast is alive and ready.
2. Mixing and Kneading the Dough
Add the yeast mixture and remaining ingredients into the bowl of a stand mixer. Use the dough hook on low speed to knead for around 8 minutes. The dough should be very sticky and stretchy. Resist adding extra flour; a wet dough is essential for soft, open-crumb muffins. Only add a sprinkle of flour if the dough doesn’t come together at all.
3. First Rise
Butter your hands and a spatula before handling the dough. Scrape the sticky dough into a well-buttered bowl, shape loosely into a ball, and cover. Let it rise in a warm place for about 2 hours, or until doubled. Pro tip: If your kitchen is warm, check the dough after 1.5 hours to avoid over-proofing.
4. Preparing for Shaping
While the dough rises, cut twelve 4-inch squares of parchment paper and place them on baking sheets. Generously sprinkle cornmeal over each square to prevent sticking and for that distinctive crust.
5. Shaping the Muffins
- Turn the risen dough onto a greased surface. Divide into 12 equal pieces (a kitchen scale helps for accuracy).
- For each piece, gently pinch the edges to the bottom to form a ball. Place seam-side down, then tuck and stretch to create surface tension, which helps develop their shape during proofing. A circular hand motion across the work surface can help build tension.
- Place shaped balls onto the prepared parchment squares.
6. Second Rise
Cover the muffins and proof them in a warm place for 1–2 more hours. The dough balls should become quite puffy—this contributes to their interior texture and characteristic nooks.
7. Griddling: Cooking English Muffins on the Stove
Preheat a griddle or large skillet over medium-low heat for at least 5 minutes. The pan should be well-heated but not so hot that the muffins burn before cooking inside.
- Transfer the proofed dough to the griddle. You can either invert them directly from their parchment squares (quick, but slightly deflating), or gently slide off the parchment with a spatula (preserves their height, but is slower).
- Cook for 5–8 minutes per side, until deep golden and firm. Adjust heat as needed to prevent over-browning.
8. Finishing in the Oven
Transfer cooked muffins to a baking sheet and finish in a 350°F oven for 10 minutes. This ensures they’re fully baked inside, not doughy.
Alternative: You can cook entirely on the griddle over low heat for 10 minutes per side, but oven-finishing guarantees the best consistency.
9. Cooling and Splitting
- Cool for 10 minutes on a rack before splitting.
- The classic way to open an English muffin is with two forks, which creates a more jagged surface and more cavities for butter to melt into.
- If you prefer speed or a neater look, use a serrated knife—no shame in either!
Serving Suggestions
- Toast with butter and jam
- Top with eggs for a homemade Eggs Benedict
- Build a classic breakfast sandwich with egg, cheese, and sausage or bacon
- Use as a base for open-faced melts (see recipe variation below)
Expert Tips for Baking Success
- Mind your dough texture: Wet dough makes for light muffins. Don’t over-flour.
- Control your heat: If the griddle is too hot, muffins will brown too quickly on the outside and stay raw inside.
- Proof with care: Temperature and time matter. Under-proofed muffins will be dense, while over-proofed can collapse.
- Split to taste: Serrated knife or fork method—go with your preference for texture!
- Store in an airtight container after cooling, or freeze for up to 2 months for longer storage.
English Muffin Quick Reference Table
| Stage | Time | Key Points |
|---|---|---|
| Activate yeast | 5–10 min | Foamy, bubbly appearance |
| Kneading (stand mixer) | 8 min | Sticky, stretchy dough; do not over-flour |
| First rise | 2 hrs | Double in size; check early if very warm |
| Shaping + proofing | 1–2 hrs | Form taut balls, cover, let puff up significantly |
| Griddle | 5–8 min/side | Golden brown; med-low heat |
| Oven finish | 10 min | 350°F to cook through |
Variations and Serving Ideas
Make-Ahead Muffin Melts
Turn plain English muffins into a hearty breakfast by preparing a savory topping:
- Hard-boiled eggs, chopped
- Crumbled bacon
- Grated cheddar cheese
- Mayonnaise
- Dijon mustard, garlic powder, Worcestershire sauce
Mix the topping, spread on toasted English muffin halves, and broil until bubbly and golden. A protein-packed meal ideal for rushed mornings or brunches.
Apple Peanut Butter Delights
Lightly toast English muffin halves, slather with creamy peanut butter, and top with thin apple slices. Sprinkle generously with cinnamon-sugar and bake at 350°F for 10 minutes, then broil just until the edges crisp and the topping caramelizes. The ultimate sweet-and-savory snack or breakfast treat.
Common Mistakes and Solutions
- Muffins are dense: Possible under-proofing or adding too much flour. Always proof fully and keep dough wet.
- Burning before fully cooked: Lower griddle heat and extend cooking time, or finish in oven as directed.
- Muffins stick to the pan: Use cornmeal on parchment, and ensure the griddle is seasoned or nonstick.
- No nooks and crannies: Avoid compressing dough during shaping or transfer. Proof until properly puffy.
Frequently Asked Questions (FAQs)
Q: Can I use instant yeast instead of active dry yeast?
A: Yes. Instant yeast can be mixed straight into the flour but still activate in warm water if desired. The rise times may be slightly shorter; check dough frequently.
Q: What is the best way to store homemade English muffins?
A: Cool completely, then store in an airtight container at room temperature for up to three days, or freeze for up to two months. Slice before freezing for easier toasting straight from the freezer.
Q: Why do my English muffins lack the open crumb texture?
A: This is usually due to adding too much flour, under-kneading, or over-handling the dough. Keep dough wet and be gentle during shaping and transfer.
Q: Can I make the dough in advance?
A: Yes. After the first rise, the dough can be covered and refrigerated overnight. Let it come to room temperature before shaping and proofing.
Q: Are English muffins gluten-free or vegan?
A: Not by default, but you can adapt the recipe with gluten-free flour blends or vegan alternatives for butter and milk. Results may vary in texture.
Conclusion
Homemade English muffins are a rewarding baking project—rustic, delicious, and versatile. With a little time and attention to detail, you’ll create breakfast breads with true character, perfect for toasting and slathering with butter. Try both classic and creative toppings, and enjoy the bakery magic right at home!
References
- http://www.eatcakefordinner.net/2012/03/pioneer-womans-make-ahead-muffin-melts.html
- https://www.thepioneerwoman.com/food-cooking/recipes/a102981/how-to-make-english-muffins/
- https://www.thepioneerwoman.com/food-cooking/recipes/a11954/apple-peanut-butter-delights/
- https://www.thepioneerwoman.com/food-cooking/recipes/a11696/make-ahead-muffin-melts/
- http://joyincooking.blogspot.com/2010/08/pioneer-womans-egg-muffin-melts.html


