


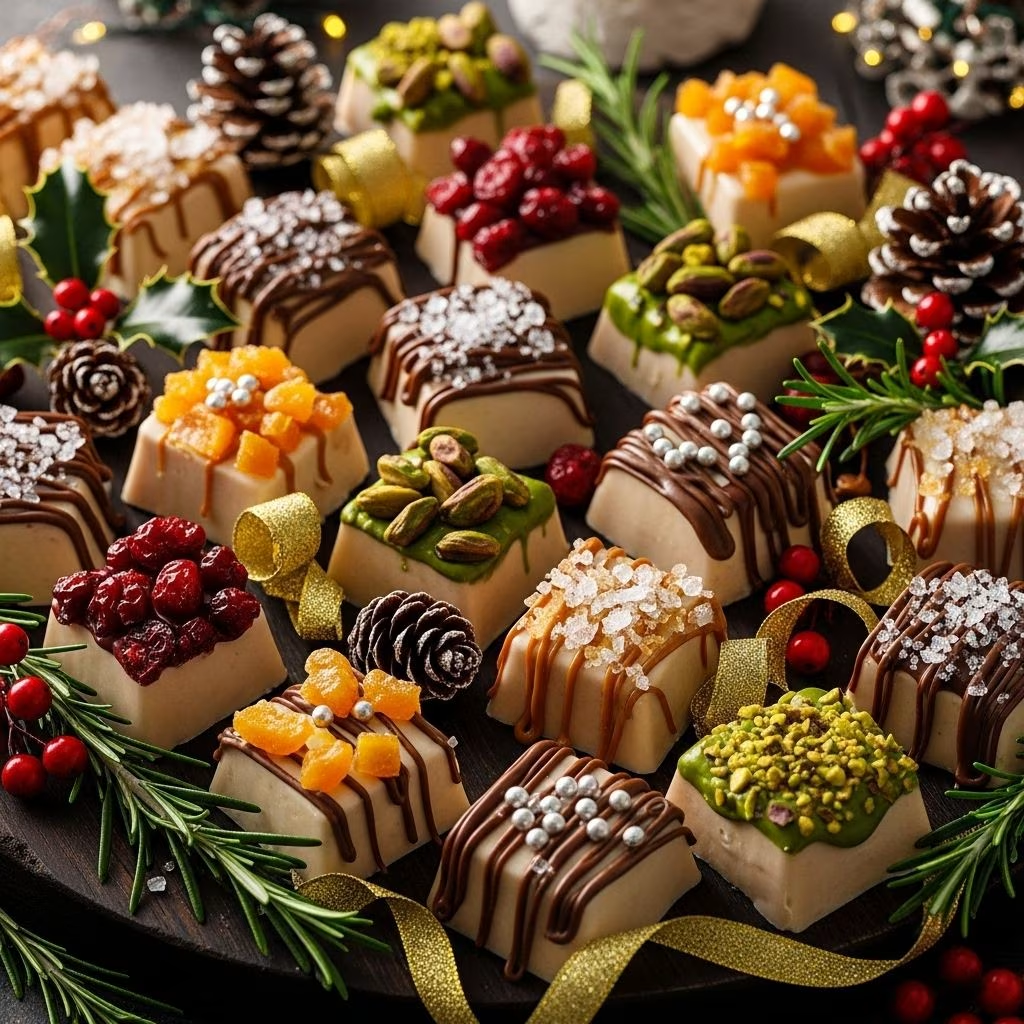
Jeweled Divinity Candy: A Nostalgic, Festive Treat for Holidays
If you grew up around traditional holiday baking, jeweled divinity candy is likely a cherished memory. With its cloud-like texture and vibrant colors, this old-fashioned confection delivers the combined delights of meringue, nougat, and marshmallow all in one ultra-sweet bite . Whether for Christmas, Easter, or any celebratory occasion, divinity adds sparkle and sweetness to party platters, gift boxes, and family gatherings.
What Is Divinity Candy?
Divinity is a classic American holiday treat beloved for its soft, airy, melt-in-your-mouth texture. It is typically made by whipping hot sugar syrup into beaten egg whites until the mixture becomes light and fluffy, then adding vanilla and folding in colorful bits — from chopped nuts to, as in this festive “jeweled” version, gummy candies .
- Texture: Resembles a cross between meringue, nougat, and marshmallows
- Flavor: Sweet with hints of vanilla and fruity gummy candy
- Visual appeal: Brightly colored gummies create a “jeweled” look, perfect for celebrations
The candy is closely tied to holiday traditions, especially Christmas, when it shines alongside cookies, fudge, and other confections.
Why Jeweled Divinity Is a Holiday Favorite
Jeweled divinity evokes strong nostalgia for many, often connected to treasured family memories and holiday gatherings. The addition of colorful gummy candies not only enhances its visual appeal but also infuses a burst of fruity flavor into the classic confection.
- Sparkling candies represent festive cheer
- Easy to customize: Choose gummies of your favorite colors or flavors
- Great for gifting: Keeps well in airtight containers, ideal for treat boxes or cookie plates
- Simple pan method: Pour into a greased pan and slice, instead of forming individual mounds
This streamlined pan method is less stressful, allowing you more time for decorating and sharing.
Ingredients for Jeweled Divinity Candy
| Ingredient | Amount | Purpose |
|---|---|---|
| Butter | for the pan | Prevents sticking |
| Sugar | 2 1/2 cups | Sweetness, structure |
| Light corn syrup | 3/4 cup | Stabilizes, prevents crystallization |
| Egg whites | 2 (large) | Provides fluff and texture |
| Vanilla extract | 1 tablespoon | Flavor |
| Gummy candies | 1 1/2 cups | Decoration and fruity accent |
| Nonstick cooking spray | for the knife | Prevents sticking when slicing |
Choose Skittles Gummies, Dots, or any favorite gummy candy for topping and mixing in.
Step-by-Step Directions
Follow these streamlined steps for foolproof divinity every time:
- Prep the pan: Generously butter an 8-inch square cake pan. Place a single sheet of waxed paper on the base.
- Cook the syrup: In a heavy saucepan, attach candy thermometer. Combine sugar, light corn syrup, and 1/4 cup water. Stir just until sugar dissolves. Bring to boil; cook without stirring until thermometer reads 255–260°F (about 12 minutes).
- Whip egg whites: While syrup cooks, beat egg whites in a stand mixer with whisk attachment until stiff peaks form (about 2 minutes).
- Combine: Once syrup reaches temperature, slowly drizzle it into beaten egg whites with mixer running on medium-low. Carefully avoid splashing hot syrup. When fully combined, add vanilla. Increase speed to high and beat until glossy texture vanishes and mixture stiffens (about 7–8 minutes).
- Fold in gummies: Quickly fold about 1 cup of gummy candies into the divinity mixture using a wooden spoon. Prompt folding is essential; mixture sets fast.
- Spread in pan: Transfer candy mixture to prepared pan. Smooth into an even layer — work quickly, as the sticky candy firms up fast.
- Arrange candies: Decorate the surface with remaining gummies in neat rows (five across/five down for 25 pieces). Lightly press candies to adhere.
- Cool and cut: Allow divinity to cool completely for about 1 hour. Spray knife with nonstick spray then slice into 1.5-inch squares, cutting between the candies for tidy pieces.
For extra ease, use a bench scraper or chef’s knife, cleaned frequently between cuts.
Tips for Perfect Divinity Every Time
- Candy thermometer is a must: Proper temperature is critical. If not cooked to 255–260°F, divinity may stay gooey and won’t slice or hold its shape .
- Avoid humid days: Humidity and divinity don’t mix — excess moisture prevents proper setting .
- Mix quickly: The candy will firm up as soon as the syrup cools; prompt mixing ensures gummies are evenly distributed and the surface is smooth.
- Use nonstick spray: Spray knives for effortless slicing and neat edges.
- Choose a straight-sided pan for even pieces and easier cleanup.
Storage and Shelf Life
- Store: Keep in an airtight container at room temperature
- Lasts: Up to two weeks, maintaining freshness and texture
- Avoid: Refrigeration or freezing — both can alter texture and cause dryness or stickiness
Well-made divinity stays delightful for gifting, holiday trays, or snacking days after making.
Frequently Asked Questions (FAQs)
Do I really need a candy thermometer to make divinity?
Absolutely. Achieving the perfect set and texture demands precise temperature control, so a thermometer is essential .
Can I make divinity on a humid day?
No. Divinity candies require dry weather, as humidity can prevent the candy from setting and cause unwanted stickiness .
Can I freeze divinity candy?
Freezing is not recommended. Freezing can cause the candy’s texture to change, resulting in dryness or excessive stickiness once thawed. Best storage is at room temperature in an airtight container .
What kinds of gummy candies work best?
Any small, brightly colored gummies are ideal. Skittles Gummies and Dots are popular choices, but experiment with flavors and shapes for variety .
Can I use nuts instead of gummies?
Traditionally, pecans or walnuts are common mix-ins for classic divinity, but adding gummies produces a notably more colorful and kid-friendly treat .
Holiday and Gifting Ideas
| Occasion | Serving Suggestion | Extra Decorations |
|---|---|---|
| Christmas | Arrange on cookie plates or in treat boxes | Red, green gummies; edible gold/silver dust |
| Birthday Parties | Cut into assorted shapes with cookie cutters | Rainbow sprinkles, themed gummies |
| Easter | Mix pastel candies for a spring palette | Mini marshmallows, jelly beans |
| Gift Boxes | Layer between wax paper, wrap with festive ribbon | Personalized tags |
- Pair with fudge, sugar cookies, and peppermint bark for a luxurious holiday assortment
- Line boxes or tins with wax paper to prevent sticking
- Personalize with custom candies based on recipient’s preferences or event themes
Shortcuts and Troubleshooting
- Easy pan method: Pouring mixture into a pan and slicing is simpler and less time-sensitive than dropping mounds
- If candy is too soft: Likely caused by undercooking syrup or humid conditions — ensure thermometer accuracy and pick a dry day
- If mixture hardens too soon: Mix or spread faster; work in small batches to ensure even distribution of gummies
- Sticky knife: Wipe and respray frequently for cleaner cuts
Expanding Your Candy-Making Repertoire
Once you’ve mastered jeweled divinity, consider exploring other classic holiday candies:
- Peanut brittle — crispy, nutty, and gluten-free
- Chocolate fudge — rich, decadent, and endlessly customizable
- Pulled peppermint or taffy — sugary, chewy, with vibrant colors
- Creamy caramels — smooth and buttery
Each candy brings its own traditions and nostalgia; divinity, with its distinct lightness and color, remains a perennial favorite for families and bakers alike .
Enhancing the Divinity Experience
- Flavor twists: Try almond, lemon, or peppermint extracts for a unique taste
- Texture play: Mix in chopped nuts, mini marshmallows, or bits of dried fruit
- Presentation: Layer divinity squares with wax paper, then stack in tins for beautiful gifting
- Custom shapes: Pour mixture into silicone molds for hearts, stars, or holiday icons
Let kids help by pressing candies onto the surface before cooling. This not only boosts their holiday excitement, but makes treat-making a memorable family activity.
Related Holiday Recipe Ideas
- Pull-Apart Garlic-Herb Biscuits: Savory rolls perfect for the dinner table
- Corn Muffins with Honey Butter: Sweet counterpoint to holiday desserts
- Baked French Toast: Easy, crowd-pleasing breakfasts for festive mornings
- Sweet Onion Casserole: Comfort food for winter gatherings
- Cheesy Asparagus Casserole: Classic side for brunch or dinner
- Pie Recipes: A variety for every season and celebration
Incorporate divinity squares into cookie platters alongside these hearty sides and sweet delights, or use as lovely edible party favors.
Final Thoughts: Bringing Back Vintage Candy Traditions
Jeweled divinity candy remains a timeless treat, perfect for celebrating the warmth of family, the joy of giving, and the festive spirit of the holidays . With its simple ingredients, adaptable method, and dazzling look, it’s a sweet way to connect generations and add color to any dessert table. Try it this season, and bring a bit of old-fashioned charm home.
FAQs: Jeweled Divinity Candy
Q: How long does divinity candy last?
A: Up to two weeks in an airtight container at room temperature .
Q: Do I need a candy thermometer?
A: Yes, for accurate temperature control and proper texture .
Q: Can I make divinity on a rainy day?
A: Not advisable; humidity impairs candy setting .
Q: Can divinity be frozen?
A: Not recommended due to potential texture changes .
Q: What’s the best way to slice divinity?
A: Use a sharp, nonstick-sprayed knife and slice between gummies for neat pieces.
Make This Classic Candy Part of Your Next Celebration
With these expert tips and cheerful add-ins, your jeweled divinity candy will beckon guests to the dessert table and fill holiday boxes with edible delight. Embrace tradition, experiment with flavors, and make any day a celebration with this vintage confection.


