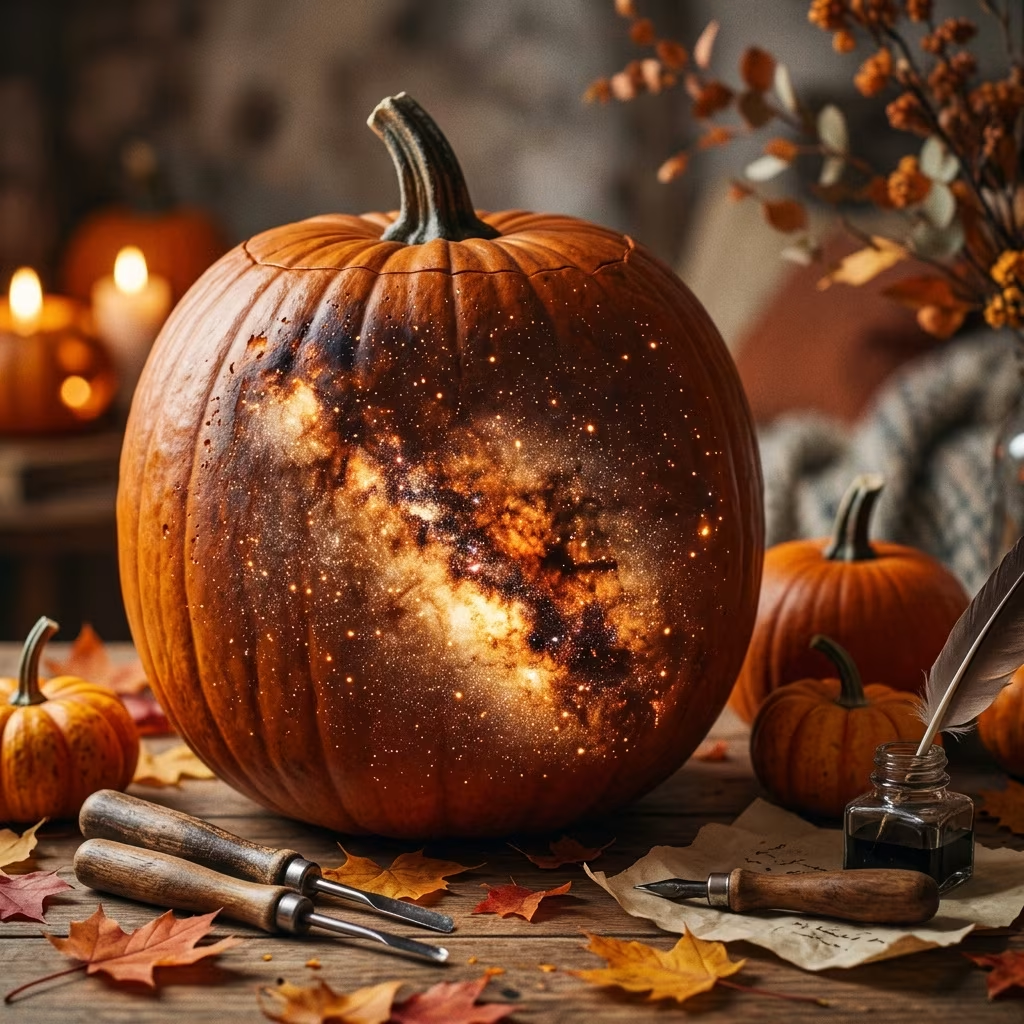
DIY: Carve a Milky Way Pumpkin for a Sophisticated Halloween
Move beyond the classic Jack-o’-lantern grin and embrace a subtle, sophisticated touch with a Milky Way pumpkin. Inspired by the shimmering expanse of the night sky, this starry pumpkin design is ideal for those seeking Halloween decor that’s more elegant than eerie. No advanced carving skills are needed—just a simple toolkit, a creative spirit, and a love for autumnal crafts. Read on to discover how to carve a luminous Milky Way pumpkin that glows with celestial charm, illuminating Halloween nights with gentle, galaxy-inspired beauty.
Introduction: The Sophisticated Pumpkin Makeover
For many, pumpkin carving evokes childhood memories of messy hands, toothy faces, and orange pulp. As tastes evolve, so do design sensibilities. If you’re yearning for something less cartoonish and more refined—yet still unmistakably festive—the Milky Way pumpkin is your perfect project. With undulating constellations of light piercing its surface, this pumpkin is atmospheric, adaptable, and impressively simple to execute. All you need is the right pumpkin, a few basic tools, and an evening’s patience.
Materials & Tools
Before you begin, set yourself up for success by gathering all the right supplies. The key to the Milky Way design is varying hole sizes—creating a constellation that mimics a star-lit sky.
- 1 medium-to-large pumpkin (white Lumina pumpkins are chic, but any color works)
- Chef’s knife or sturdy kitchen knife (for cutting the lid)
- Hand drills or gimlets in multiple sizes (to create holes; a three-piece set is ideal)
- Colored pencils or fine-tipped marker (for drawing the lid guide)
- Ice cream scoop or large spoon (to remove pulp and seeds)
- Tea lights or LED candles (to illuminate the pumpkin)
- Optional: paper towels or cloth (for cleanup)
- Optional: ruler or flexible tape (for marking lid placement)
Tip: Select a pumpkin with a broad, smooth surface for easier drilling.
Step 1: Preparing the Pumpkin
To ensure a secure and tidy design, pay close attention to your initial cuts:
- Choose your pumpkin: While orange pumpkins are classic, white or pale-hued varieties like the Lumina offer a modern, understated look that allows the light patterns to really shine.
- Mark the lid: With a colored pencil, draw a faint circle around the pumpkin’s top, outlining where you’ll make the opening. Don’t worry if the line isn’t perfect; it’ll be hidden under the lid.
- Cut at an angle: Using a chef’s knife, carefully cut along the guideline at a diagonal. The angle is crucial—it prevents the lid from falling into the pumpkin as the interior dries and shrinks (a common problem for flat cuts).
- Add a notch: Notch a small triangle into one side of the lid and the corresponding pumpkin edge. This will make it easier to replace the lid accurately when you’re finished.
Step 2: Hollowing Out the Pumpkin
For luminous results, the pumpkin needs to be thoroughly cleaned out:
- Scoop out seeds and pulp: Use an ice cream scoop or your hand to remove every string and seed from the interior. Scrape especially well along the walls you’ll be drilling.
- Save the seeds: Set seeds aside for roasting—a delicious seasonal treat.
- Thin the walls: If your pumpkin’s flesh is particularly thick (more than 1.5 inches), scoop away some of the interior from the area you’ll be drilling. Thinner walls allow your “stars” to shine more brightly and make drilling easier.
Be thorough: any leftover bits can spoil and cause early decomposition.
Step 3: Carving the Milky Way Pattern
Unlike traditional carving with a saw or blade, this design relies on hand drills to create “star” holes of varying sizes. The key is irregular, organic placement—think of the natural scatter of stars or swirling of the galaxy, not neat rows or grids.
- Select your largest hand drill bit and punch a few, widely spaced holes in the pumpkin’s flank.
- Switch to smaller drill bits, filling in around the largest holes. Aim for a haphazard, flowing pattern—clusters and scattered singles mimic constellations.
- Do not use a drawn guide unless you want a very formal pattern. The charm of this project is in its casual, random appearance.
- Work slowly and gently: Drilling too quickly can crack the pumpkin flesh or cause irregular holes. Twist the tool with your hand, or gently power if you use a small electric drill (careful not to overdo it).
- Optional: extend the pattern around the entire pumpkin for a fully illuminated effect, or limit it to one side for a more directional glow.
Step 4: Illuminating Your Pumpkin
The magic of the Milky Way pumpkin is revealed when the lights go down and the glow comes up.
- Insert tea lights or battery-powered LED candles inside. For most medium pumpkins, three tea lights provide a satisfying, even radiance. Feel free to adjust for your preferred intensity.
- Glow test: Try the effect with the lid both on and off. An open lid yields the brightest glow and intense “star” sparkles; an enclosed lid gives a more subtle, milky luminescence.
- Night reveal: Wait for dusk, then set your pumpkin somewhere prominent. The points of light will flicker magically across the surface, creating an instant focal point outdoors or in a darkened entryway.
If you want a multi-colored Milky Way, consider using colored LED lights for a whimsical galaxy effect.
Displaying & Styling the Milky Way Pumpkin
The Milky Way pumpkin bridges playful tradition with contemporary design. Here are ways to make your display truly luminous:
- Porch cluster: Pair your Milky Way pumpkin with other pumpkins of varying shapes and colors for a celestial grouping.
- Table centerpiece: Place it on a tray surrounded by fall leaves, branches, or mini-gourds for an indoor focal point.
- Window glow: Place it on a windowsill to invite the magic inside and share the light outside.
- Multiple galaxies: Create a whole “galaxy” of starry pumpkins using different-sized gourds and varying patterns.
Reader Inspiration: Other Creative Pumpkin Ideas
The Milky Way effect is just one way Gardenista readers and home decorators bring originality to Halloween. Here’s a sampling of additional creative pumpkin inspirations:
- Paper lantern pumpkins: Stamp or carve shapes in paper bags, insert electric tea lights, and line driveways or porches for an easy, atmospheric effect.
- Kitty pumpkins: Add feline faces or outlines for a playful twist, a perennial favorite among readers.
- Minimalist displays: Place a single pumpkin on a porch step for a hauntingly simple look—sometimes, less is more.
- Themed groupings: Cluster pumpkins with seasonal mums, antique lanterns, or weathered crates for rustic curb appeal.
Feeling inspired? Every glowing creation adds to the magic of the Halloween season.
Frequently Asked Questions (FAQs)
Q: What type of pumpkin is best for the Milky Way design?
A: Smooth-skinned pumpkins like the white Lumina are ideal for this project. Their pale hue shows off the glowing “stars,” and the even surface makes drilling easier. However, any sturdy pumpkin with a broad face will work.
Q: Do I need special tools for drilling the holes?
A: Hand gimlets (manual drills) in various sizes are perfect. They’re inexpensive, easy to control, and create clean holes. A small electric drill works too—just operate at a low speed to avoid splitting the pumpkin flesh.
Q: How long will the carved pumpkin last?
A: A carved pumpkin exposed to air can last from 3 to 7 days, depending on weather conditions. To extend its life, keep it cool, avoid direct sunlight, and bring it indoors during inclement weather. Spritzing the interior with a mild bleach solution can also reduce mold growth.
Q: Can I use real candles inside?
A: Yes, traditional tea lights provide a lovely warm glow. For safety, especially indoors or with pets, LED candles are a practical alternative and last longer without risk of fire.
Q: What’s the best way to clean up after carving?
A: Use a spoon or scoop to collect all seeds and pulp promptly. Wipe down surfaces and your tools. Compost leftover pumpkin scraps where possible, and don’t forget to roast your saved seeds!
Q: How can I make my Milky Way pumpkin design stand out?
A: Vary hole sizes, cluster them in “nebula” patterns, and consider extending the design down one side for a shooting star or comet effect. Colored LEDs or flickering effects add a cosmic twist.
Pro Tips for a Stellar Milky Way Pumpkin
- Careful storage: Store your pumpkin in a cool, dry spot when not on display; too much warmth accelerates decay.
- Use gloves: Prevent smearing and protect your hands when drilling, especially with larger pumpkins.
- Creative variations: Try painting your pumpkin before drilling for colored constellations, or sprinkle a little glitter inside for extra sparkle.
- Drill from the outside: This prevents ragged edges inside the pumpkin holes and keeps the pattern clean.
Final Thoughts: Halloween Magic, Made Simple
Carving a Milky Way pumpkin offers a balance of grown-up elegance and hands-on fun, making it the perfect centerpiece for any autumnal gathering. With just a handful of supplies and a dash of creativity, you can transform an ordinary pumpkin into an ethereal, glowing piece of art. Whether you display it on your stoop, at the table, or as part of a Halloween vignette, expect a constellation of compliments—and maybe even a few new starry traditions.
Happy carving and a luminous Halloween season!
References
- https://www.youtube.com/watch?v=5rd0c-ayhsw
- https://www.gardenista.com/posts/pumpkin-carving-milky-way-edition/
- https://www.gardenista.com/posts/a-milky-way-pumpkin-all-lit-up/
- https://www.gardenista.com/posts/a-masterful-pumpkin-carving-knife/
- https://www.gardenista.com/posts/lit-up-spooky-curb-appeal-from-readers-halloween-pumpkins/