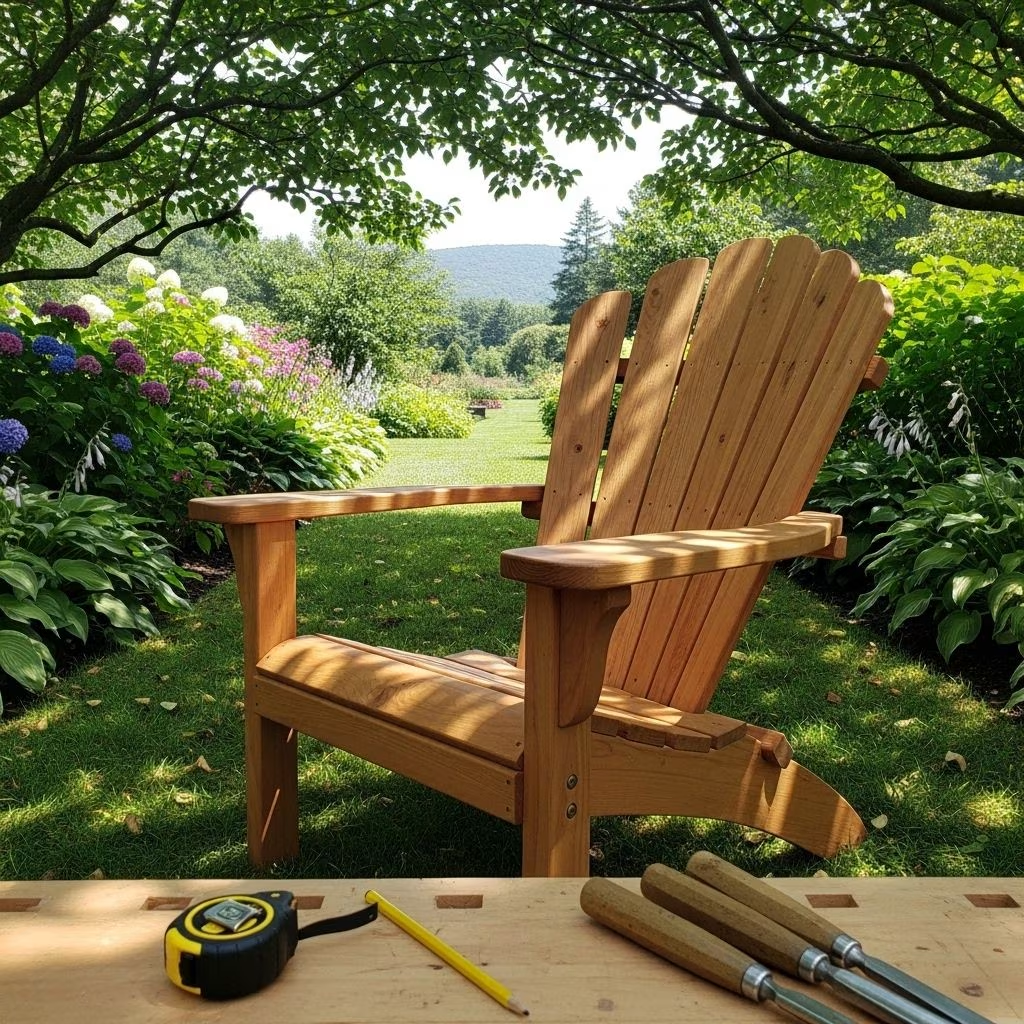
The Wave Hill Chair: Minimalist, Timeless—and Make It Yourself
The Wave Hill Chair has become an enduring favorite among garden designers and enthusiasts, adorning public gardens and private backyards alike with its clean lines and minimalist silhouette. Whether you’re seeking a practical seat for the outdoors or longing for a piece of design history, this chair offers both form and function in equal measure. What makes it especially charming? You can build one yourself using widely available materials and plans. This article examines the Wave Hill Chair’s backstory, design highlights, and provides a comprehensive DIY guide to help you bring this icon to your own garden.
Origins of the Wave Hill Chair
The chair owes its distinctive design to Lester Collins, a landscape designer who was inspired by the Bauhaus architect Gerrit Rietveld’s 1918 chair model. During the 1960s, Collins adapted the Rietveld chair, merging European modernism with practical needs for public seating. His version was introduced at Wave Hill, a public garden in the Bronx, New York, where the chair quickly became a defining feature of the landscape. Over the decades, visitors to Wave Hill have been captivated by the chair’s understated beauty and comfort, making it not just functional furniture, but a work of art and conversation piece .
Why the Wave Hill Chair Stands Out
- Minimalist Design: Straight lines and geometric profiles typify the chair, reflecting modernist aesthetics.
- Historical Roots: Its direct lineage from Rietveld gives it a pedigree beloved by design buffs.
- Practical Comfort: Despite its spare appearance, users consistently praise the ergonomics and relaxing recline of the Wave Hill Chair.
- DIY-Friendly: The plans are designed for simple construction, ideal for DIYers of various skill levels.
- Customizable Finish: The chair can be painted or stained in any color to suit the environment or personal taste.
Materials and Tools: What You’ll Need
One of the Wave Hill Chair’s advantages is its affordability and the ease with which you can source materials. The chair is typically constructed from readily available wood planks, making it an accessible weekend project.
- Wood species: Cedar is preferred for its weather resistance, but pine or other outdoor-suitable woods may also be used.
- Standard lumber sizes: Most plans are designed for off-the-shelf planks requiring minimal cuts.
- Basic woodworking tools: Saw, drill, screws, square, tape measure, sanding block or power sander.
- Primer and paint or exterior wood stain: Optional for added protection and style.
Optional: For an added professional touch, consider using an oil-based primer (especially for cedar) and premium outdoor paint such as Benjamin Moore Aura exterior for better durability and to minimize tannin bleed at knots .
Step-by-Step Guide: How to Build a Wave Hill Chair
Below is a generalized process for building your own Wave Hill Chair. For precise details, diagrams, and dimensions, obtaining the official plans from Wave Hill is recommended (details below).
- Prepare Materials: Lay out all planks and ensure they are straight, unwarped, and free from major knots or defects that could compromise strength.
- Measure and Cut: Follow the plan’s template to cut the seat, legs, back, and arms. The traditional chair features straight edges and right angles, so accuracy improves the overall look and structural integrity.
- Sand Smooth: Smooth out all edges and surfaces, focusing on areas that will be touched frequently.
- Assembly: Dry-fit the cut pieces to verify alignment. Begin by assembling the base, attaching the seat, then the backrest, followed by the arms. Drill pilot holes to prevent splitting, especially with cedar.
- Finishing Touches: Secure all screws and hardware. Fill any holes or blemishes if desired. Add a round-over to edges with a router or sandpaper for comfort.
- Painting/Staining: Apply a coat of primer (oil-based for cedar), followed by your chosen paint or stain. Allow adequate drying time between coats. For knots, use a shellac-based primer to prevent bleeding.
Tips for Success and Customization
- Wood Selection: Cedar lasts longer outdoors and is more resistant to the elements than pine. Using thicker planks (as some DIYers adapt) enhances durability and comfort.
- Finish Adaptations: Paint the chair in bold colors for a statement, or let the beauty of the wood show with a clear sealant.
- Personalize Angles: Adjust the lean of the seat and back for a more upright or reclined posture, depending on user preference.
- Knockdown Design: Some creative versions add detachable parts or slot-fit joints for seasonal storage or transport.
- Combine with Cushions: Add seat cushions or pillows for extra comfort, especially if the chair will see long hours of use.
Ordering Official Plans and Where to Get Help
Wave Hill sells official DIY plans for the chair as an inexpensive digital download. These plans include measurements, cutting templates, and assembly instructions, making the project accessible even for those with basic woodworking experience .
- Order plans directly from the Wave Hill Shop: Reach out by calling 718.549.3200 x249 or email jenahb at wavehill dot org for details .
- If you lack carpentry skills, find a local woodworking class or specialist—many garden and community centers offer chair-making workshops .
- Consider adapting plans for your own needs—shortening, lengthening, or adjusting angles. These chairs are highly customizable.
Comparing the Wave Hill to Other Iconic Garden Chairs
| Feature | Wave Hill Chair | Classic Adirondack |
|---|---|---|
| Design Origin | Bauhaus/Modernist (Rietveld, Collins) | Early 20th-century American |
| Visual Style | Minimalist, straight lines | Wide arms, fan-shaped slatted back |
| Construction Complexity | Beginner to intermediate | Intermediate |
| Ergonomics/Comfort | Relaxed recline, customizable | Deep seat, low profile |
| Customization | Paint or stain, adjust dimensions easily | Materials, color, minor dimension tweaks |
Inspiration: Creative Uses of the Wave Hill Chair
Wave Hill chairs are found in a kaleidoscope of colors across gardens, patios, and even balconies. Here are a few creative applications glassed from design lovers:
- Painted Sets: Arrange multiples in contrasting tones for a playful garden accent.
- Patio Lounging: Pair with a low table for outdoor coffee breaks or reading nooks.
- Garden Events: Use as temporary seating for open days or summer soirées. They’re as eye-catching as they are useful.
- Indoor Adaptations: Scale down or finish in interior paint for unique living room or sunroom seating.
Wave Hill Chair Maintenance and Care
With proper construction and care, a Wave Hill Chair can endure many seasons in the garden. Below are essential maintenance tips:
- Weather Protection: Regularly inspect paint or sealant for chips; touch up as needed before winter or rainy seasons.
- Off-season Storage: If possible, store chairs indoors or under cover during harsh weather—a knockdown version is easy to disassemble and store flat .
- Fastener Check: Tighten screws and inspect all joints annually, especially before heavy use periods.
- Cleaning: Wipe down with mild soap and water; avoid harsh chemicals that could degrade the finish.
Frequently Asked Questions (FAQs)
Q: How much carpentry skill is needed to build a Wave Hill Chair?
A: The chair is designed for accessibility and can be built by anyone with basic skills, especially when using Wave Hill’s official plans. Some experience with measuring, cutting, and drilling is recommended, but many first-timers have succeeded using these instructions .
Q: Is cedar required, or can I use other wood?
A: Cedar is recommended for outdoor durability and resistance to rot but pine, fir, or other exterior-suitable woods may be used if properly finished. Expect more maintenance or a reduced lifespan if you opt for less weather-resistant species .
Q: Are the plans adjustable if I want a different size chair?
A: Yes. Many DIYers adapt the plans for taller, shorter, or wider chairs by modifying the length of seat and back planks or the recline angle. Just ensure proportion and structural integrity remain intact .
Q: What’s the best way to get the smoothest paint finish?
A: Sand thoroughly before priming, use an oil-based undercoat on knots (especially in cedar), then apply two coats of high-quality exterior paint, allowing full drying between coats .
Q: Where can I see these chairs in person?
A: Visit Wave Hill public gardens in New York for firsthand inspiration. Many other public gardens and some art institutions also feature the chair, either as originals or in inspired adaptations .
Conclusion: Why Every Garden Needs a Wave Hill Chair
The Wave Hill Chair embodies the best qualities of outdoor furniture: ease of construction, stylish minimalism, and functional comfort. With accessible DIY plans and the flexibility to adapt its look to any outdoor space, it stands as a testament to enduring design and the joy of making something lasting with your own hands. For design lovers and home DIYers alike, crafting a set of Wave Hill Chairs offers a rewarding, creative weekend project.