How to Build a DIY Pop-Up Trunk Shelf for Organized Car Storage
If you’ve ever opened your car trunk to find groceries, gear, or shopping bags rolling around, you’re not alone. Organizing the trunk of your vehicle can be a challenge, but with a simple DIY pop-up shelf, you can transform that messy space into an organized, versatile storage solution that’s easy to install and just as easy to stow away when not needed. This guide will walk you step-by-step through the process of building a foldable, adjustable trunk shelf perfect for groceries, sports gear, and travel essentials.
Why Add a Trunk Shelf?
Trunk shelves help you separate and protect delicate items—no more crushed produce or spilled detergent bottles. They offer:
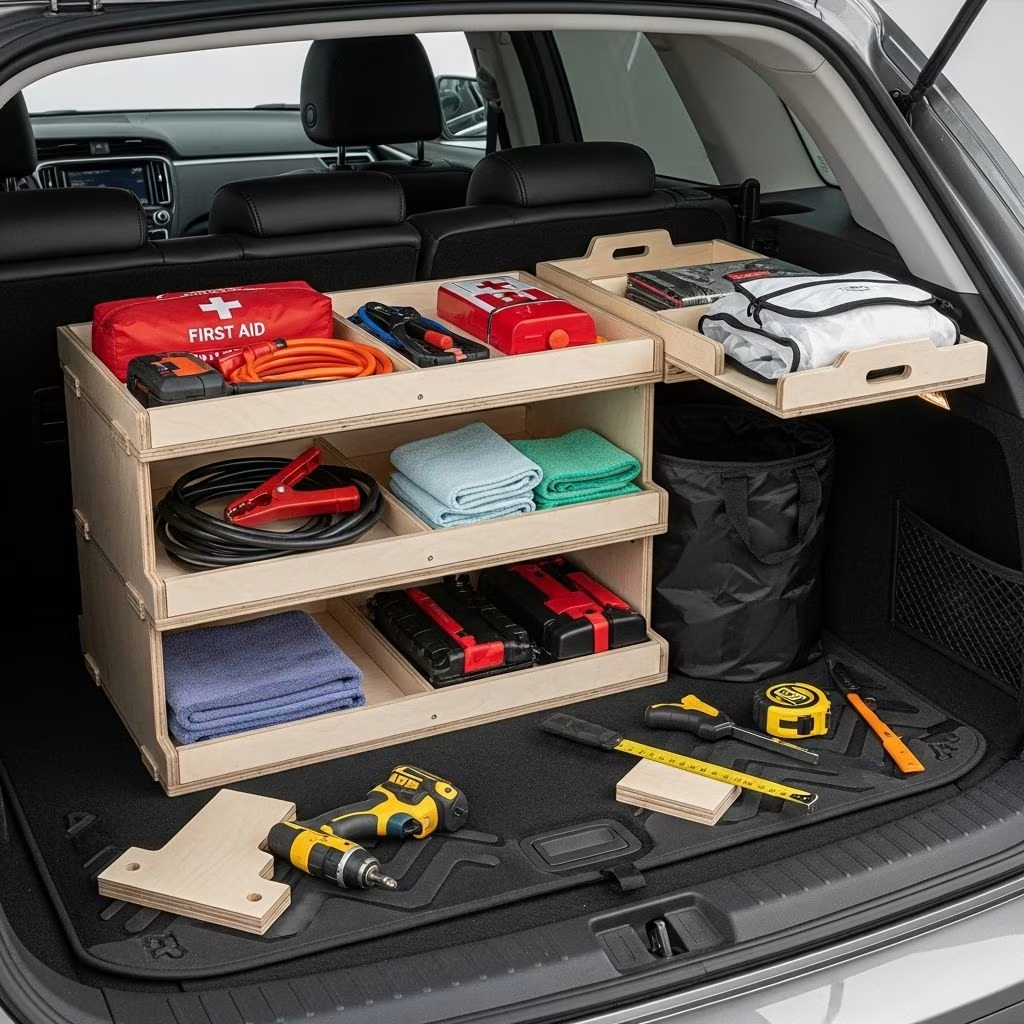
- Two-tiered storage: Double the usable trunk space by using both the area beneath and above the shelf.
- Stability for smaller items: Prevent groceries from rolling while driving.
- Fold-away convenience: Shelf can easily collapse when extra trunk space is needed for bulkier cargo.
- Customizability: Adjust the shelf to fit your car’s specific dimensions.
Materials & Tools You’ll Need
You can source everything required for this project from your local hardware store. Be sure to measure your vehicle’s trunk dimensions before shopping.
| Material | Purpose |
|---|---|
| Open wire closet shelf (adjustable length) | Main shelf structure, sturdy and lightweight |
| Two folding metal legs or shelf brackets | Provides collapsible support |
| Auto-grade carpet or shelf liner | Cushions the shelf for fragile items |
| Zip ties | Attaches legs securely to shelf |
| Teacup hooks or large screw-in hooks | Anchors the shelf to the backseat or trunk for added stability |
Tools:
- Measuring tape
- Hacksaw or wire cutter (for sizing metal shelf)
- Scissors
- Needle and thread (optional, for sewing carpet edges)
- Marker (for placement markings)
Step-by-Step Instructions
Step 1: Measure Your Trunk Space
Use a tape measure to determine the width and depth of your trunk. Decide where you want your shelf to sit—this may be level with the top of your rear seats or slightly lower if you need more headroom underneath. Record both the length and width for a snug fit.
Step 2: Prepare the Wire Shelf
- Trim the wire closet shelf to match your trunk width if needed, using a hacksaw or heavy-duty wire cutters.
- If your trunk is not perfectly rectangular, round off or trim the shelf corners for a custom fit.
Pro Tip: Allow a slight slope away from the trunk door. This prevents items on the shelf from sliding out when you open the trunk.
Step 3: Add Carpet for Cushioning
- Cut a piece of auto-grade carpet or non-slip shelf liner to fit the top surface of your wire shelf.
- Secure the carpet by sewing the edges (optional) or use zip ties to fasten securely at several points along the shelf.
This is especially useful if you transport glass bottles, electronics, or produce that you don’t want to jostle directly on wire shelving.
Step 4: Attach the Folding Legs
- Use zip ties to fasten each folding leg to the shelf—attach at points that provide balanced support when the shelf is deployed.
- Make sure the legs are positioned so they fold flat against the shelf when not in use.
- If you use brackets instead of ready-made legs, ensure they can collapse for compact storage.
Tip: Double-check the leg length. When extended, legs should create a level shelf aligned with your desired trunk height and allow the shelf to sit at a gentle backward incline.
Step 5: Install Teacup Hooks for Stability
- Mark the location on the back of your rear seats (or trunk side walls) where you want the shelf to anchor.
- Screw teacup hooks in at an even height for a steady shelf. Avoid penetrating areas near airbags or electrical wiring.
- Line up the edges of your shelf so they rest securely on these hooks when deployed.
Step 6: Assemble and Test Fit
- Set the shelf in place, hook it onto the teacup hooks, and deploy the folding legs.
- Make minor adjustments as necessary—trim the shelf, reposition legs, or adjust hook height.
- Test stability by gently pressing down on the shelf and adding a few items.
Step 7: Organize & Make the Most of Your New Space
- With the shelf in use, store breakable or squishable groceries on top, while keeping heavier or bulkier items beneath.
- When you need to haul oversized cargo, simply fold the legs and store the shelf flat inside your trunk or garage.
Tips for Customization and Safety
- Sizing: Adjust shelf width and depth to fit large SUVs, sedans, or hatchbacks.
- Materials: Use plastic-coated wire for easy cleaning, or add a rubber liner for slip-resistance.
- Security: Always ensure the shelf and all attached hooks are firmly anchored to prevent tipping during sudden stops.
- Foldability: For particularly tight spaces, use low-profile brackets or removable legs.
What Trunk Items Benefit Most from a Shelf?
- Groceries (especially fragile produce and eggs)
- Shopping bags
- Picnic and camping gear
- Sports equipment (balls, cleats, small gear bags)
- Tools and roadside kits
- Cleaning supplies
Heavier or less delicate items, such as coolers, suitcases, or large boxes, should be stowed below the shelf or removed when not using the shelf to prevent overloading.
Maintenance & Long-Term Care
- Periodically check zip ties, hooks, and shelf for signs of wear—replace as needed.
- Vacuum or spot clean the carpeted surface to keep the trunk tidy.
- Consider removing the shelf if transporting especially heavy loads.
Table: Quick Reference – DIY Trunk Shelf at a Glance
| Feature | Details |
|---|---|
| Main Shelf | Wire closet shelf, trimmed to fit |
| Support | Two collapsible/folding metal legs (zip tied) |
| Surface | Auto-grade carpet or liner, secured |
| Anchoring | Teacup hooks attach to back seat or trunk side wall |
| Assembly Time | Approx. 1-2 hours |
| Storage | Legs fold, shelf stores flat |
Frequently Asked Questions (FAQs)
Q: Will this shelf fit in any car?
A: The DIY shelf is designed to be customizable. By measuring your trunk beforehand and trimming the shelf to fit, you can adapt this project for most vehicles—including sedans, SUVs, and hatchbacks.
Q: How much weight can the shelf support?
A: Most wire closet shelves are strong enough for 20-30 pounds when properly anchored and supported. For heaviest cargo, reinforce the shelf or use thicker-gauge wire. Always test stability before regular use.
Q: Can I remove the shelf easily when I need more trunk space?
A: Yes. The folding legs and hook system mean the shelf folds flat and is easily removable, freeing your trunk for larger or taller items without requiring tools.
Q: Is the installation permanent?
A: No. Besides adding teacup hooks (which can be unscrewed later), everything else is non-permanent and can be quickly assembled or taken out as needed.
Q: Where can I find step-by-step visuals?
A: For a complete photo tutorial, check DIY communities such as Instructables, which often have visual step-by-step guides for similar trunk shelf projects.
Final Thoughts: Transform Your Trunk in an Afternoon
With just a few easy-to-source supplies and a small investment of time, you can upgrade your car’s organization for safer, easier grocery hauls and road trips. This trunk shelf provides separation for fragile items, improves access, and folds away in seconds when you need cargo room for something larger. Whether you’re a frequent shopper, sports parent, or road tripper, a DIY pop-up trunk shelf is a clever, affordable solution for maximizing your vehicle’s potential.
References
- https://www.countryliving.com/home-maintenance/organization/a41880/diy-trunk-shelf/
- https://www.youtube.com/watch?v=2In4sleSrhI
- https://100things2do.ca/trunk-organizer-double-storage-space/
- https://www.instructables.com/SUV-Trunk-Shelf/
- https://betterpreparedness.com/build-an-easy-diy-suv-trunk-storage-rack/
- https://www.youtube.com/watch?v=8UZkJbckTiE