Backyard Mud Kitchen Setup: Sensory Play Destination
Mud kitchens are rapidly becoming a must-have feature in family backyards, school gardens, and playscapes worldwide. This comprehensive guide covers everything you need to know: from planning and building a mud kitchen, choosing the safest and most engaging materials, to organizing ongoing sensory play activities for all ages and seasons.
Introduction to Mud Kitchens
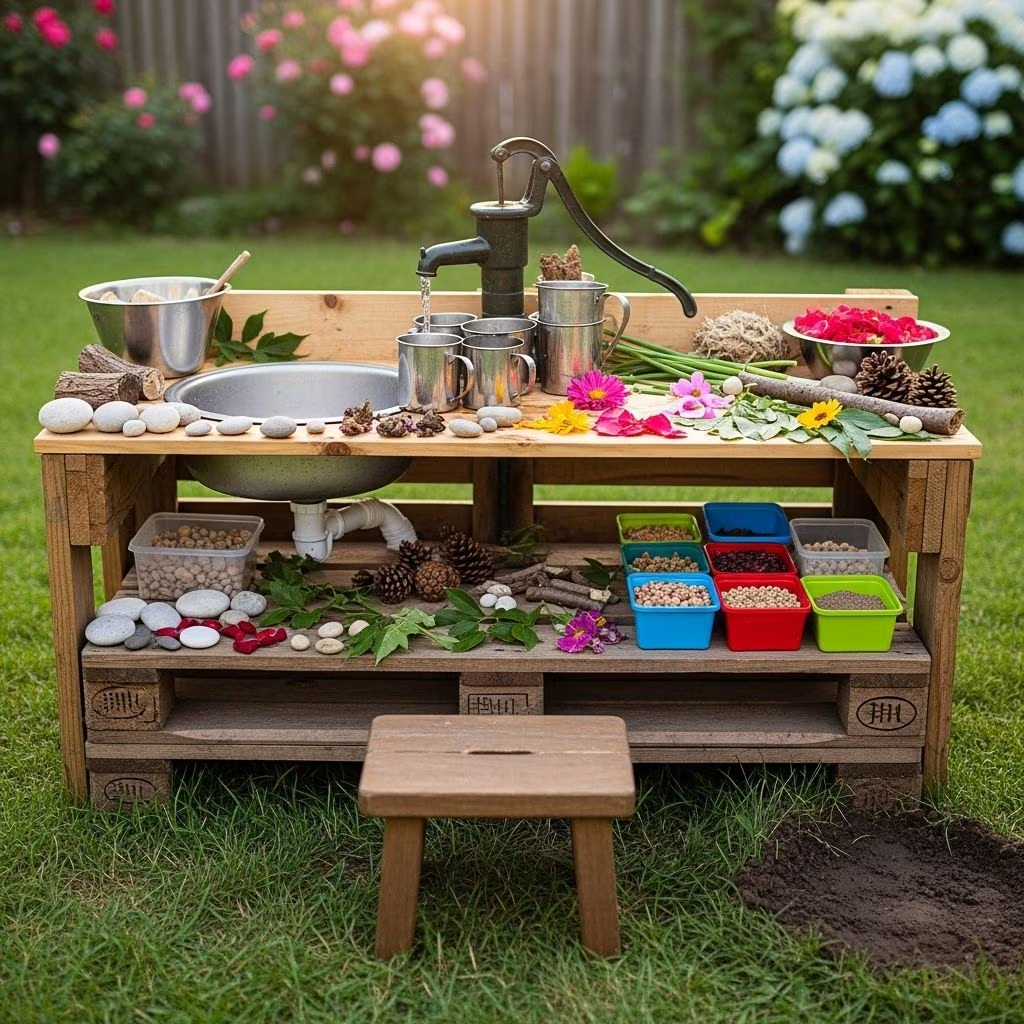
A mud kitchen is an outdoor play space designed for children to imagine, create, and experiment using natural materials such as mud, water, sand, leaves, and twigs. Equipped with basic kitchen tools and containers, mud kitchens foster endless creative possibilities—think mud pies, nature soups, and leaf stews.
The concept has evolved from simple setups to more elaborate stations with sinks, stovetops, open shelving, and weatherproof finishes. Mud kitchens can be a DIY project or a repurposed garden bench tailored to your space and needs.
Why Mud Kitchens? Key Benefits
- Sensory Development: Engaging touch, sight, smell, and sometimes taste through messy, hands-on exploration.
- Imaginative Play: Kids invent their own recipes, stories, and roles, developing creativity and language skills.
- Social Interaction: Mud kitchens encourage cooperative play, sharing, negotiation, and teamwork.
- Physical Activity: Digging, pouring, mixing, carrying water and materials build fine and gross motor skills.
- Connection to Nature: Playing with earth materials increases understanding of weather, life cycles, and eco-awareness.
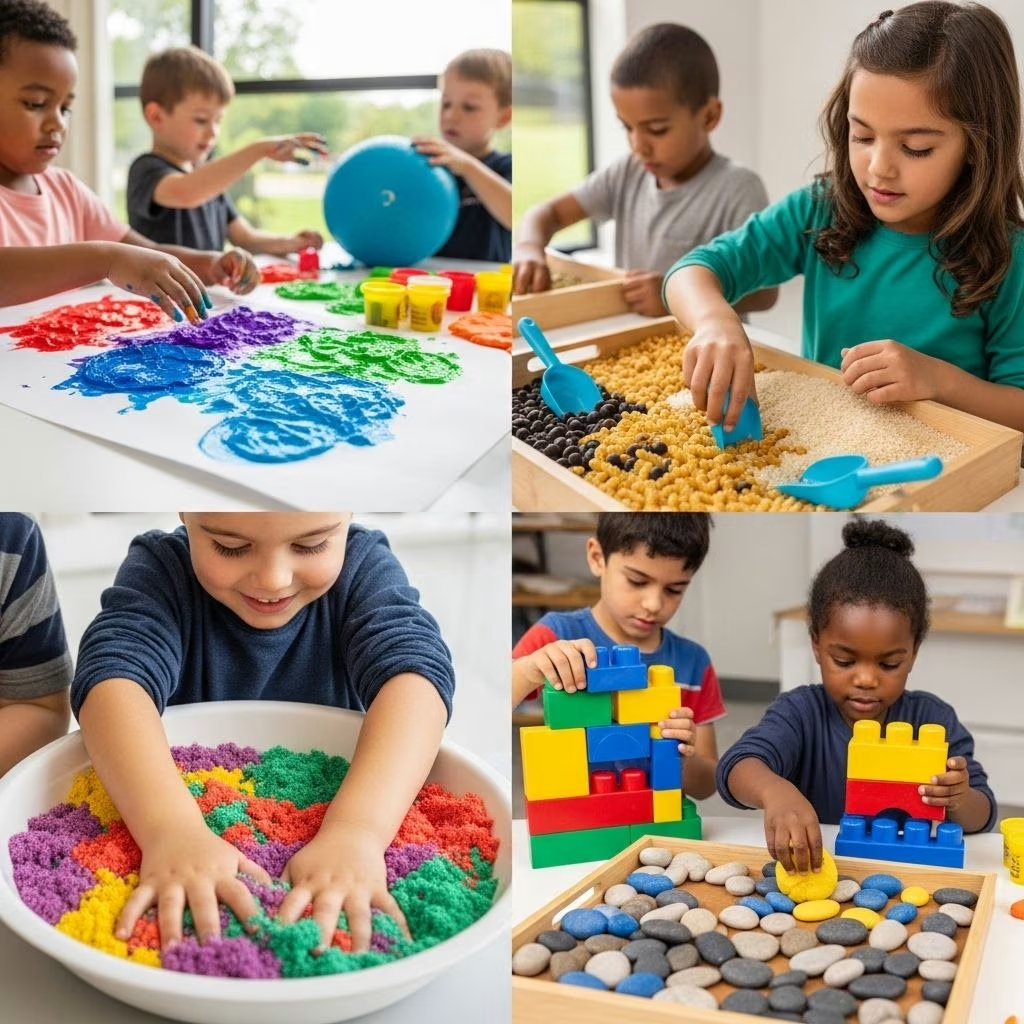
Messy play is not just fun—it’s an essential part of childhood development. Numerous experts support outdoor sensory play for boosting resilience, independence, and emotional well-being.
Planning Your Backyard Mud Kitchen
Before building, consider your budget, available space, target age group, and overall design preferences. A mud kitchen can be simple or sophisticated, but should always be sturdy, safe, and accessible.
- Location: Choose a shady or partially shaded spot with some protection from heavy rain. Flat surfaces or a corner of your yard work best.
- Size: Plan for enough workspace, cooking zones, and storage for the number of children playing.
- Accessibility: Adjustable heights accommodate toddlers and older children; ensure wheelchair accessibility if needed.
- Water Source: For real messy fun, access to a hose or water basin is ideal (consider quick drainage options).
Step-by-Step: How to Build a Mud Kitchen
The most common DIY mud kitchen uses basic lumber, screws, and a recycled container for the sink. Here’s a step-by-step approach inspired by leading guides:
- Gather Materials:
- At least 7–15 wooden boards (cedar or untreated recommended for weathering)
- Deck screws (1.25″ and 2.5″ sizes, minimum 54 each)
- Weatherproof stain or protective finish
- One or two plastic tubs for sinks (10-gallon capacity suggested)
- Old jars, bowls, pots, pans, recycled kitchen utensils
- Optional: spray paint (for stovetop decor), hooks, extra shelves
- Frame Construction:
- Cut side and back panels, as well as legs, to roughly 2 feet tall (height) and 4–7 feet long (width).
- Assemble a rectangular frame and fit the cut-out for the sink tub, making sure it’s flush with the surface.
- Add a backsplash panel (optional)—about 22 inches higher for hanging utensils and organizing spices.
- Surface Finishing:
- Weatherproof the wood using exterior stains or Tung oil (two coats recommended).
- Paint stovetop circles and controls for realism; use acrylic or spray paint.
- Assembly & Anchoring:
- Secure kitchen legs robustly for stability. Anchor to the ground if you live in areas prone to strong winds.
- Install Sink & Accessories:
- Drop in the plastic tub(s), provide a simple drain hole if you like.
- Add shelves underneath for storage bins and open hamper organization.
- Install hooks or pegs for utensils, ladles, colanders, and aprons.
| Material | Pros | Cons |
|---|---|---|
| Cedar Wood | Weather-resistant, durable | More expensive than pine |
| Pallet Wood | Low-cost, upcycled | May splinter, less durable |
| Plastic Tub Sink | Light, easy to clean | Handle removal may be needed for fitting |
Essential Mud Kitchen Supplies
- Pots and Pans: Old kitchen pots, mixing bowls, muffin tins, roasting pans
- Utensils: Wooden spoons, spatulas, whisks, ladles, scoops
- Colanders and Strainers: For imaginative draining and sifting
- Measuring Cups and Jugs: For pouring and volume play
- Containers and Jars: For ‘spices’ (sand, gravel, flower petals) and storage
- Water Source: Hose, watering can, or manual jug
- Baskets or Storage Bins: Open laundry hampers for easy cleanup
Let kids participate in collecting and organizing materials; it teaches responsibility and supports ownership of their play space.
Organization and Storage
A functional mud kitchen is organized for both play and easy cleanup. Experts suggest:
- Open shelves or baskets for quick access—kids dump everything in after play
- Hooks for drying and organizing kitchen tools
- Bins below the workspace for muddy items and loose parts
- Weatherproof covers or indoor storage during winter to prolong life
Consider labeling jars and bins to encourage independent cleaning and organization. Use recycled containers to reinforce sustainability themes.
Setup Ideas and Inspiration
- Repurpose garden benches, old furniture, or shelving units into creative kitchens
- Design separate “stove” and “sink” zones for realism
- Add decorative touches: painted stovetop circles, kitchen signage, chalkboards for daily “menus”
- Incorporate natural borders—logs, stones, plants—to blend the setup with your yard
For year-round play, consider positioning your mud kitchen near deciduous trees (for summer shade, winter sun) and on a surface that drains well (gravel, mulch, or pavers).
Sensory Play Activities & Recipes
Mud kitchen play is all about imagination. Popular “recipes” include:
- Mud Pies: Mix mud with water, decorate with leaves, sticks, and petals
- Nature Soup: Blend stones, twigs, and flowers in bowls of water
- Leaf Stew: Stir chopped grass and foliage with dirt and water
- Rock Pancakes: Shape mud pancakes, flip with spatulas
- Sand Cakes: Use sand for “baking” creative treats, decorate with pinecones
Extend the play with dramatic role-play (“restaurant”, “tea party”, “bakery”) and simple science experiments (sink or float, mixing colors with petals, observing insects). Sensory play builds vocabulary—chat about texture, volume, and temperature during activities.
Year-Round Mud Kitchen Play
- Spring: Fresh flowers, vibrant leaves, mud with spring rainwater
- Summer: Sandbox additions, water play, cooking with sun-dried plants
- Autumn: Fallen leaves, acorns, bark, pumpkin “stews”
- Winter: Ice experiments, snow “recipes”, indoor mud kitchen play (move to a garage)
Regularly refresh the supplies with seasonal items from your garden or nature walks—keeps creativity high and play evolving throughout the year.
Safety Considerations
- Always use non-toxic, untreated wood and water-safe containers
- Supervise young children around water sources
- Check for sharp, broken, or splintered tools before play
- Teach basic hygiene—hand washing after play is essential
- Keep mud kitchen away from traffic, pets, and chemicals
- Regularly inspect for mold or rot in outdoor wooden surfaces
If you use food-based ‘spices’ (herbs, safe petals), make sure plants are non-toxic and pesticides-free. Allergies? Avoid nuts, certain flowers, or compost that may trigger reactions.
Maintenance & Tips
- Hose down surfaces after each session—don’t worry about perfect cleanliness, but prevent build-up
- Store utensils and containers dry to prevent rust and material decay
- Sand wooden surfaces once a season to maintain smoothness and safety
- Cover or move the kitchen indoors during harsh winter months
- Refresh mud, sand, and nature supplies as needed to keep play exciting
Encourage kids to help with cleanup—turn it into a game or an extension of the sensory play experience.
Frequently Asked Questions (FAQs)
Q: What age group is mud kitchen play suitable for?
Mud kitchens are ideal for children ages 2–10, but older kids and even adults often enjoy organizing, designing, and creating in these spaces.
Q: How can I make a mud kitchen safe for toddlers?
Choose rounded, blunt utensils and smooth wooden surfaces. Place the kitchen on an even surface, supervise water play, and use only shallow basins.
Q: Can I keep a mud kitchen outdoors all year?
Yes, with proper weatherproofing (stain, covers). In freezing climates, disassemble or store in a shed or garage during winter for best longevity.
Q: What are some budget-friendly ways to set up a mud kitchen?
Use recycled pallets, upcycle old benches or shelves, source containers and utensils from thrift stores, and collect natural play materials during walks.
Q: How do I encourage ongoing sensory play?
Refresh “ingredients” seasonally, prompt new role-play scenarios, introduce new utensils and recipes, and invite friends for group play.
Explore how a backyard mud kitchen setup unlocks the full spectrum of children’s sensory, imaginative, physical, and social growth—right at home. With thoughtful organization, safety, and year-round variety, mud kitchens are a delight for families seeking creative outdoor adventures.
References
- https://www.theleangreenbean.com/how-to-build-a-mud-kitchen/
- https://thisoldbrickhouse.com/2020/05/28/diy-mud-kitchen/
- https://theorganizedmomlife.com/mud-kitchen/
- https://meganzeni.com/build-a-mud-kitchen/
- https://backwoodsmama.com/2025/08/mud-kitchen-ideas.html
- https://tinkergarten.com/activities/set-up-your-play-centers-mud-kitchen
- https://mothernatured.com/nature-play/diy-mud-kitchens/
- https://www.youtube.com/watch?v=tGVgJ6eS2V0
- https://thehillsidemarket.com/blogs/news/setting-up-your-kids-mud-kitchen-for-sensory-play