


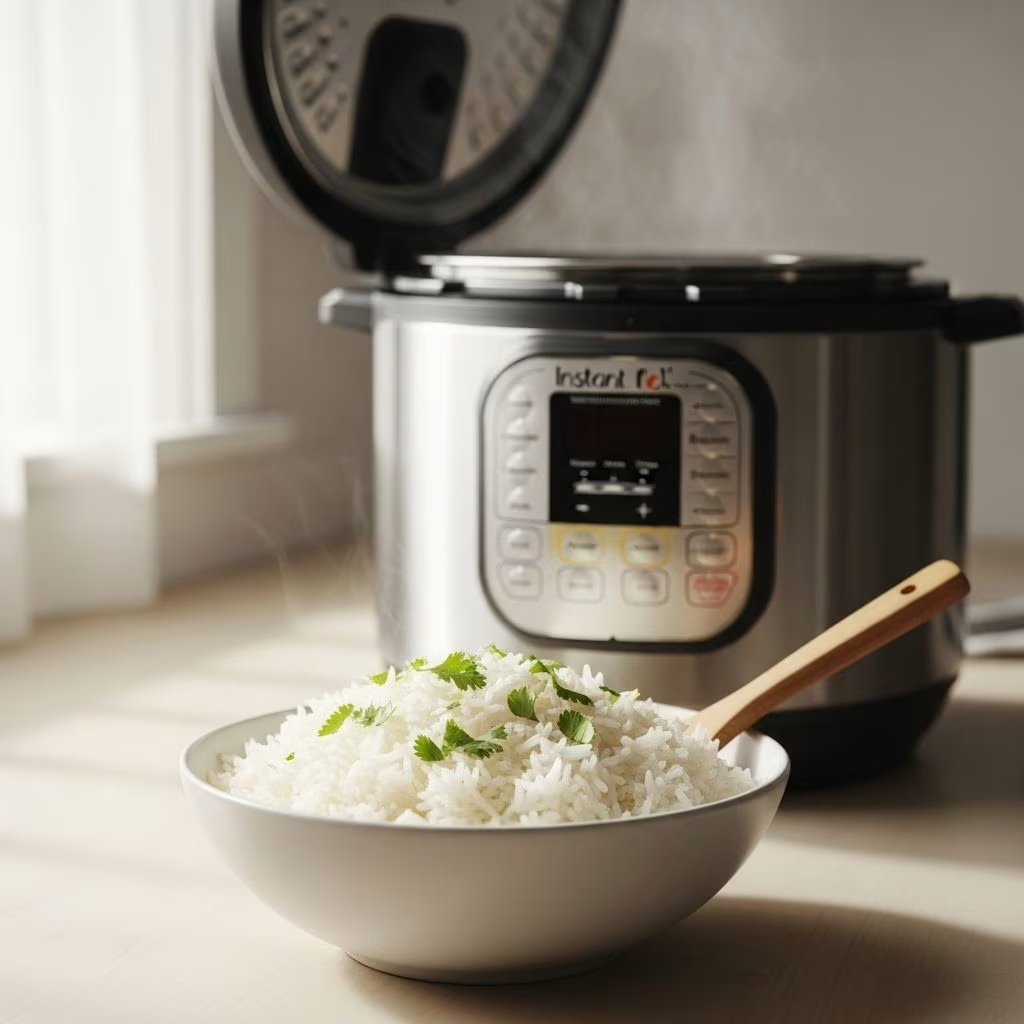
Perfect Instant Pot Rice: Foolproof Every Time
Say goodbye to inconsistent stovetop results and bulky rice cookers — Instant Pot rice is renowned for its reliability, ease, and flavor. This method delivers fluffy, fragrant grains ideal for sides, grain bowls, meal prep, or pairing with your favorite stir-fries. With minimal ingredients and hands-off cooking, anyone can master rice with the Instant Pot.
Why Choose the Instant Pot for Rice?
- Consistency: Each batch of rice comes out light and tender.
- Speed: Active time is minimal; just set and forget.
- Hands-Off Cooking: No monitoring—simply let the pressure build, cook, and release.
- Versatility: Works for classic side dishes or as a base for creative grain bowls.
How to Make Instant Pot Rice
This process is remarkably simple, relying on just two core ingredients for basic white rice. Here’s how:
Ingredients
- 2 cups uncooked white jasmine or basmati rice (well rinsed)
- 2 cups water
Note: This method specifically works best for white jasmine or basmati rice. Brown rice and black rice require different cook times and ratios (covered later).
Step-by-Step Instructions
- Rinse the Rice: Place rice in a fine mesh strainer and rinse under cold water until the water runs clear. Rinsing removes excess surface starch, which helps prevent stickiness and gumminess.
- Combine Ingredients: Add the rinsed rice and water to a 6-quart Instant Pot.
- Pressure Cook: Secure the lid and cook on High Pressure for 3 minutes.
- Natural Release: Allow the Instant Pot to release pressure naturally until the float valve drops (typically 10-12 minutes).
- Fluff and Serve: Remove the lid and gently fluff the rice with a fork.
Quick Table: Rice-to-Water Ratio and Timing
| Rice Variety | Rice:Water Ratio | Cook Time (High Pressure) | Release Type |
|---|---|---|---|
| White Jasmine/Basmati | 1:1 | 3 minutes | Natural release |
| Brown Rice | 1:1.25 | 20 minutes | Natural release |
Best Practice: Rinse and (Optional) Soak
- Rinsing: Essential for removing excess starch. For parboiled/“converted” rice (typical in America), rinsing is optional since surface starch is minimal.
- Soaking: Some rice experts recommend soaking for 20-30 minutes before cooking to mimic high-end rice cookers. This yields slightly softer, more aromatic rice but increases prep time.
Flavor Variations and Add-Ins
While water and salt are all you need for excellent basic rice, flavor boosters can amp up your side dish.
- Broth Instead of Water: Substitute vegetable or chicken broth for rich flavor.
- Herbs & Aromatics: Add a bay leaf, cinnamon stick, or a clove of garlic to the pot.
- Citrus Zest: Just before serving, toss with lemon or lime zest for brightness.
- Butter or Olive Oil: Stir in 1-2 tablespoons for luxurious, creamy grains.
- Frozen Peas or Corn: Fold in thawed or frozen veggies after pressure release for colorful rice bowls.
Rice Cooking Tips & Troubleshooting
- Choose the Right Setting: For non-brown rice, always use High Pressure (manual/pressure cook); avoid the “Rice” button unless your model specifies white rice only.
- Don’t Peek! Opening the lid before natural release may affect texture.
- Batch Size: The basic 2-cup recipe scales easily. Adjust water and rice volume accordingly.
- Pot-in-Pot Method: Cook rice and a main course simultaneously by placing a metal bowl with rice atop the trivet above another recipe (e.g., chicken). This saves time and effort.
- Sticky Rice? Be sure to rinse well and use correct ratios; avoid adding too much liquid.
Instant Pot Rice for Meal Prep
- Storage: Cool rice to room temperature, then store in an airtight container in the fridge for up to 3 days.
- Freezing: For longer storage, spread cooled rice on a baking sheet, pack in zip bags, and freeze for up to 3 months.
- Reheating: Microwave in a covered bowl with a splash of water or steam briefly in a saucepan to restore moisture.
- Using Leftovers: Stir-fry rice with vegetables, scramble into breakfast bowls, or add to soup.
Adapting for Brown Rice & Other Varieties
White rice is fastest, but if you crave the nutty flavor and extra fiber of brown rice, the Instant Pot excels here too.
Brown Rice Basics
- Ratio: Use 1 cup brown rice to 1.25 cups water.
- Cook Time: High Pressure for 20 minutes, plus natural release (about 20 more minutes).
- Rinsing: Always rinse brown rice to avoid gummy grains.
Note: The higher water ratio accounts for the tougher bran layer on brown rice. Less water evaporates inside the Instant Pot, so you need less than stovetop recipes.
Frequently Asked Questions (FAQs)
Q: Can I use the Instant Pot Rice Button for this recipe?
A: The “Rice” button is designed for plain white rice — usually medium-grain. For other rice types (jasmine, basmati, brown), use Manual/High Pressure settings. Brown rice requires longer cook time.
Q: How much rice should I cook at one time?
A: You can make anywhere from 1 to 4 cups of dry rice in a 6-quart Instant Pot (or more in larger sizes). For even cooking, don’t exceed the Instant Pot’s “Max Fill” line.
Q: Can I double or halve this recipe?
A: Yes, simply maintain the 1:1 rice-to-water ratio for jasmine or basmati rice. Adjust cook time only for thicker batches (larger volumes may need 1-2 more minutes for very large amounts).
Q: Should I wash American rice?
A: Parboiled rice (labeled “converted”) has minimal surface starch due to steam processing, so rinsing isn’t essential. For long-grain rice, rinsing improves texture.
Q: Can I cook other grains?
A: Yes, Instant Pot works for quinoa, farro, bulgur, or wild rice. Adjust water ratio and cook time to match grain specifications.
Serving Suggestions and Rice Bowl Inspiration
- Pair fluffy Instant Pot rice with grilled vegetables and tofu for a plant-based bowl.
- Top with shredded chicken, beans, salsa, and avocado for burrito bowls.
- Serve as a classic side for curries, stir-fries, and roasted meats.
- Fold into salads or use for homemade sushi rolls.
Expert Tips for Perfect Rice Every Time
- Freshness Matters: Use fresh, high-quality rice. Old rice may be dry and require slightly more water.
- Let it Rest: After natural pressure release, keeping the lid closed for 5 more minutes steams grains to perfection.
- Fluff, Don’t Stir: Use a fork to separate grains after cooking; avoid stirring vigorously (which leads to gummy rice).
- Garnish: Top with fresh herbs, chili flakes, toasted sesame seeds, or a squeeze of citrus.
Nutritional Benefits of Instant Pot Rice
Rice is a staple around the world, prized for its energy, gluten-free nature, and versatility in every cuisine. Jasmine and basmati rice deliver quick, easily digestible carbs with a fragrant aroma. Brown rice adds extra fiber, minerals, and nutrients. Using your Instant Pot makes whole grains more accessible for weeknight meals.
Common Mistakes and Solutions
- Rice Too Mushy: Use less water; always measure accurately.
- Rice Too Firm: Add a splash more water and cook for 1-2 additional minutes.
- Scorched Bottom: Ensure there’s enough water and try adding a teaspoon of oil to the pot first.
- Soggy Rice After Storage: Allow to cool before refrigerating and reheat with minimal added moisture.
Final Thoughts: Why Instant Pot Rice Is a Game Changer
If you want no-fuss, reliably fluffy rice week after week, the Instant Pot is your best friend. Its simplicity, speed, and adaptability make it essential for home cooks, meal preppers, and anyone looking to maximize kitchen efficiency. Experiment with different varieties, ratios, and flavor add-ins — your rice will always be delicious!
Ready to try perfect rice? Add this Instant Pot method to your rotation and enjoy easy, flavor-packed meals every time.


