How to Master the Holiday Stitch Bun: Step-by-Step Guide
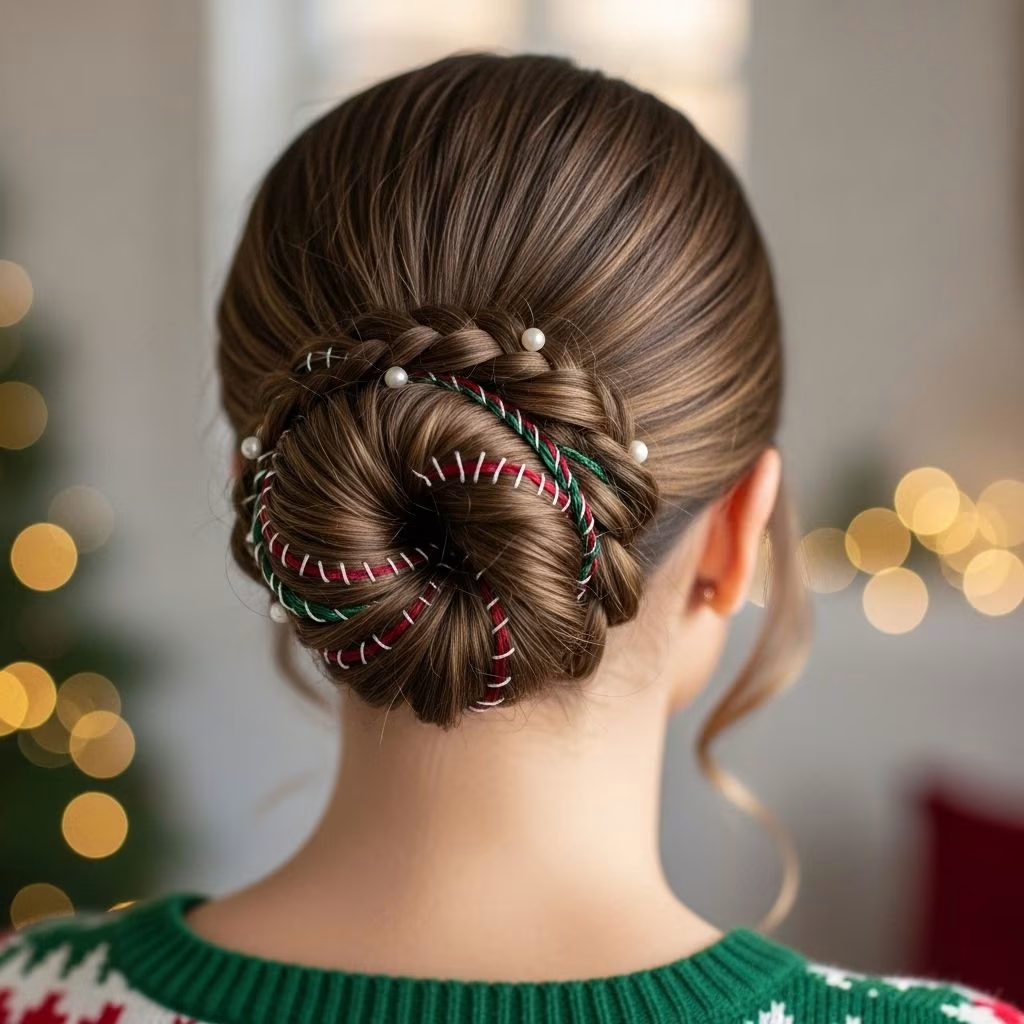
If you’re searching for a standout hairstyle this festive season, the holiday stitch bun from Cosmopolitan’s ‘The Braid Up’ is the perfect option. Combining sleek stitch braids with a glamorous curly bun, this protective style is eye-catching, versatile, and party-ready. Below, we’ll walk you through every step, share essential tips, and answer the most common questions so you can confidently create the ultimate holiday bun.
What Is the Holiday Stitch Bun?
The holiday stitch bun is an elevated and playful protective hairstyle that fuses classic stitch braids with a luxurious, full bun—usually enhanced with wavy or curly hair extensions. This look is achieved by parting the hair into clean, even sections, meticulously braiding with the stitch method, and then crafting a voluminous bun at the top or back of the head. The result is a polished updo with plenty of texture and visual interest.
Why the Stitch Bun Is Perfect for the Holidays
- Eye-catching: The intricate braiding pattern and dramatic bun stand out at any festive gathering.
- Protective: Shields natural hair from harsh winter weather and excessive styling damage.
- Versatile: Can be customized with accessories, curls, or different bun positions to match any event or personal taste.
- Long-lasting: With proper care, this style can last more than a week, meaning you’ll look polished through all your celebrations.
Tools and Products You’ll Need
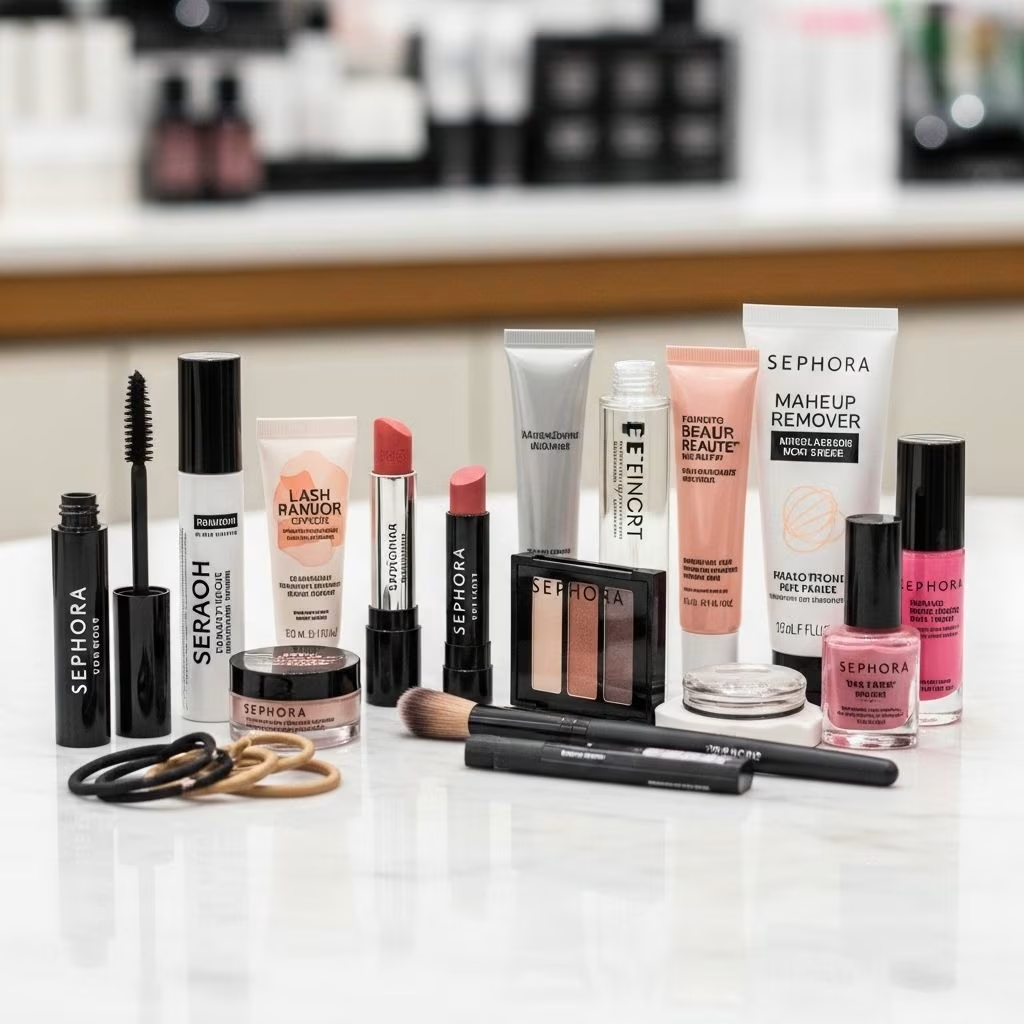
Before getting started, gather these essentials:
- Wide-tooth comb for detangling
- Rat-tail comb for parting
- Edge control gel or cream for sleekness and hold
- Styling mousse or foam to lock styles in place
- Hair ties and bobby pins for securing sections
- Braiding hair extensions (optional, for added fullness or length)
- Curly or wavy hair weave for the bun (optional)
- Silk scarf or bonnet to set the style after finishing
Step-by-Step Holiday Stitch Bun Tutorial
1. Prep: Start with a Clean Slate
Preparation is critical for achieving a neat and long-lasting stitch bun:
- Shampoo, condition, and thoroughly detangle your hair.
- Apply a leave-in conditioner or lightweight moisturizer for softness and manageability.
- Blow-dry straight on low heat or stretch your hair using braids or twists overnight if your hair is tightly coiled.
Tip: Well-moisturized hair prevents breakage during installation and takedown.
2. Section Your Hair
Use a rat-tail comb to create precise sections from your hairline to the crown or desired point for the base of the bun. Clean parts make all the difference for a crisp stitch effect.
- Part your hair into horizontal lines, then further divide into equal-sized boxes based on how many braids you want. Six or eight is typical for a fuller bun.
- Clip each section out of the way as you work.
3. Apply Edge Control and Begin Braiding
Take one section at a time:
- Apply edge control gel or pomade along the parting lines for smoothness and hold.
- Stitch braid each section by splitting the hair into three strands and feeding in extensions as you go (if using).
- Every few passes, use the tail of your comb or your fingers to “stitch” crisp horizontal lines into the braid, creating the signature look.
Optional: For extra length or thickness, add pre-stretched braiding hair a little at a time.
4. Gather Braids and Form the Bun
- Once all the sections are braided, gather the ends together at the spot where you want your bun (top or nape works well).
- Secure tightly with a hair elastic to form a small ponytail.
5. Get the Perfect Curl and Create the Bun
This is where the wow factor comes in:
- Take your curly or wavy weave and wrap around the base of the ponytail, pinning securely as you go.
- Shape the hair into a full, fluffy bun that sits beautifully atop your braids.
- Fan out the curls for a more undone look or keep them tight for elegance.
Tip: Tug on sections until you achieve your preferred volume and symmetry.
6. Lock In Your Look
- Apply styling mousse to your scalp and the length of your braids for smoothness and hold.
- Wrap a silk or satin scarf around your edges for at least 15 minutes to set everything and tame flyaways.
Finish with a shine spray if desired for extra gloss.
Expert Tips and Pro Touches
- Customize Your Bun: Experiment with bun placement, size, and added hair for unique festive looks.
- Accessorize: Dress up your bun with pins, crystals, beads, or even a sparkling hair band for holiday flair.
- Tidy Edges: Use a small brush and your favorite edge control to swirl and perfect baby hairs for extra polish.
- Maintain: Sleep with a scarf or bonnet to keep the style fresh and moisturize your scalp as needed.
Styling Inspiration and Variations
The holiday stitch bun is every bit as versatile as it is show-stopping. Here are a few ideas to change up your look:
- High Bun: Makes for a bold, statuesque statement—perfect for formal holiday dinners and parties.
- Low Bun: Opt for a more relaxed and romantic look by keeping the bun at the nape.
- Side Bun: Add unexpected interest by shifting the bun to one side.
- Color Play: Incorporate colored extensions or a few vibrant streaks for a festive twist.
- Glitzy Add-ons: Adorn with holiday-themed hair jewelry, ribbons, or glitter gel for extra sparkle.
| Variation | Ideal For | Accessories |
|---|---|---|
| High Curly Bun | Glamorous looks, tall profiles | Crystals, hair cuffs |
| Low Sleek Bun | Work parties, understated elegance | Minimalist pins |
| Side Bun | Creative flair, asymmetry | Statement clips |
| Multi-Color Braids | Festive celebrations, bold style | Ribbons, beads |
Frequently Asked Questions
Q: How long does the holiday stitch bun last?
A: With good maintenance—wrapping hair at night and moisturizing scalp—this style can last 7–14 days, looking neat throughout the holiday season.
Q: Is the stitch bun style protective?
A: Yes. It protects your natural hair from harsh weather, physical damage, and excessive daily manipulation, making it a great choice for winter months.
Q: Can I do a stitch bun if my hair is short?
A: Absolutely. Add braiding hair or extensions to achieve the desired length and fullness, and weave in curly hair for the bun.
Q: How do I keep my braids neat?
A: Use a silk or satin scarf nightly and reapply edge control as needed. Avoid getting the braids wet and minimize product buildup by using a light scalp oil or spray.
Q: Will braiding damage my hair or edges?
A: When installed properly with minimal tension and cared for, this style is gentle. Ensure your stylist doesn’t braid too tight, and don’t neglect scalp moisture.
Final Thoughts
The holiday stitch bun checks every box—ornate, festive, and functional. With this guide, you’re fully equipped to create your own version, whether you go sleek and sophisticated or big and bold. Take plenty of selfies, and don’t forget to show off your creation at your next holiday bash. Happy styling!
References
- https://www.cosmopolitan.com/style-beauty/beauty/a38525867/holiday-stitch-bun-how-to/
- https://www.cosmopolitan.com/style-beauty/beauty/a29325094/stitch-bun-braid-how-to/
- https://www.youtube.com/watch?v=4Vf-ipmTsC0
- https://www.youtube.com/playlist?list=PLrx4fxhgMUObLCxt_QbtT-1Qqx0oN2-EN
- https://www.youtube.com/watch?v=YAFJ5P7X-DI
- https://www.youtube.com/watch?v=JHY5Tu1L2r4