Introduction to DIY Biogas Digesters
As concerns over climate change and sustainable waste management grow, many homeowners and eco-enthusiasts are searching for practical solutions to reduce their environmental impact. One simple, effective approach is to build a biogas digester at home: a system that transforms organic waste—such as food scraps and garden clippings—into renewable biogas (mainly methane) that can be used for cooking or heating, as well as a nutrient-rich fertilizer called digestate. In this guide, you’ll discover the principles behind biogas production, step-by-step instructions for building a DIY digester, essential components, tips for safe operation, and practical uses for biogas and digestate.
What is Biogas and Why Build Your Own Digester?
Biogas is a clean-burning mixture of gases, primarily methane (CH₄) and carbon dioxide (CO₂), generated by the anaerobic (oxygen-free) fermentation of organic matter. Building a small-scale DIY biogas digester provides several significant benefits:
- Reduces household food waste and landfill contributions
- Lowers your carbon footprint by producing sustainable energy
- Generates free fuel for cooking, heating, and lighting
- Produces nutrient-rich digestate suitable as a natural fertilizer
- Helps educate and spread awareness about renewable energy technologies
Digesters are practical for homes, small farms, schools, or eco-communities looking for on-site waste recycling and energy production.
How Biogas Digesters Work
Biogas digesters operate on the principle of anaerobic digestion—the breakdown of organic matter by bacteria in an environment free of oxygen. The process typically involves the following steps:
- Introducing food scraps, manure, or garden waste into a sealed digester tank
- Bacteria consume this feedstock, decomposing it and releasing methane-rich biogas
- The biogas is collected and stored for use, while the leftover slurry (digestate) exits the tank for use as fertilizer
The digester must be airtight, maintain a suitable temperature for bacterial activity (ideally between 30-40°C, or 85-105°F), and be equipped with safe outlets for both gas and digestate.
Key Components of a DIY Biogas Digester
Most small-scale digester designs share a common set of components:
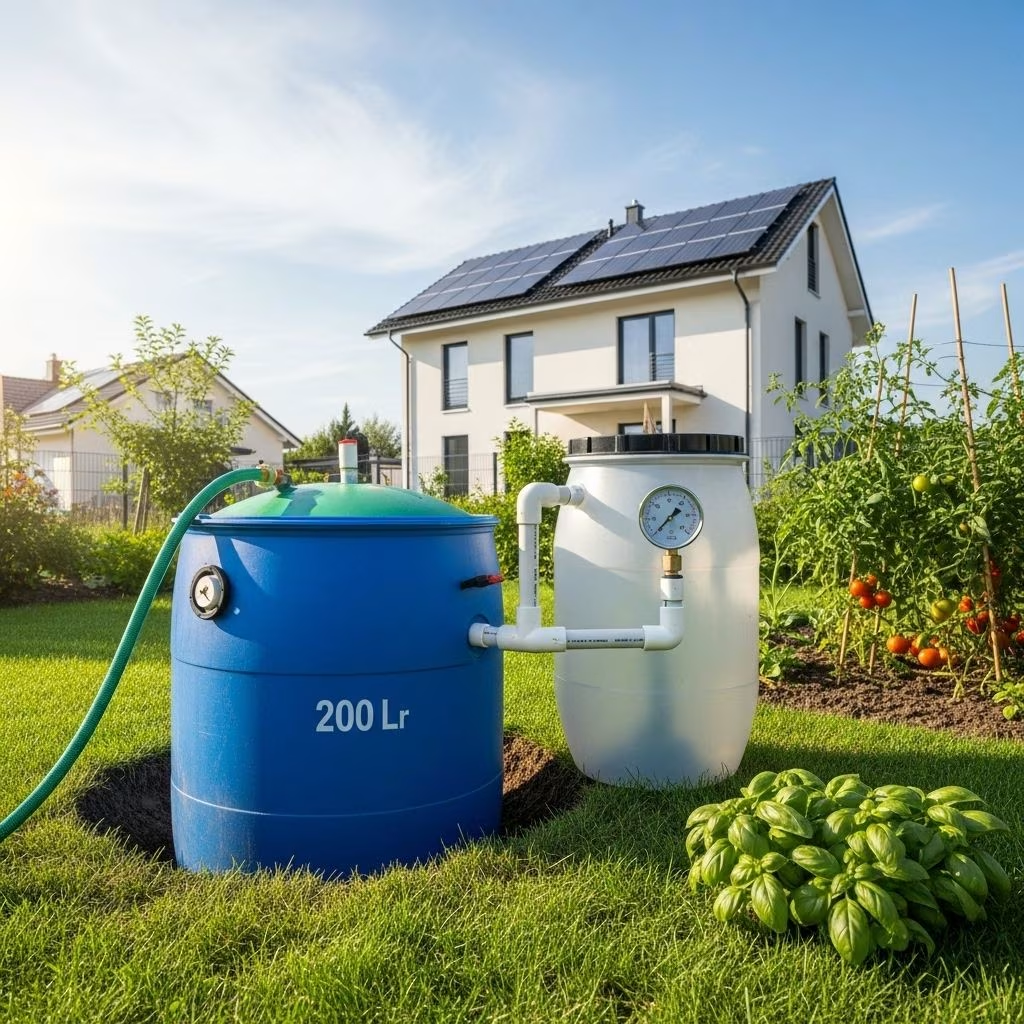
- Digester Tank: An airtight vessel (plastic barrel, drum, or tank) that holds feedstock and supports anaerobic digestion
- Feeding System: Pipe or inlet for adding organic waste
- Outlet System: Pipe or valve for removing digestate
- Gas Collection System: Pipe, valve, and storage bag or balloon to capture biogas
- Gas Delivery: Tubing and safety valves to direct biogas to an appliance (e.g., stove)
- Monitoring Instruments: Optional temperature, pressure, and pH gauges
Optional features include mixers or stirring mechanisms, insulation or heating for cold climates, and exhaust vents for releasing unwanted gases.
Types of DIY Biogas Digesters
Several digester designs are well-suited for home DIY construction:
- Fixed Dome Digesters: Simple underground tanks with a rigid dome to collect gas; reliable but often require masonry work
- Floating Drum Digesters: Above- or underground tank with a floating lid that rises as gas accumulates; easier to gauge gas production
- Balloon or Bag Digesters: Flexible plastic tubes or bags; inexpensive and easily moved or replaced
- Barrel Digesters: Repurposed plastic drums for simple above-ground setups
This guide focuses on barrel and floating drum designs for their affordability and ease of assembly.
Essential Materials and Tools
To build a biogas digester, gather the following materials:
- Large plastic or steel barrel (capacity: minimum 700 liters or ~185 gallons recommended)
- PVC pipes for inlet and outlet (commonly 2-3 inches diameter)
- Flexible tubing or hose for biogas collection and delivery (½ inch diameter for gas outlet)
- Gas storage bag/tire inner tube, or floating drum for gas collection
- Valves, T-connectors, clamps, and sealants (e.g., silicone or epoxy)
- Drill and hole saws matching pipe diameters
- Gloves, goggles, and basic hand tools
- Optional: temperature sensors, pH meters, pressure gauges for monitoring
Step-by-Step Instructions: Building Your Own Biogas Digester
Step 1: Select and Prepare Your Digester Tank
- Choose a robust, airtight plastic or steel barrel with a tightly fitting lid.
- Wash and disinfect the tank to eliminate contaminants.
- Mark the spots for the inlet, outlet, and gas outlet according to your design (see schematic reference).
Step 2: Drill Holes for Inlet, Outlet, and Gas Collection
- Drill a 2-inch inlet hole near the top or the side of the barrel for adding feedstock.
- Drill a 1.25-inch outlet hole lower down for removing digestate.
- Drill ½-inch holes for gas outlets on the lid and on the body (typically three: one just below the lid, one midway, one near the base as a drain).
| Hole Location | Diameter | Purpose |
|---|---|---|
| Lid (Gas outlet) | ½ inch | Biogas exit |
| Body (Inlet) | 2 inches | Feedstock input |
| Body (Outlet) | 1.25 inches | Digestate removal |
| Body (Gas outlet) | ½ inch | For pressure control/ventilation |
Step 3: Install PVC Pipes and Connections
- Fit sturdy PVC pipes to the inlet and outlet holes, running the inlet pipe into the tank’s center for optimal feedstock distribution.
- Connect outlet pipe at a gentle downward angle (about 30 degrees) to facilitate digestate flow.
- Secure pipes and all joints with silicone sealant or epoxy resin to prevent leaks.
- Add valves and clamps to gas outlet and digestate outlet for operational control.
Step 4: Set Up Gas Collection
- Attach flexible tubing to the gas outlet on the lid, leading to a gas storage bag or floating drum.
- Ensure airtight connections using thread tape and clamps.
- Position the gas collection bag higher than the digester for gravity-fed flow; support as necessary (e.g., on a pole).
Step 5: Add Monitoring Instruments (Optional)
- Install a temperature sensor inside the tank to monitor bacterial activity.
- Use a pressure gauge on the gas line to track biogas production.
- Employ a pH meter for periodic checks of slurry health (ideal pH: 6.5-7.5).
Step 6: Start-Up and Commission the System
- Fill the digester tank ⅔ full with a slurry of water and fresh animal manure or organic waste to introduce active bacteria.
- Seal the tank and allow anaerobic conditions to develop.
- After 2-5 weeks, expect gas production to begin; the storage bag or drum will inflate.
- Release the first batch of gas to expel any air in the system; subsequent batches should be combustible.
Best Practices for Operation and Maintenance
- Maintain optimal temperature (ideally 33-40°C / 90-105°F); insulate or add heating as needed in cooler climates.
- Regularly feed the digester with small amounts of fresh organic waste (avoid overfeeding).
- Keep the system airtight and periodically check for leaks using a soap-water test.
- Remove digestate weekly or as needed; use as fertilizer or compost base.
- Monitor gas production, pH, and temperature to maximize performance.
- Avoid introducing inorganic waste, dairy, fats, or excessive citrus/acidic material.
Uses for Homemade Biogas
Once you’ve successfully collected biogas, you can use it to:
- Power a gas stove for cooking
- Run a small heating unit or boiler
- Fuel gas lamps for lighting
- Heat water for showers
Connect the gas line securely to your appliance, always test for leaks before ignition, and never leave the system unattended while burning biogas.
Utilizing Digestate: An Organic Fertilizer Solution
The digestate produced from anaerobic digestion is rich in nutrients and beneficial organic compounds, making it ideal for:
- Fertilizing gardens and farm crops
- Enriching compost piles
- Amending soil for landscaping
Digestate should be allowed to stabilize and can be diluted before application to sensitive plants.
Frequently Asked Questions (FAQs)
Q: What kinds of waste can I feed into my biogas digester?
A: Biogas digesters process kitchen scraps, vegetable peels, garden clippings, livestock manure, and most non-fatty organic materials. Avoid plastics, meat, dairy, or highly acidic substances.
Q: How long does it take to begin producing biogas?
A: Most home digesters start generating usable biogas after 2-5 weeks, depending on temperature and feedstock. Initial batches should be vented to release air; subsequent gas is ready for use.
Q: Is homemade biogas safe?
A: Biogas is generally safe if systems are airtight, connections are secure, and usage is supervised. Install gas valves, regularly check for leaks, and never operate near open flames or smoking materials.
Q: How much biogas can a home system make?
A: Production depends on tank size, feedstock quantity, and operating temperature. A 700-liter digester might produce enough gas for several hours of daily cooking with consistent feeding.
Q: Can I use biogas to power electricity generators?
A: With proper conditioning and larger volumes, biogas can run modified generators. Home systems are best suited for cooking, heating, or lighting.
Challenges, Limitations, and Safety Considerations
- Digester productivity drops sharply in cold environments; insulating or heating tanks helps.
- Systems must remain airtight; leaks can reduce yield and pose safety risk.
- Biogas contains traces of hydrogen sulfide, which is toxic; ensure good ventilation.
- Improperly managed digesters may emit odors or attract pests.
- Not all homes have suitable space or feedstock supply; urban installations require more planning.
Conclusion: Living Sustainably with DIY Biogas
Building your own home biogas digester is a powerful step toward sustainable living. By transforming food and yard waste into clean energy and nutritious fertilizer, you’ll shrink your carbon footprint and support a circular economy—reducing both waste and reliance on fossil fuels. Whether you have a large backyard, a small homestead, or a community garden, biogas technology is accessible, affordable, and impactful. Follow this guide, experiment with your feedstock, and join the clean energy revolution from your own home.
References
- https://www.youtube.com/watch?v=La6yXYwVq3A
- https://www.homebiogas.com/blog/how-to-make-biogas-at-home/
- https://energypedia.info/images/1/1e/Step_by_Step_Guide_to_Construct_a_Floating_Drum_Biogas_Digester.pdf
- https://www.build-a-biogas-plant.com/PDF/Biodigester-Manual.pdf
- https://attra.ncat.org/publication/micro-scale-biogas-production-a-beginners-guide/