Harvesting Black Walnuts: A Complete Guide From Tree to Table
Rich, flavorful, nutritious, and native to North America, black walnuts (Juglans nigra) are a true treasure for foragers, gardeners, and anyone curious about wild foods. While this native tree has adorned forests and homesteads for centuries, harvesting black walnuts remains an involved and rewarding process. From identifying trees to the final cracking of hard shells, each stage offers unique lessons and satisfaction. Here’s a complete guide that walks you through every step, ensuring you not only harvest but also maximize the value of your backyard walnut crop.
Identifying Black Walnut Trees
Before harvest can begin, you need to know you have black walnut trees. Here are some essential identifying features:
- Bark: Deeply furrowed, dark brown to black, with a rugged appearance.
- Leaves: Pinnately compound, each leaf has 15–23 leaflets, often with a slightly spicy scent when crushed.
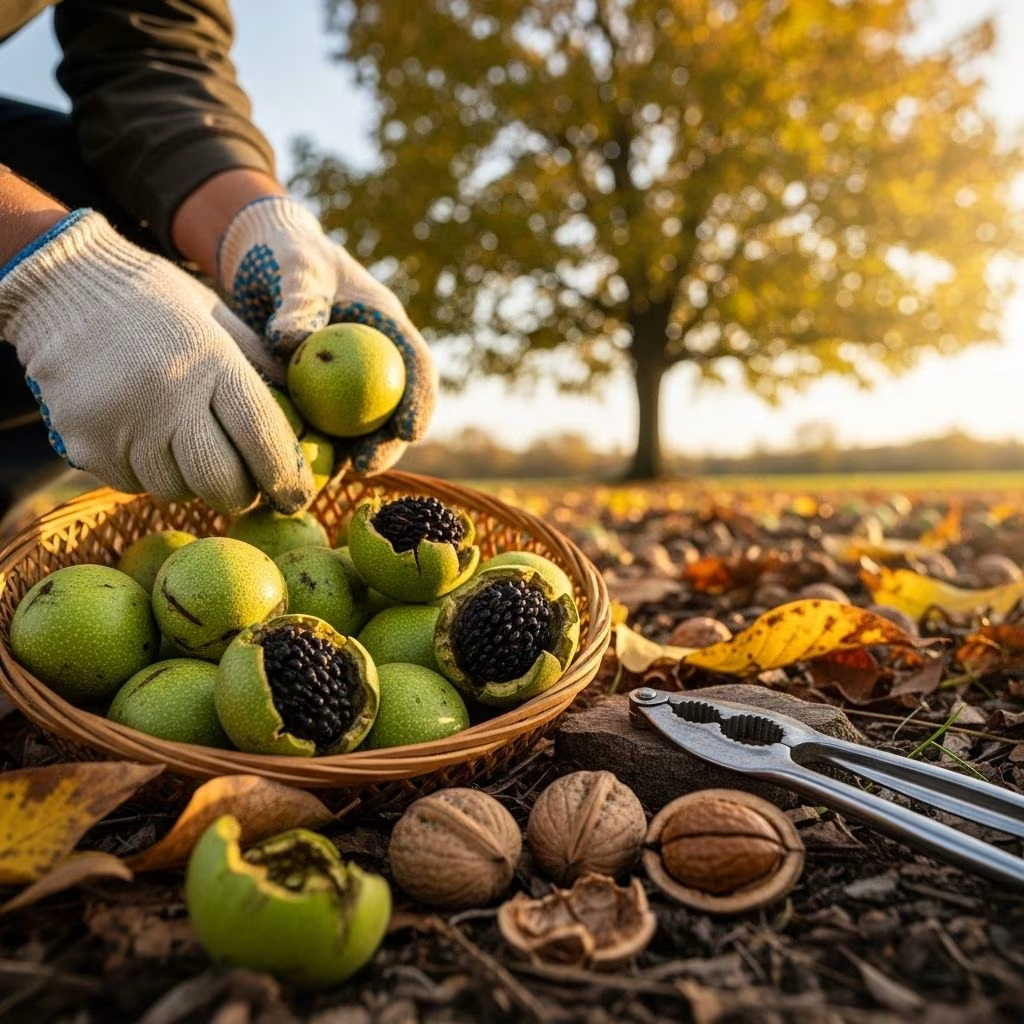
- Nut and Hull: The nuts form inside thick, tennis ball-sized green husks that turn black as they ripen and decompose on the ground.
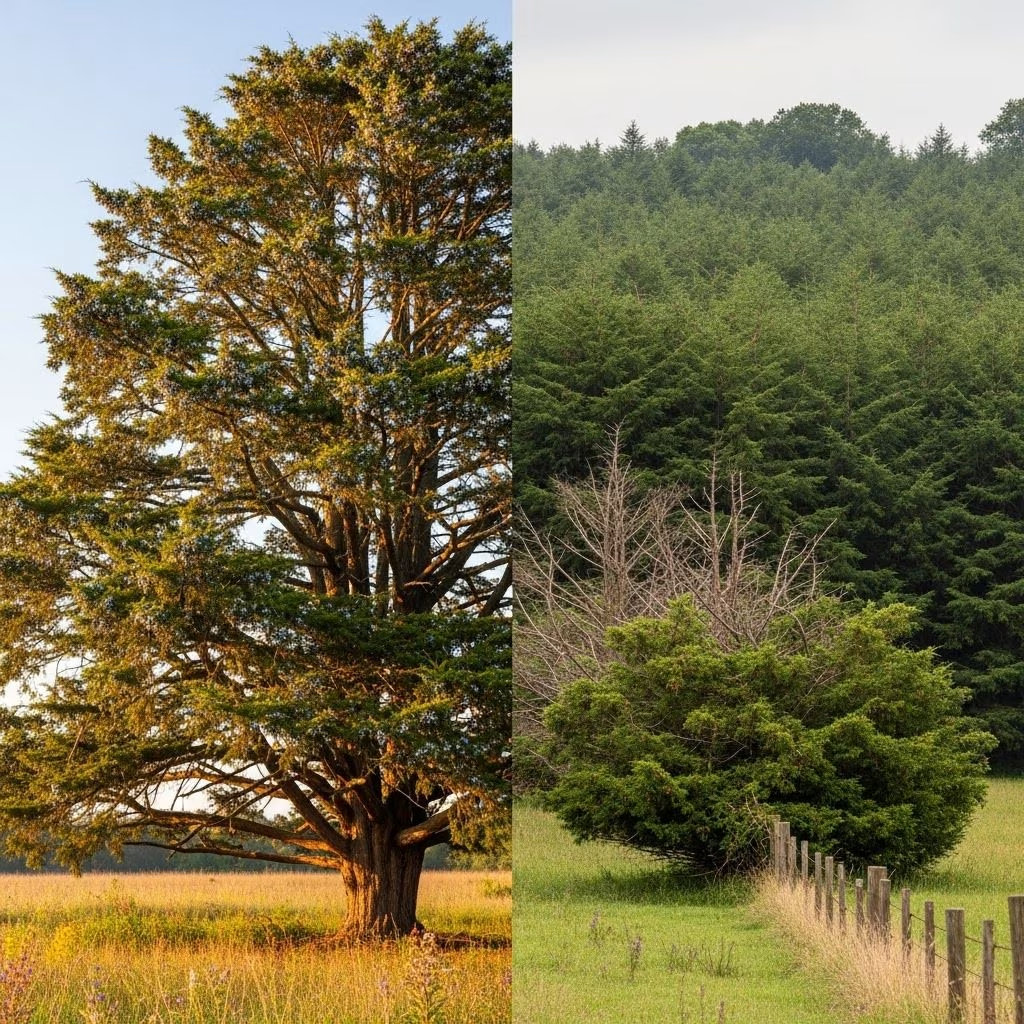
- Tree Shape: Mature trees can reach 70–100 feet, usually with a straight trunk and wide, spreading canopy.
If in doubt, compare to other walnut varieties; black walnuts have much darker, rougher bark and smaller, more deeply ridged nuts than the commonly cultivated English walnut.
When to Harvest Black Walnuts
Harvest time typically falls between late September and October, though timing may shift depending on your regional climate. Look for these signs that nuts are ready to gather:
- The outer husks have changed from bright green to a yellow-green or dark brownish-black.
- Some nuts have dropped naturally to the ground, although you can gently shake the tree or reach with a pole to collect more.
- The hulls yield slightly under finger pressure.
Delaying harvest can lead to severe staining and tougher husks, so monitor your trees as autumn approaches for optimal picking.
Gathering Black Walnuts
The process is simple, but it’s messy and can be labor-intensive. Here are the steps and what you’ll need:
- Equipment:
- Sturdy gloves (preferably waterproof)
- Old clothes and shoes (hulls create persistent stains)
- Buckets, mesh bags, or crates for collection
- Optional: Drop cloths or rakes for larger harvests
- Instructions:
- Pick up nuts directly from the ground, aiming for those with hulls mostly intact and avoiding excessively blackened or soft, decaying ones.
- If you want a larger haul, gently shake branches or knock nuts down with a pole. For tall trees, pick up what’s convenient and leave some for wildlife.
Gather as soon as possible to avoid spoilage, insect infestations, or loss to squirrels and other animals.
Hulling: Removing the Outer Husks
Once collected, the nuts need to be hulled quickly, ideally within 24–48 hours. The hulls contain a natural dye that stains skin, concrete, and clothing, so use caution.
- Simple Manual Technique: Place nuts on a hard surface (driveway or sturdy board) and use your boot heel to stomp and twist the hulls off. Discard hulls into a compost pile or natural area—they break down over time but may suppress plant growth due to juglone content.
- Knife Method: With gloves on, slice into the green hull with a sturdy paring knife, twist and pop off the husk. Be careful not to cut into the shell itself—it is very hard and can ruin your blade.
- Mechanical Option for Large Harvests: Some use old corn shellers or improvise with a cement mixer and gravel to help break hulls on large batches.
Regardless of the method, always inspect the nuts: if you see deep worm holes, mold, or an ammonia scent, discard those nuts.
Washing and Cleaning Black Walnuts
Bits of hull often cling to the shells after hulling. Here is how to remove them:
- Wear sturdy gloves—it only takes one slip for the dye to stain your hands for weeks.
- Fill a large bucket or tub with water. Place hulled nuts in and swirl with a stick or use your hands to rub off remaining debris. Change the water as needed. The water will become very dark and murky.
- For stubborn hull bits, use a wire brush, scraping gently to avoid damaging the shell.
Tip: Well-cleaned nuts lead to better storage, improved flavor, and easier cracking later on.
Drying and Curing the Nuts
After hulling and washing, let the nuts drain and dry in a well-ventilated area.
- Lay the nuts in a single layer on racks, mesh trays, or screens.
- Keep them off the ground and space them so that they’re not touching each other—this speeds up drying and prevents mold.
- Cover with mesh or hardware cloth if you’re drying them outside to keep squirrels and birds at bay.
- Drying can take two to four weeks, depending on humidity and temperature. A fan can speed up the process inside a garage or shed.
Curing continues after initial drying. Store the dried walnuts in mesh bags, boxes, or baskets in a cool, airy place for another 2–6 weeks. This lets the nut meats firm up for storage and makes the shells easier to crack.
How to Test for Quality
Before investing further time, check for good nuts:
- Place several cured nuts in a bucket of water—discard those that float, as they are likely empty or spoiled.
- Crack a nut or two after a few weeks; properly cured, the meat should be firm rather than rubbery.
Cracking Black Walnuts
Cracking black walnuts is notoriously challenging due to their thick, rugged shells—standard nutcrackers generally fail here.
- Tool Options:
- Heavy-duty “black walnut” crackers (some are hand-crank or lever type)
- Hammer and solid stone, curb, or block—hold the nut securely, strike in succession around the seam until a crack is heard
- Pliers or vise-grips for added leverage and control
- Cracking Tips:
- Aim for the seam if you can find it; otherwise, rotate and strike in different places
- Once cracked, use a nut pick or awl to extract the nut meat
- Expect some broken or small pieces; black walnut meats often come out in fragments
Persistence pays: with time you’ll develop an efficient, safe routine.
Storing Black Walnuts
Once cracked and picked, black walnut meats spoil quickly in warm, humid conditions.
- Store extracted meats in airtight containers in the refrigerator for up to several months.
- For longer storage, freeze nut meats—this preserves freshness and guards against pests.
- Unshelled, thoroughly dried nuts can last for several years if kept in a cool, dry place.
Using and Enjoying Black Walnuts
Black walnuts bring a flavor unlike any other nut—rich, earthy, and a little wild. They’re used in:
- Baking: Add to cakes, muffins, brownies, cookies, and classic black walnut ice cream.
- Cooking: Use as a crunchy topping for oatmeal, salads, and roasted vegetables.
- Pesto: Substitute for pine nuts for a bold, smoky flavor.
- Gifting: Homemade black walnut candies and nut butters make special treats.
Tips for Success and Troubleshooting
- Stain Prevention: Always wear gloves when handling hulls and nuts to avoid persistent brown-black stains on skin and nails.
- Cleanup: The hull water and debris can kill grass or stain walkways; dump wisely and compost responsibly.
- Local Laws: If foraging on public lands, always confirm regulations about nut gathering in your region.
- For Wildlife: Leave some nuts for squirrels, mice, and birds, who depend on these as a fall food source.
Table: Tools and Materials for Black Walnut Harvesting and Processing
| Stage | Primary Tools | Purpose | Protective Equipment |
|---|---|---|---|
| Gathering | Buckets, mesh bags, gloves | Collection from ground/trees | Work gloves, old shoes |
| Hulling | Shoes, knives, cement mixer (large scale) | Remove outer husk | Thick gloves |
| Cleaning | Buckets, wire brush, water | Wash shells | Gloves, apron |
| Drying/Curing | Drying racks, mesh trays | Air dry nuts | — |
| Cracking | Hammer, specialized cracker, nut pick | Access nut meat | Safety glasses (optional) |
| Storing | Airtight containers, freezer bags | Preserve nutmeats | — |
Frequently Asked Questions (FAQs)
Q: Are black walnut hulls poisonous?
A: Black walnut hulls contain juglone, a compound toxic to some plants and irritating to human skin. Always use gloves, and avoid composting hulls near vegetable gardens.
Q: Why do my walnut shells float?
A: Shells that float in water are likely empty or have spoiled nut meats inside. Always use floating as a test to cull your harvest.
Q: How long do black walnuts last?
A: Unshelled, cured black walnuts can last a year or more in a cool, dry place. Shelled nuts should be refrigerated or frozen and used within 6–12 months for best quality.
Q: Can I plant black walnuts from foraged nuts?
A: Yes, but it’s best to plant nuts from local trees for adaptation, and remember that walnuts produce juglone, which is toxic to many plants.
Q: Why are some of my nuts black and mushy?
A: Overripe or damaged hulls lead to spoiled nuts. Always harvest promptly, discard obviously bad nuts, and cure only those that look and smell clean.
Start Your Black Walnut Journey
Harvesting black walnuts is a time-honored skill, deeply rooted in sustainable living and a connection to the land. The process takes labor and patience, but the reward is a food that cannot be found in stores, packed with flavor and nutrition. With proper technique and preparation, you can enjoy a supply of wild nuts that last through winter and beyond.
References
- https://wildernessawareness.org/articles/black-walnut-harvesting/
- https://foragerchef.com/guide-to-black-walnuts/
- https://www.outdoorapothecary.com/harvesting-black-walnuts/
- https://www.nrs.fs.usda.gov/pubs/misc/walnut/part5.pdf
- https://www.youtube.com/watch?v=6t1EoTlvd7g
- https://www.instructables.com/Black-Walnut-Harvesting-Processing/
- https://www.youtube.com/shorts/bEAVcJ4sb50
- https://www.themarthablog.com/2019/11/harvesting-black-walnuts-at-my-farm.html
- https://www.youtube.com/watch?v=pCOJEfQcyz4