


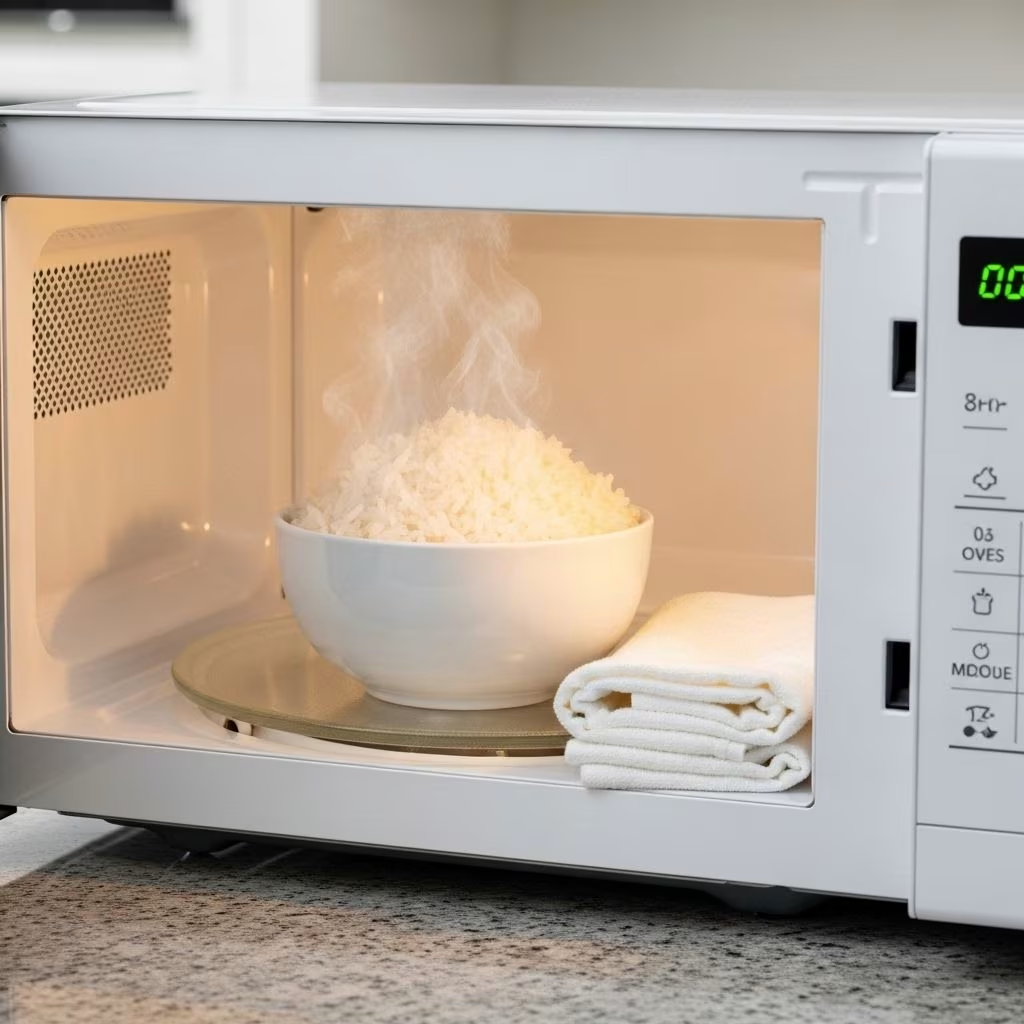
Microwaved rice is fast, shockingly effortless, and can easily rival stovetop, rice cooker, or even restaurant-quality results. Whether you’re short on time, short on stovetop space, or just want perfectly fluffy grains every time, steaming rice in the microwave is a kitchen skill worth mastering. This comprehensive guide breaks down the science, provides a detailed method, and addresses all your rice-cooking queries in one place.
Why Cook Rice in the Microwave?
Microwaving rice is an often-overlooked shortcut with multiple advantages over traditional methods:
- Speed: Most rice cooks in less than 30 minutes from start to finish.
- Convenience: No need for a dedicated rice cooker or fiddly pot watching—just set it and walk away.
- Consistent Results: No scorching or boiling over when proper steps are followed. Fluffy grains every time.
- Minimal Cleanup: One bowl for prep, cooking, and serving. Fewer pots and less mess.
- Kitchen Efficiency: Frees up stovetop space for other dishes, perfect for busy cooks.
Essential Equipment and Tools
Perfect microwave rice starts with the right gear. Here’s what you’ll need for success:
- Microwave-Safe Bowl: Use a large, deep bowl (preferably glass or ceramic) that holds at least 2.5 quarts (2.4 liters) to prevent overflow. Rice expands significantly during cooking.
- Sturdy Lid or Cover: A loose-fitting lid is ideal. If you don’t have one, use a plate or microwave-safe plastic wrap to cover the bowl, leaving a small vent for steam.
- Fork: For fluffing the rice after cooking.
- Fine-Mesh Sieve: For rinsing and draining your rice.
Avoid thin plastic containers that may warp in high heat.
Choosing and Prepping Rice
Most long-grain white rice such as jasmine or basmati is ideal for microwave steaming, but this method can be adjusted for brown rice, medium-grain, or even sushi rice with slight modifications.
Basic Ingredients
- 2 cups long-grain white rice (jasmine or basmati preferred)
- 2 cups water or a mix of water and broth for added flavor
- Pinch of kosher salt (optional)
- Small knob of butter or splash of oil (optional for flavor and separation)
Rice Preparation
- Rinse the rice:
- Place rice in a fine-mesh sieve or large bowl.
- Run under cool water, gently swirling, until water runs mostly clear. This removes excess surface starch for fluffier grains.
- Drain well. Do not skip this step—proper rinsing prevents stickiness.
- Combine with Water:
- Transfer rinsed rice to your microwave-safe bowl.
- Add 2 cups of water (or 1 cup broth + 1 cup water for extra flavor).
- Stir and season with salt or oil if desired.
Step-by-Step Microwave Rice Method
Follow these carefully tested steps for reliably fluffy, perfectly cooked rice:
- Start With High Heat
Place the uncovered bowl of rice and water in your microwave.
Heat on full power (100%) for 5 minutes (based on a 1000–1200 watt microwave). This helps rapidly bring the water to a boil and starts steaming the grains. - Reduce Heat and Cover
- After 5 minutes, carefully remove the bowl using oven mitts (it’s hot!).
- Cover with a microwave-safe lid, plate, or plastic wrap. Vent one edge for steam to escape.
- Return to the microwave, reduce power to 50%, and cook for 15 minutes.
- Rest and Fluff
- Once cooking is complete, let the covered bowl sit in the microwave (turned off) for at least 5 minutes. Resting allows steam to finish cooking the rice and stabilizes moisture levels.
- Carefully remove cover to avoid hot steam.
- Fluff the rice gently with a fork.
- Serve
Enjoy immediately, or keep covered until ready to serve.
Note: Cooking times may need minor adjustments depending on your microwave’s wattage. For less powerful (700–900 watt) microwaves, increase each phase by about 2-5 minutes, or refer to your appliance’s manual for more precise guidance.
Adjustments for Different Rice Types
Microwave rice cooking isn’t limited to white grains. Here are tested adjustments for other popular varieties:
| Rice Type | Water Ratio | Power & Phase 1 Time | Power & Phase 2 Time | Notes |
|---|---|---|---|---|
| Long-Grain White | 1:1 | 100%, 5 min | 50%, 15 min | Universal base method |
| Jasmine/Basmati | 1:1 | 100%, 5 min | 50%, 15 min | Optional: Add ½ tsp oil or butter |
| Medium-Grain | 1.25:1 | 100%, 6 min | 50%, 16 min | Add a splash more water for softer texture |
| Short-Grain/Sushi | 1.25:1 | 100%, 6 min | 50%, 16 min | Rinse very thoroughly for best stickiness |
| Brown Rice | 3:1 | 100%, 10 min | 50%, 20–35 min (covered) | Soak for 12 hours & rinse well to reduce arsenic |
Special Notes for Brown Rice
- Because of its outer bran, brown rice needs significantly more water and longer cooking time.
- Try soaking raw brown rice for 12 hours, then rinsing well to reduce natural arsenic before cooking. This also yields slightly plumper grains.
- After initial 10 minutes uncovered, cover and continue microwaving for 20–35 minutes at 50% power, depending on grain size and microwave strength.
Tips, Tricks, and Troubleshooting
- Select the Right Bowl: Too small a bowl can cause boiling over. Use a large, deep vessel to contain expansion and foaming.
- Rinsing Is Key: Don’t skip rinsing. Starch removal minimizes stickiness and prevents clumping.
- Rest the Rice: The post-cook 5-minute rest is essential for even moisture distribution.
- Handle Carefully: Steam can be very hot when uncovering. Protect hands with oven mitts when stirring or serving.
- Microwave Variability: All microwaves differ. Start with the timings above and adjust by small increments for your ideal texture.
- Flavor Enhancements: For extra taste, substitute half the water with low-sodium broth, or use a touch of oil, butter, bay leaf, or aromatics as desired.
Troubleshooting the Most Common Microwave Rice Issues
- Rice Too Hard or Dry: Add a couple of tablespoons more water, cover, and microwave in 2-minute increments at 50% power until tender.
- Rice Gummy or Mushy: Next time, reduce the water by 2–3 tablespoons and rinse more thoroughly.
- Overflowing/Boiling Over: Use a bigger bowl. Placing a microwave-safe plate under the bowl catches excess drips for easier cleanup.
- Uneven Cooking: Stir partway through the second phase or gently rotate the bowl if your microwave has hot spots.
Frequently Asked Questions (FAQs)
Q: Can I double or halve the recipe?
A: Yes, just keep the same 1:1 (white rice) or 3:1 (brown rice) water-to-rice ratio. Increase bowl size and adjust the cooking time by a few extra minutes if doubling. Halved batches cook a minute or two faster.
Q: Should the bowl be covered the entire time?
A: No, start uncovered for the first high-power phase to let steam escape and encourage rapid boiling. Then cover for the 50% power steaming phase.
Q: Why did my rice come out too sticky?
A: Extra stickiness often comes from insufficient rinsing or adding too much water. Try a thorough rinse and double-check your measurements.
Q: Is microwave rice as good as stovetop or rice cooker?
A: When done properly, it yields equally fluffy, separated grains—plus it’s faster and more convenient!
Q: Can I use other liquids besides water?
A: Yes, substitute some or all the water with low-sodium broth for a richer flavor. Avoid full-strength salty broths without adjustment, to prevent overseasoning.
Final Thoughts and Quick Reference
- Use 2 cups rinsed rice and 2 cups water for most white rice in a deep microwave-safe bowl.
- Microwave uncovered at 100% power for 5 minutes.
- Cover, reduce power to 50%, and cook 15 minutes.
- Let rest 5 minutes before fluffing and serving.
- Adjust amounts and timings for different rice types as needed using the table above.


