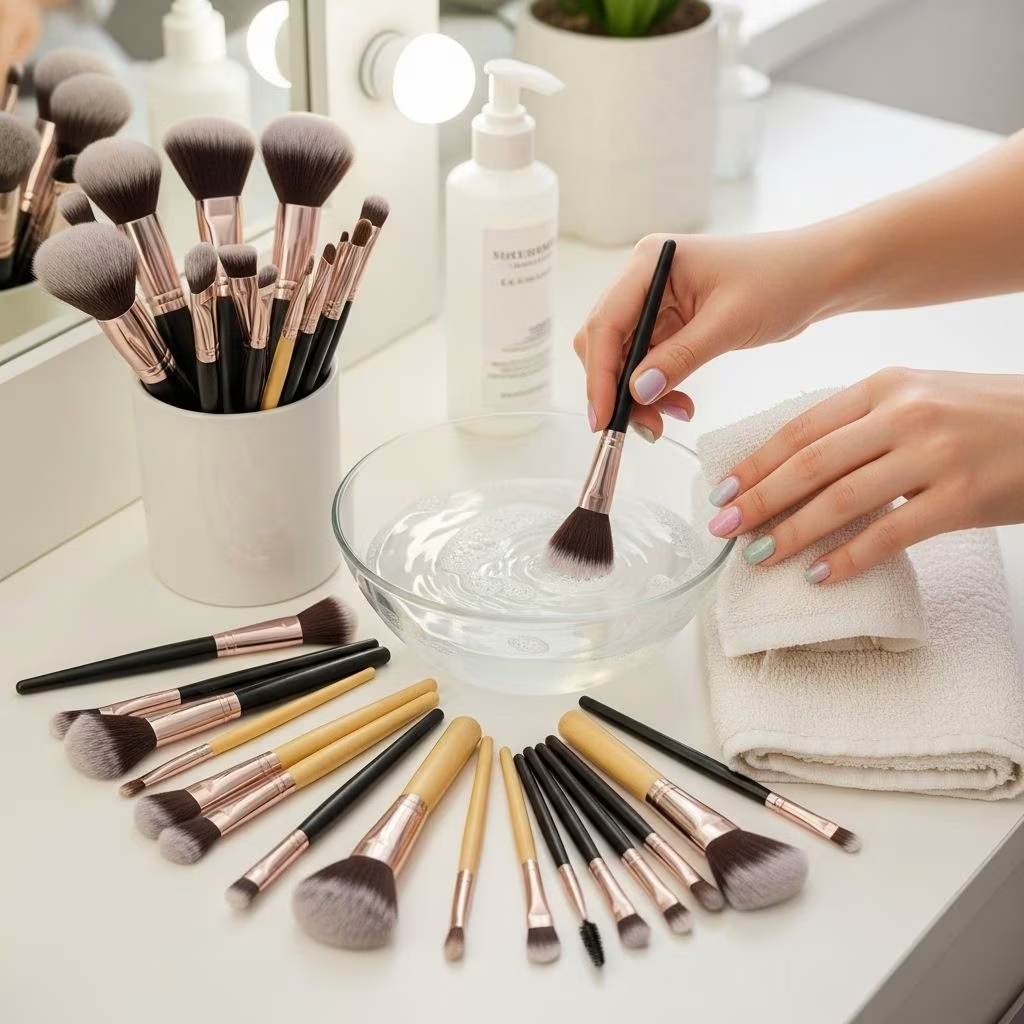
If you love makeup, you probably have at least a few brushes (plus maybe some sponges!) living in your makeup bag. But did you know that dirty brushes can cause breakouts, dull your glow, and even shorten the lifespan of your favorite tools? Knowing how to clean makeup brushes is essential for every teen who wants healthy skin and flawless makeup application. This all-in-one guide breaks it down so you can master brush care—no stress, just fresh!
Why You Absolutely Need to Clean Your Makeup Brushes
Brushes and sponges pick up makeup, natural oils, dead skin, and bacteria every single time you use them. When you don’t clean them regularly, those germs and grime build up, which can:
- Cause breakouts and skin irritation (bacteria = pimples!)
- Alter makeup color (old product mixes with new for streaky application)
- Damage the brush (product buildup makes bristles stiff and sheds faster)
- Transfer germs if you share your makeup tools
Clean brushes aren’t just a ‘nice-to-do’—they’re a must for clear skin and perfect makeup!
Supplies: What You’ll Need Before You Start
Ready to get squeaky clean? Gather these basics for an easy cleaning session:
- Lukewarm water
- Gentle cleanser: dedicated brush cleanser, baby shampoo, gentle dish soap, or sulfate-free face wash
- Silicone brush cleaning mat: for deep cleaning (or your palm in a pinch)
- Microfiber cloth or clean towel
- Small bowl (for mixing cleanser solution)
- Bin organizer: handy for rinsing and keeping things neat
Optional: Antibacterial soap, brush drying rack, and your favorite podcast for entertainment while you clean!
How Often Should You Clean Your Brushes?
How often is enough? The answer depends on your routine, but most experts agree:
- Foundation, concealer, and cream brushes: Clean once a week. Cream products invite more germs and are harder to wash out.
- Powder, blush, bronzer, and eyeshadow brushes: Every 1-2 weeks, or more often if you wear makeup daily.
- Beauty sponges: Every use if possible, and at least weekly.
- If you share brushes or have acne-prone skin: Wash more often!
Step-by-Step: How to Clean Your Makeup Brushes
Follow these super-simple steps for sparkly-clean tools every time:
- Empty out your makeup bag or organizer. Toss expired or unused products and wipe down remaining items with a clean microfiber cloth.
- Prepare your cleaning solution. Fill a small bowl or bin with lukewarm water and add a few drops of gentle soap or dedicated brush cleanser.
- Rinse the bristles. Hold each brush under a gentle stream of lukewarm water. Focus on the bristles only—avoid getting water on the metal ferrule (the part that holds bristles), as this can loosen glue and cause shedding.
- Swirl and lather. Gently swirl the brush around in your soapy water, then work up a lather with your fingers or on a silicone cleaning mat by moving the brush in small circles.
- Massage and deep clean. Press the bristles against the textured mat or your palm, gently massaging to break up makeup residue. Repeat until water and soap run clear.
- Rinse thoroughly. Rinse the brush again under lukewarm water, checking for any leftover product or suds.
- Squeeze and shape. Gently squeeze out excess water using a clean microfiber cloth or towel. Reshape the bristles so your brush keeps its form.
- Dry properly. Lay brushes flat on a clean, dry towel, with the bristle end slightly over the edge of a countertop (so air can circulate all around). Never dry them upright, as water can drip into the handle and cause damage.
- Clean beauty sponges. Wet the sponge, massage soap directly into it, and rinse repeatedly until it’s free of product and water runs clear. Let air dry completely before storing.
Special Tips for Different Tools
- Dense brushes: (Like foundation or kabuki) need extra deep cleaning—don’t skimp on swirling and rinsing.
- Eye brushes: Use a small bowl and wash several at once, but don’t let them soak as it can loosen glue.
- Synthetic vs. natural: Natural-bristle brushes (often expensive) need gentle baby shampoo or brush cleaner and should never be left soaking.
- Large powder brushes: Take more time to rinse, as product collects deep inside.
- Lip and eyeliner brushes: Use warm (not hot) water, and be thorough—these pick up heavy pigments and wax.
- Beauty sponges: Change sponges every 1-3 months, even with good cleaning.
Do’s and Don’ts: Common Mistakes to Avoid
| Do | Don’t |
|---|---|
| Use lukewarm water only | Use hot water (damages glue, bristles) |
| Lay brushes flat to dry | Stand brushes upright while wet |
| Be gentle; massage, don’t tug | Scrub harshly or pull bristles |
| Clean regularly (set reminders!) | Wait until brushes are visibly dirty |
| Reshape bristles before drying | Let brushes dry misshapen |
| Use dedicated cleanser/mild soap | Use harsh cleaners or alcohol |
How to Store and Care for Clean Brushes
Once your brushes are dry, proper storage keeps them fresh between uses:
- Store upright in a clean cup or brush holder to keep bristles airy.
- Never store damp brushes in a closed bag or container—this fosters bacteria and mildew.
- For travel, use a designated brush roll or organizer with airflow.
- Keep brushes away from direct sunlight and heat to prevent damage.
Make It Fun: Turning Brush Cleaning into a Habit
Setting aside time to clean your beauty tools doesn’t have to be boring. Try these ideas:
- Play your favorite playlist, podcast, or audiobook as you clean.
- Reward yourself with a treat after each cleaning session.
- Involve friends or siblings—make it a mini spa night together!
- Use a cute timer to race yourself for speedy cleaning.
- Write your cleaning schedule on your calendar (weekly is ideal!).
Frequently Asked Questions (FAQs)
How often do I really need to clean my makeup brushes?
Every week is best for brushes used with liquid or cream products, and every other week for powder-only tools. If you have acne-prone skin or share brushes, clean even more frequently.
Can I use regular shampoo or hand soap?
Gentle baby shampoo or a mild, sulfate-free face wash works in a pinch. Avoid harsh soaps and always rinse thoroughly to prevent skin irritation.
What if I don’t have a cleaning mat?
Your palm works too! The textured mat just helps loosen stubborn product faster—be gentle either way.
Is it okay to use a hair dryer to dry brushes?
No! Intense heat destroys bristles and can melt glue. Always air dry brushes flat on a towel.
When should I throw away brushes or sponges?
If a brush is constantly shedding, frayed, smells bad even after cleaning, or loses shape, it’s time for a new one. Sponges should be replaced every 1 to 3 months.
Pro Tips and Best Product Picks
- Cinema Secrets Professional Makeup Brush Cleaner – deep cleans and dries fast.
- Benefit 24-Hour Brow Setter & Rare Beauty Blushes/Bronzer – reader favorites that also clean up easily.
- Supergoop CC Screen SPF 50 – for clean, skin-friendly coverage.
- Use a microfiber cloth to gently remove excess water and wipe products clean.
- Wipe down your makeup bag or organizer regularly as makeup residue can rub off on brushes.
Glow On!
Clean makeup brushes are the secret to glowing skin, better makeup, and longer-lasting beauty products. With these teen-friendly tips, every brush-cleaning session can be quick, fun, and totally effective. Make it part of your self-care routine—your skin will thank you every time you blend, buff, and slay!
References
- https://thehomeedit.com/blogs/the-blog/how-to-clean-your-makeup-brushes-a-step-by-step-guide-with-abby-james
- https://www.nordstrom.com/browse/content/blog/cleaning-makeup-brushes
- https://www.gloskinbeauty.com/blogs/glo-skin-beauty-blog/how-to-clean-your-makeup-brushes
- https://www.morphe.com/blogs/artistry-diaries/the-ultimate-guide-to-cleaning-your-makeup-brushes
- https://laurenconrad.com/blog/2013/06/beauty-school-how-to-clean-your-makeup-brushes-tips-tricks-ilana-saul-june-2013/