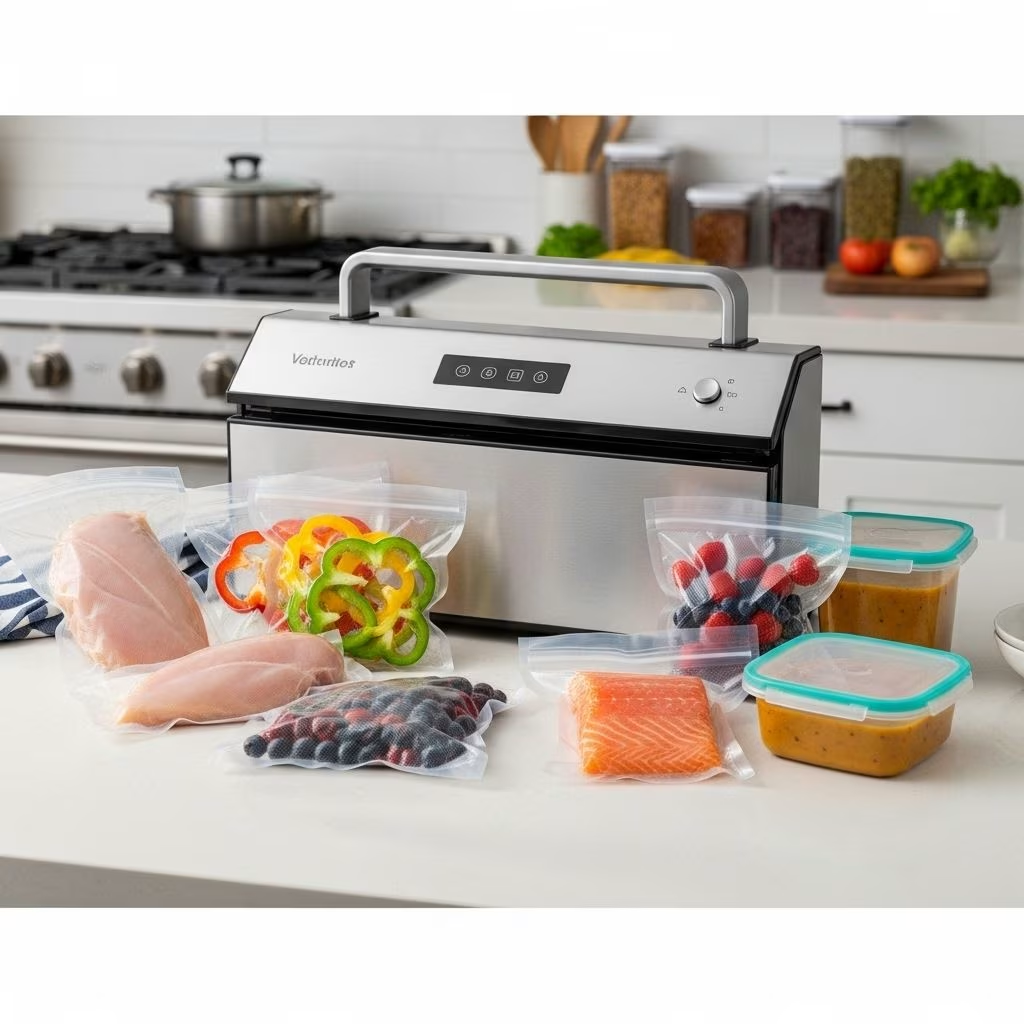
Vacuum sealing is revolutionizing modern kitchens—helping meal preppers keep food fresh, organized, and flavorful for weeks or even months. From busy professionals and home cooks to commercial kitchens, vacuum sealers are invaluable for managing time, saving money, and reducing food waste. This guide explores how vacuum sealers enhance long-term meal prep storage, offers tips for choosing and using them, and answers common questions about making the most of this powerful preservation technology.
Introduction to Vacuum Sealing for Meal Prep
Meal prepping—preparing meals or ingredients in advance—has become a cornerstone of a healthy, efficient lifestyle. Yet, one of the main frustrations for meal preppers is keeping food fresh until it’s needed. Traditional storage tools—plastic containers, zip bags, or foil—can’t compare to the performance of vacuum sealing. By removing air and reliably sealing food away from moisture and oxygen, vacuum sealers slow down spoilage and keep food “just prepared” for far longer than conventional methods.
Vacuum sealing has evolved from an industrial food preservation technique to a must-have kitchen strategy for home cooks and health-focused families alike. It’s the key to long-term freshness and ultimate kitchen organization, transforming how we approach bulk cooking, batch meal prep, and even on-the-go snacks.
Core Benefits of Vacuum Sealing
- Preserves Food 3–5 Times Longer: Vacuum sealing can keep food fresh up to five times longer than standard storage, extending both shelf and freezer life .
- Prevents Freezer Burn: By blocking air contact, vacuum bags prevent ice crystals that cause freezer burn and degrade taste and texture .
- Locks in Nutrients, Flavors, and Textures: Sealed environments prevent oxidation, helping meals retain vitamins, minerals, juices, and aromatics .
- Reduces Food Waste: Longer shelf life means less spoilage, translating directly to cost savings and environmental benefits .
- Space-Saving and Organized: Compressed, uniform packages maximize fridge, freezer, and pantry space while keeping meals easy to find and portioned .
- Portion and Inventory Control: Pre-measured, prepped portions mean quick meal assembly and precise calorie management .
- Improved Food Safety: Exposure to bacteria and cross-contamination is minimized thanks to the airtight seal .
The Science Behind Vacuum Sealing
Vacuum sealing works on two essential preservation fronts:
- Oxidation Prevention: Oxygen exposure causes fats and oils to go rancid and nutrients to degrade. By extracting air, vacuum sealers halt this process and keep food looking and tasting its best .
- Aerobic Bacteria Suppression: Many spoilage organisms require oxygen to thrive. Removing air vastly slows their growth, delaying spoilage and boosting food safety .
This scientific approach gives vacuum sealers an edge over all other food storage strategies, especially for long-term preservation of both raw and cooked foods.
How to Plan Meal Prep with a Vacuum Sealer
Vacuum sealing amplifies the efficiency of meal prepping. Here’s how to structure your workflow for best results:
- Menu Planning: Select dishes that freeze or store well—think soups, stews, marinated proteins, roasted vegetables, grains, and casseroles .
- Component Thinking: Instead of preparing whole meals, vacuum seal “meal components” (chicken breast, cooked rice, blanched broccoli) to create versatile, mix-and-match lunches and dinners throughout the week .
- Batch Cooking: Prepare large volumes of staple ingredients or finished meals, portion them, and vacuum seal for streamlined grab-and-go convenience .
- Labeling and Dating: Always mark sealed packages with their contents and date for easy tracking.
Organized, airtight storage simplifies your weekly food schedule, ensures nutritional consistency, and virtually eliminates last-minute mealtime stress.
Foods Best Suited for Vacuum Sealing
- Proteins: Raw or cooked meats, poultry, seafood, and plant-based proteins (tofu, tempeh).
- Cut Fruits & Vegetables: Blanched or partially cooked to preserve color, texture, and nutrients.
- Cooked Meals: Stews, chilis, casseroles, rice/pasta dishes, and pilafs.
- Pantry Staples: Dried grains, pasta, beans, flour, nuts, coffee beans, and spices .
- Cheese and Dairy: Most types, especially in block or shredded form; some care required to prevent crushing soft varieties.
- Herbs, Mushrooms, and Specialty Items: Retain flavor, aroma, and moisture for weeks or longer .
- Baked Goods: Breads, muffins, cookies—freeze first to prevent crushing, then seal.
Note: Some items (soft cheeses, soft breads, lettuces, or items with high moisture content) may require adjustments—such as freezing before sealing or using pulse modes to avoid compressing delicate foods.
Step-By-Step Guide: Vacuum Sealing Your Meal Prep
- Prepare Foods: Wash, blanch, or cook ingredients. Allow everything to fully cool before sealing.
- Portion Out: Divide meals or ingredients into single-servings or family portions, depending on your needs.
- Bag or Container Selection: Use high-quality vacuum pouches or compatible containers (some sealers work with special jars or canisters for delicate items) .
- Load and Seal: Place food into bags, making sure not to overfill. Lay flat for even sealing. Insert bag into vacuum sealer and activate according to the device’s instructions.
- Double-Check: Inspect the seal. Ensure all air is removed and pouch is fully closed—re-seal if needed.
- Label, Date, Store: Use a permanent marker or labels. Organize vacuum-sealed bags in your fridge, freezer, or pantry for easy access and inventory control.
Choosing the Right Vacuum Sealer
- Size and Capacity: Choose a compact model for home use, or a heavy-duty, wide-mouthed unit for bulk meal prep and commercial needs.
- Suction Power: Higher suction provides stronger, longer-lasting seals—important for freezing or storing moist foods.
- Pulse or Manual Settings: Essential for delicate foods, baked goods, or partial-seal needs.
- Container/Jar Attachment Compatibility: Useful for liquid items, grains, or items you want to store in rigid containers.
- Bag/Container Compatibility: Some brands require proprietary bags; others accept third-party, reusable options.
- Ease of Cleaning: Removable drip trays or washable parts make messes easier to manage.
With many models on the market, prioritize features that match your meal prep volume and the types of foods you plan to store.
Pro Tips and Best Practices
- Don’t overfill bags—leave several centimeters clear at the open end for a solid seal.
- For moist foods, pre-freeze for one to two hours before sealing to prevent liquids from being drawn into the vacuum pump.
- Use bag roll cutting guides and built-in bag storage compartments to streamline the process.
- If sealing powdery items, insert a strip of paper towel above the contents (but below the seal area) to catch particles and maintain a clean seal.
- Periodically check seals before use; vacuum can sometimes loosen with long storage or heavy jostling.
- Rotate your stock (first-in, first-out) to ensure oldest meals are consumed first.
Table: Typical Storage Life of Common Foods (Vacuum Sealed vs. Conventional)
| Food | Conventional Fridge | Vacuum Sealed (Fridge) | Conventional Freezer | Vacuum Sealed (Freezer) |
|---|---|---|---|---|
| Raw Meat | 1–2 days | 6–9 days | 6 months | 2–3 years |
| Cooked Meat/Meals | 3–6 days | 10–14 days | 2–3 months | 1–2 years |
| Vegetables | 3–7 days | 14–20 days | 8 months | 2–3 years |
| Hard Cheese | 15 days | 4–8 months | 6–8 months | 1–2 years |
| Bread | 2–4 days | 7–10 days | 6–12 months | 1–3 years |
| Fresh Berries | 2–4 days | 7–12 days | 6 months | 1–2 years |
Values are approximate and can vary based on specific storage conditions and product freshness at the time of sealing.
Frequently Asked Questions (FAQs)
Q: Can I vacuum seal hot foods or liquids?
A: Always allow foods and liquids to cool completely before vacuum sealing. Sealing hot foods can cause condensation, weakening the seal and promoting bacterial growth.
Q: Which foods should not be vacuum sealed?
A: Some soft cheeses, raw garlic/onion, cruciferous vegetables (broccoli, cauliflower, cabbage) can release gases or spoil more quickly even when sealed. These are best blanched or partially cooked before sealing, or consumed soon after.
Q: How can I avoid crushing delicate foods during vacuum sealing?
A: Use pulse/manual vacuum modes for fragile items, or pre-freeze delicate foods (like berries, soft breads, or pastries) before sealing to preserve their shape.
Q: Do vacuum-sealed foods need to be frozen for long-term storage?
A: While vacuum sealing extends refrigerated life, freezing vacuum-sealed items (especially meats, cooked meals, or high-moisture foods) is recommended for storage beyond 2–4 weeks for optimal safety and freshness.
Q: Can vacuum sealers help with portion control and diet planning?
A: Absolutely. Portion dishes or ingredients during prep, seal individually, and easily track calories or macros—making healthy eating and meal management more efficient.
Q: How do I clean and maintain my vacuum sealer?
A: Wipe the exterior with a damp cloth; clean crumb trays or removable parts after sealing moist foods. Refer to the product manual for specific cleaning instructions to maintain optimal suction and hygiene.
Final Thoughts
Vacuum sealing offers unmatched preservation, convenience, and organization for long-term meal prepping. By extending freshness, locking in nutrients, and providing efficient storage, vacuum sealers help save money, reduce waste, and support healthy eating routines. Whether you’re a home cook stocking the freezer, a professional chef, or just seeking an easier way to organize weekly meals, investing in a quality vacuum sealer can transform both your kitchen workflow and your approach to food.
References
- https://foodvacbags.com/blogs/foodsaverblogs/vacuum-sealing-for-meal-prep-organizing-your-week-with-ease
- https://www.breville.com/us/en/breville-commercial-blog/benefits-of-vacuum-sealing-food.html
- https://www.berrystreet.co/blog/vacuum-seal-meal-prep
- https://vacmasterfresh.com/fresh-bites-blog/benefits-of-vacuum-packaging-for-bulk-storage-and-meal-prep/
- https://aeno.com/blog/benefits-of-vacuum-sealer-vacuum-packing-food-at-home/
- https://www.zwilling.com/us/magazine/product-guide-vacuum/vacuum_meal-prepper.html