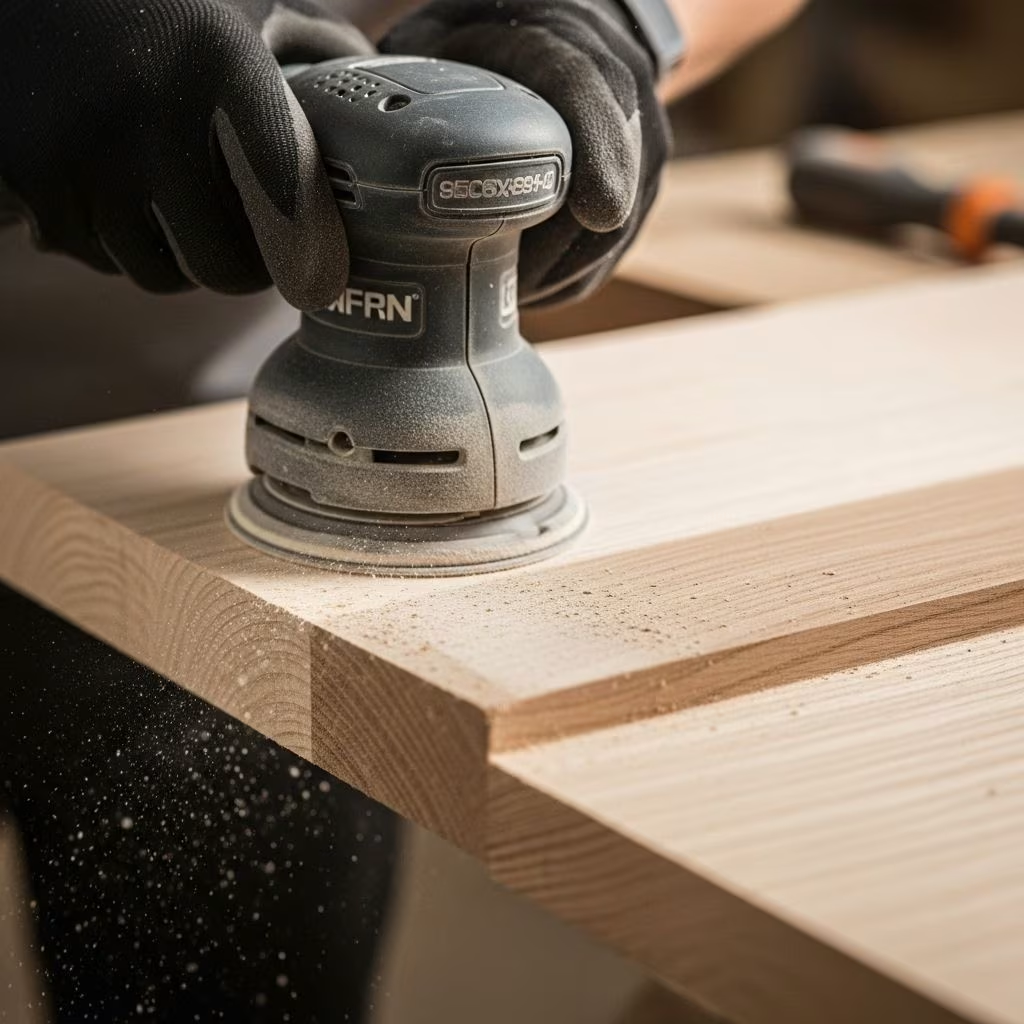
Palm sanders are indispensable tools for anyone involved in woodworking, home improvement, or DIY projects. Compact yet powerful, these simple sanders make smoothing wood, prepping surfaces, and achieving a flawless finish far easier than sanding by hand. This comprehensive guide covers everything you need to know to confidently use a palm sander—from choosing the right one, to practical sanding steps, safety, maintenance, and troubleshooting tips.
What Is a Palm Sander?
A palm sander (also called a finish or quarter-sheet sander) is a handheld power tool designed for sanding wood, paint, and other surfaces. It gets its name because it fits comfortably in your palm and is engineered for precise, controlled sanding on flat or slightly contoured surfaces.
Key Features
- Compact size and lightweight for minimal fatigue.
- Uses a rectangular sandpaper sheet, usually 1/4 of a standard 9″ x 11″ sanding sheet.
- Features a vibrating base that moves in small orbits, allowing gentle material removal without leaving swirl marks.
- Typically used for finish sanding rather than rapid material removal.
When to Use a Palm Sander
Palm sanders are ideal for:
- Smoothing wood prior to painting, staining, or varnishing
- Finishing cabinetry, furniture, and trim work
- Removing minor imperfections or old finish layers
- Light sanding between coats of finish for an ultra-smooth result
Types of Electric Sanders: Palm Sanders vs. Orbital Sanders
Before starting your project, it’s helpful to understand how palm sanders differ from similar tools such as orbital sanders.
| Feature | Palm Sander (Finish Sander) | Orbital Sander |
|---|---|---|
| Motion | Small, rapid orbits (vibrations) | Random orbital (spins and orbits) |
| Sandpaper | 1/4 sheet or pre-cut rectangle | Round discs with hook-and-loop backing |
| Finish Quality | Very fine, less aggressive | Faster material removal, can leave swirl marks if not used properly |
| Best Use | Final finish, small projects, detail work | Removing paint, leveling surfaces, large projects |
Parts of a Palm Sander
- Power Switch: Typically on top, easy to access with your thumb.
- Base Pad: The flat, rectangular bottom where sandpaper attaches.
- Sandpaper Clamps: Metal clamps or hooks that tightly hold the sandpaper in place.
- Dust Collection Port or Bag: Captures dust from sanding (some basic models may lack this feature).
- Handle/Body: Ergonomically designed to fit your palm for one-handed use.
What You’ll Need
- Palm sander (corded or cordless)
- Sandpaper sheets (typically 1/4 sheet, various grits)
- Dust mask or respirator
- Safety glasses
- Hearing protection
- Tack cloth or microfiber cloth
- Work gloves (optional)
Step-by-Step: How to Use a Palm Sander
1. Prepare Your Work Area
- Choose a well-ventilated space to avoid inhaling dust.
- Clear your area of obstacles and place your project on a sturdy, stable surface or workbench.
- Lay down drop cloths to catch debris and protect flooring.
2. Select the Right Sandpaper Grit
Choosing the correct grit is crucial to achieving a smooth, professional finish. Sandpaper is rated by ‘grit’—the higher the number, the finer the abrasive.
- Coarse (60–80 grit): Removes old finishes, heavy paint, or rough wood quickly.
- Medium (120–150 grit): Smooths surfaces, removes small imperfections, and prepares wood for finishing.
- Fine (180–220+ grit): For final sanding and between finish coats.
Start with a coarser grit and progress to finer grits for a silky finish.
3. Attach Sandpaper to the Sander
- Cut or purchase a sandpaper sheet sized for your sander (1/4 standard sanding sheet is typical).
- Lift the clamps or hooks on each end of the base.
- Insert the sandpaper under the clamps, pulling it tight so the sheet is flat and secure.
- Press the clamps back down to hold the sandpaper firmly in place.
- Tip: If your sander model collects dust, align holes in the sandpaper with holes in the base for optimal performance.
4. Safety First
- Always wear safety glasses to shield your eyes from flying debris.
- Use a dust mask or respirator to protect your lungs from fine particles.
- Wear hearing protection, especially for extended use or in enclosed spaces.
5. Begin Sanding
- Start the Sander: With the sander raised slightly above the workpiece, turn it on before touching the surface (prevents gouging).
- Hold Firm, Don’t Force: Place the sander on the wood gently, using only light pressure. Allow the weight of the sander to do the work; excessive force wears out the pad and can damage the wood.
- Smooth, Overlapping Strokes: Move the sander slowly in the direction of the wood grain, overlapping each pass by about one-third to avoid missed spots.
- Check Your Progress Frequently: Stop occasionally to inspect the surface. Dust away debris to check for missed areas or unevenness.
- Progress Through Grits: Once the initial sanding is done with a coarse grit, swap in a finer sheet and repeat. Multiple passes with increasing grit smooth out any scratches left from previous rounds.
- Final Cleanup: After your last sanding pass, use a tack cloth or damp microfiber cloth to remove residual dust before finishing.
Expert Tips for Best Results
- Let the sander do the work: Excessive pressure shortens the tool’s lifespan and can leave marks on your project.
- Keep the sander moving: Never let the sander linger in one spot, as this can create divots or uneven surfaces.
- Change sandpaper as needed: If you notice a significant drop in sanding efficiency, replace the sandpaper—clogged or worn abrasives are less effective.
- Empty dust bags frequently: If your sander has a dust collection system, keep it clear to maintain performance and protect your lungs.
Maintenance and Care
- Clean the base pad after each use to prevent dust buildup and prolong tool life.
- Inspect clamps or hook-and-loop pads for wear and replace if they no longer hold sandpaper securely.
- Check the power cord (for corded models) or battery (for cordless models) regularly for any signs of damage.
- Store your sander in a dry place to avoid rust or corrosion on metal parts.
Palm Sander Troubleshooting
- Uneven sanding: Check for a worn or loose sandpaper sheet and replace if necessary. Always move along the wood grain.
- Delayed start or loss of power: Verify plug or battery connection. Unplug and inspect for obvious damage.
- Excessive vibration or noise: Ensure sandpaper is properly attached and clamps are not loose.
Palm Sander Safety Reminders
- Disconnect the sander before changing sandpaper.
- Never touch the sanding pad while in motion or immediately after use (it may be hot).
- Avoid sanding materials with lead-based paint or hazardous coatings without specialized precautions.
- Keep the sander’s cord and hands away from the sanding base.
Frequently Asked Questions (FAQs)
Q: How do I know what grit sandpaper to start with?
A: For new or rough wood, start with a coarser grit (60–80). For most projects, begin with 120 grit, progressing to 180 or 220 for a smooth finish. For prepping between coats of finish, use only fine grits (220+).
Q: Can I use a palm sander on painted or varnished surfaces?
A: Yes, palm sanders can remove old paint and varnish, but progress gradually through grits to prevent gumming up the sandpaper or damaging delicate areas.
Q: My palm sander leaves swirl marks—what’s wrong?
A: Swirl marks may be from using overly coarse grit, not following the wood grain, or applying too much pressure. Switch to finer sandpaper and maintain consistent, gentle movement.
Q: Should I wear hearing protection?
A: Palm sanders can be surprisingly loud. Wear hearing protection, especially for long projects or in echoing spaces.
Q: How do I clean up after sanding?
A: Always use a tack cloth or slightly damp microfiber cloth to wipe away remaining dust. Vacuum your work area and empty any sander dust bags.
Summary Table: Palm Sander Dos and Don’ts
| Do | Don’t |
|---|---|
| Use gentle pressure | Press down hard on the sander |
| Progress through grit sizes | Start with super fine grit on rough surfaces |
| Move along the grain | Sand against or across the grain |
| Wear safety gear | Forget dust masks or eye protection |
| Empty dust bag frequently | Let it overfill and reduce suction |
Final Words
With proper technique, a palm sander streamlines finish sanding and surface prep, delivering smooth, professional-quality results on a wide variety of woodworking and home improvement projects. Following these steps, safety guidelines, and tips will help you master this essential DIY tool and take your projects to the next level.
References
- https://www.maxxt-tech.com/blog/how-to-use-an-orbital-sander/
- https://www.youtube.com/watch?v=idyzY1AiMn8
- https://www.youtube.com/watch?v=ft9Ob7heOLs
- https://mrsander.co.uk/wood-floor-sanding/how-to-use-a-palm-sander-with-orbital-and-palm-sander-comparison/
- https://www.homedepot.com/c/ab/how-to-use-a-sander/9ba683603be9fa5395fab90664df748
- https://www.youtube.com/watch?v=fXFnzZg-SPo
- https://100things2do.ca/diyer-guide-sanders/