Homemade Ice Pack: Simple, Safe Relief with Everyday Items
Ice packs are indispensable tools for managing acute injuries, pain, swelling, and even for keeping food fresh on the go. While commercial gel ice packs are convenient, you can easily make effective homemade ice packs with basic household ingredients and common items. This comprehensive guide covers everything you need to know about DIY cold packs: their benefits, how to use them, step-by-step recipes, safety tips, and FAQs.
Why Use a Homemade Ice Pack?
- Affordability: Uses inexpensive, accessible materials—no need for special purchases.
- Customization: Make packs of any size or shape to fit knees, elbows, or lunch bags.
- Safety: Easy to double-bag for leak protection, and ingredients are generally non-toxic.
- Environmentally friendly: Reusable designs mean less waste.
Common Uses for Ice Packs
- Injury and Pain Relief: Treat sprains, bruises, muscle aches, joint pain, and swelling.
- Post-Surgical Care: Reduce inflammation and discomfort after procedures.
- Managing Chronic Conditions: Useful for arthritis, migraines, and repetitive strain injuries.
- Cooling: Keep food chilled in lunch boxes or coolers.
- Fever Control: Safe way to reduce body temperature during mild fevers.
How Do Ice Packs Work?
An ice pack provides cold therapy, also known as cryotherapy. When applied to the skin over an injured or sore area, the cold causes blood vessels to constrict (vasoconstriction), reducing blood flow and thus lowering swelling, inflammation, and pain perception. Cold therapy is most effective in the first 48 hours after injury.
Safety Tips and Precautions
- Never apply ice directly to the skin: Always wrap the ice pack in a thin towel or cloth to protect against frostbite and skin damage.
- Limit application time: 15–20 minutes per session is recommended. Give the skin time to warm up between sessions.
- Check for impaired circulation: Avoid using ice packs on areas with poor blood flow or certain medical conditions.
- Monitor children: Supervise use to prevent accidental ingestion or prolonged exposure.
DIY Homemade Ice Pack Recipes
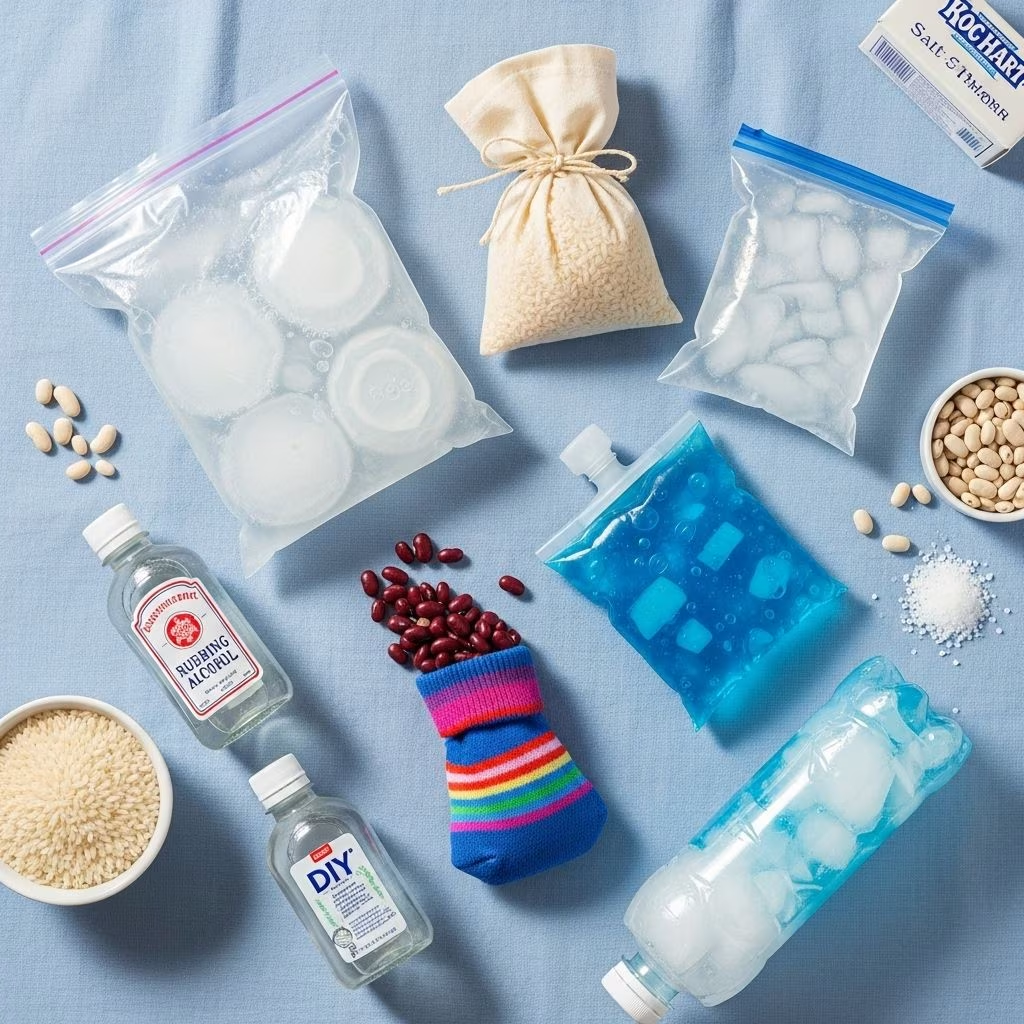
Here are several easy ice pack recipes you can make in minutes. Each uses familiar ingredients and offers a different texture and cold retention time.
1. Rubbing Alcohol & Water Gel Ice Pack
- Ingredients: 2 cups water, 1 cup rubbing alcohol (70% isopropyl alcohol recommended)
- Directions:
- Mix water and alcohol in a sealable zip-top bag.
- Double-bag for leak protection, removing excess air before sealing.
- Freeze for several hours. The pack will become slushy and flexible, making it ideal for molding around injury sites.
- Tip: Adjust quantities for larger or smaller packs.
2. Corn Syrup Gel Ice Pack
- Ingredients: Enough corn syrup to fill a sealable bag (about 1–2 cups, depending on bag size)
- Directions:
- Pour corn syrup into a zip-top bag, press out the air, and seal tightly.
- Freeze. The corn syrup will turn gel-like but not become completely hard.
- Double-bag for extra safety, as corn syrup is sticky if leaks occur.
- Advantages: Flexible, non-toxic, and easy to mold.
3. Dish Soap Ice Pack
- Ingredients: Dish soap (any brand, 1–2 cups depending on size of bag)
- Directions:
- Fill a zip-top bag with dish soap, squeeze out air, and seal.
- Freeze for about 2 hours for a soft, gel-like pack or longer for a firmer pack.
- Double-bag for best results.
- Note: Use dish soap that is not heavily scented and avoid if there are allergies.
4. Salt Water Ice Pack
- Ingredients: 2 cups water, 2 tablespoons salt (table salt)
- Directions:
- Combine salt and water in a zip-top bag, seal, and shake to dissolve salt.
- Freeze. Salt lowers the freezing point, making the pack slushy and flexible instead of rock-solid.
- Alternative: Add blue food coloring to mimic store-bought gel packs.
5. Sponge Ice Pack
- Ingredients: One clean, absorbent sponge, water
- Directions:
- Soak sponge in water and squeeze out excess.
- Place in a zip-top bag and freeze until solid.
- Feature: The sponge ice pack is reusable and particularly good for small bumps and scrapes.
6. Cornstarch Gel Ice Pack
- Ingredients: 1 cup cornstarch, about 4 cups water, 1 cup salt
- Directions:
- Boil water, add salt until dissolved.
- Mix cornstarch with a cup of cold water until fluid; add to boiling salted water, whisking rapidly until pudding-like.
- Let cool, pour into zip-top bag, seal, and freeze.
- Benefit: Stays flexible and cold for hours.
Comparison of Homemade Ice Pack Types
| Type | Flexibility | Leak Risk | Best For |
|---|---|---|---|
| Rubbing Alcohol Gel | High (slushy gel) | Low (double-bag recommended) | Injury, joint pain, inflammation |
| Corn Syrup Gel | High (soft gel) | Moderate (sticky if leaked) | Bruises, lunch boxes |
| Dish Soap Gel | Moderate to high | Low | General cooling, aches |
| Salt Water | Medium, slushy | Low | Sprains, swelling |
| Sponge Pack | Low (hard, solid) | Very low | Minor scrapes, bites |
| Cornstarch Gel | High | Low | Long-lasting cooling |
How to Apply a Homemade Ice Pack Correctly
- Wrap the pack in a clean towel before placing it on skin.
- Apply to the affected area for 15–20 minutes, then remove for at least 20 minutes before reapplying.
- Monitor skin frequently for signs of numbness or discomfort.
- If using with children or those with sensitive skin, check every few minutes.
Tips for Storing and Reusing Your Ice Packs
- Double-bagging significantly reduces leak risk and prolongs pack life.
- Label different packs for family members or purposes (e.g., injuries vs. food cooling).
- Store flat in the freezer so packs are easier to wrap and use.
- Clean bags before reuse, especially if leaks occurred.
- Replace homemade ice packs regularly if bags show signs of wear or damaged seals.
Benefits of Homemade Gel Ice Packs Over Commercial Packs
- Low cost and highly accessible.
- No waiting for shipping; make in minutes.
- Custom sizes for injuries or coolers.
- Non-toxic ingredients make safe disposal easier.
- Ability to tweak ingredients for more flexibility, longer cooling, or softness.
Frequently Asked Questions (FAQs)
Q: Can I refreeze a homemade ice pack after it warms up?
A: Yes, most homemade ice packs can be refrozen multiple times, but double-check for leaks and replace bags as needed for hygiene and effectiveness.
Q: How long do homemade ice packs stay cold?
A: Depending on the ingredients and pack size, homemade packs can stay cold from one to several hours. Gel packs (corn syrup, alcohol, or cornstarch) often provide cooling for longer than simple frozen water or sponges.
Q: Are homemade ice packs safe for children?
A: Yes, if wrapped in a cloth and carefully monitored, homemade ice packs are generally safe for children. Avoid strong chemicals or scented dish soaps, and supervise during use.
Q: Can I use a homemade ice pack for chronic pain or migraines?
A: Absolutely. Many people find relief for migraines, arthritis, or chronic pain using cold packs, but always follow the recommended application times and consult a healthcare provider for persistent symptoms.
Q: What is the best type of homemade ice pack for moldability?
A: Rubbing alcohol gel and corn syrup gel packs are both highly flexible and conform easily to the body’s contours, making them ideal for joints and swelling.
Q: How do I prevent leaks?
A: Use high-quality zip-top bags and double-bag your packs. Test them before applying, and never use a damaged or leaking pack on the skin.
Conclusion: Stay Prepared with Homemade Ice Packs
Homemade ice packs are simple, effective, and endlessly customizable solutions for injuries, pain, and everyday cooling needs. With just a few inexpensive ingredients and some basic kitchen supplies, you can create safe, reusable cold packs for the whole family. Whether for a sprained ankle, headache, or a picnic cooler, there’s a DIY recipe that’s perfect for your needs.