Table of Contents
- Why Build a Backyard Weather Station?
- Essential Weather Station Tools
- Step-by-Step Setup Guide
- Daily Routine and Activities
- Educational Benefits
- Safety Tips
- Extending the Learning Experience
- Frequently Asked Questions (FAQs)
Why Build a Backyard Weather Station?
A backyard weather station is more than just a fun family project—it’s a gateway to understanding the world around us. By tracking weather patterns daily, kids learn patience, observation, and critical thinking, while exploring fundamental scientific principles like meteorology, physics, and environmental science. This routine brings the family together, encouraging collaboration and shared discovery, making it both educational and memorable.
Essential Weather Station Tools
Basic Instruments Every Backyard Weather Station Should Have
- Thermometer: Measures air temperature, helping kids understand daily fluctuations and seasonal changes.
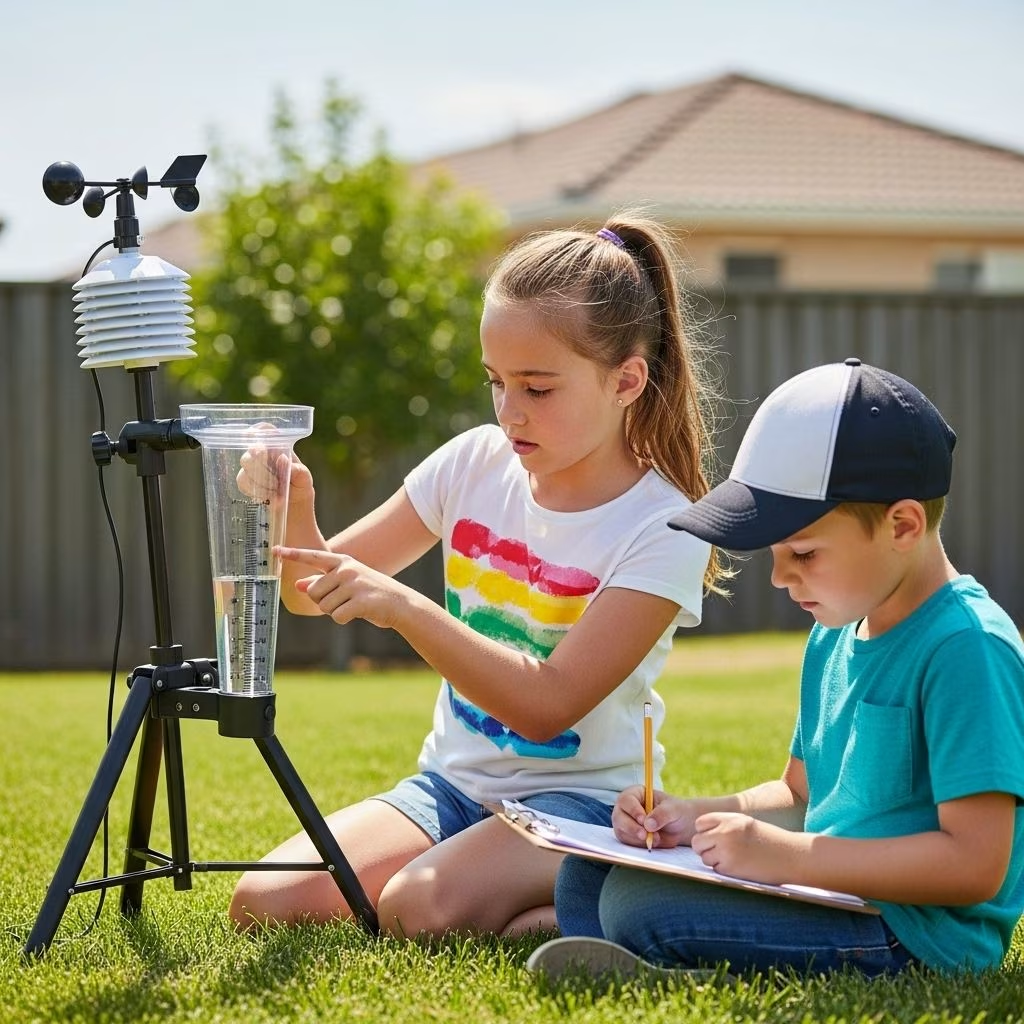
- Rain Gauge: Tracks precipitation, teaching the measurement and impact of rainfall.
- Wind Vane: Shows wind direction, highlighting how wind patterns influence local weather.
- Anemometer: Measures wind speed, adding quantitative data to weather observations.
- Barometer: Detects atmospheric pressure, a key factor in weather prediction.
- Hygrometer (optional): Measures humidity, providing insight into how moisture affects comfort and weather.
- Weather Chart/Journal: Records daily data, encouraging analysis and pattern recognition.
Optional Tools for Advanced Exploration
Depending on interests, you can add a windsock for wind direction, a ceilometer for cloud height, or even a solar panel-powered weather station for a tech twist.
Step-by-Step Setup Guide
Selecting a Location
Choose an area away from buildings, trees, and other obstructions—ideally in an open part of your yard. This ensures accurate readings for wind, rain, and temperature.
Building a Simple Wind Vane
Materials
- Long stick or dowel
- Stiff cardboard or plastic plate
- Scissors
- Pin or small nail
- Small bead
- Cork or foam block
- Permanent markers
- Compass
Steps
- Cut a triangle (arrowhead) and a rectangle (tail) from the cardboard.
- Attach these to opposite ends of the stick or dowel.
- Make a hole in the center of the cork or foam block for the pin.
- Place the bead on the pin, then thread the arrow assembly onto the pin so it spins freely.
- Use the compass to mark cardinal directions on the base for reference.
Building a Wooden Weather Station Board
Materials
- Wooden board
- Vinyl (various colors, optional)
- Drill
- Nut and bolt
- Wooden arrow
- Weather icons (sun, cloud, rain, snow, etc.)
Steps
- Sand the board to prevent splinters.
- Drill a hole in the center.
- Cut a wooden arrow and attach it with a nut and bolt, allowing it to turn.
- Decorate with weather icons for visual reference.
Other DIY Weather Tools
Simple rain gauges can be made from clear plastic bottles, and an anemometer can be crafted from plastic cups and a rod. Thermometers and barometers can be purchased inexpensively or made with basic household items.
Daily Routine and Activities
Morning: Collecting Weather Data
- Temperature: Read the thermometer and record the value.
- Wind Direction and Speed: Observe the wind vane and, if possible, estimate speed with a homemade anemometer.
- Rainfall: Empty and reset the rain gauge after recording any precipitation.
- Pressure and Humidity: Note barometer and hygrometer readings.
- Weather Chart: Mark the day’s weather (sunny, cloudy, rainy, etc.) on your weather chart.
Afternoon: Comparing and Predicting
- Compare morning’s data with afternoon readings. Discuss changes and reasons behind them.
- Predict next day’s weather based on observations (e.g., “If the barometer drops, will it rain tomorrow?”).
Weekly Review
Compile data from the week, identify patterns, and discuss how these patterns might influence local activities (gardening, outdoor play, clothing choices).
Monthly and Seasonal Analysis
Track longer-term trends. Compare monthly averages and discuss how seasons affect weather in your area.
Educational Benefits
STEM Learning in Action
Building and using a backyard weather station integrates science, technology, engineering, and math (STEM). Kids learn:
- Scientific Observation: Noticing details, collecting and analyzing data, and drawing conclusions.
- Math Skills: Recording, averaging, and graphing weather data.
- Critical Thinking: Predicting weather based on evidence and patterns.
- Environmental Awareness: Understanding how weather impacts nature and daily life.
Family Bonding
Working together on a weather station encourages teamwork, communication, and shared curiosity. It also provides regular opportunities for outdoor activity and unstructured exploration.
Safety Tips
General Safety
- Always supervise children, especially when using tools (scissors, drills, etc.).
- Wear gloves and goggles when cutting materials.
- Place instruments safely, away from traffic and play areas.
- Check for sharp edges on homemade tools.
Weather-Specific Safety
- Bring in sensitive instruments during storms.
- Be cautious of lightning and heavy rain—observe from a safe place.
Extending the Learning Experience
Connecting with Technology
Consider integrating digital tools—remote sensors, weather apps, or even a DIY weather dashboard—to log and visualize data. For advanced projects, explore IoT weather stations with remote access.
Field Trips and Guest Speakers
Visit local weather stations, invite a meteorologist to speak, or attend science fairs. These experiences deepen understanding and spark new interests.
Weather-Themed Activities
- Create cloud charts and learn to identify different types.
- Make a sundial to track sunlight hours.
- Build a simple barometer using a jar, balloon, and straw.
- Grow a weather garden, observing how plants respond to changes.
Frequently Asked Questions (FAQs)
What age is best to start a backyard weather station routine?
Ages 4 and up can participate with adult guidance, but most children ages 6–12 will get the most out of the hands-on learning and data recording.
Do I need to buy expensive equipment?
No! Most weather station components can be made at home with household items. Commercial instruments are optional and can be added as interest grows.
How often should we check the weather station?
Daily checks are ideal for tracking patterns and building a routine. Morning and evening observations provide a more complete picture.
What do we do with the data collected?
Record it in a weather journal, make graphs, compare with local forecasts, and use it to predict future weather or discuss climate trends.
Can we involve the whole family?
Absolutely! Assign different tasks (e.g., one child reads the thermometer, another checks the rain gauge) to encourage teamwork and shared responsibility.
Is this activity seasonal?
Weather observation is valuable year-round. Each season brings new phenomena to explore—snow in winter, thunderstorms in summer, etc.
How can we make it more fun for younger kids?
Use colorful charts, stickers, and simple games (e.g., “What’s the Weather Today?”) to engage younger children and keep them interested.
What if we live in an apartment?
You can still observe temperature, wind (from a balcony), and cloud types. Use indoor instruments or digital tools for additional data.
Can this project help with school science fairs?
Yes! A backyard weather station and the data you collect make an excellent science fair project, demonstrating real-world STEM skills.
How can we track weather data over long periods?
Keep a dedicated notebook or use a spreadsheet to log daily observations. Create charts to visualize monthly and seasonal trends.
References
- https://www.mischiefmakersclub.com/blog/how-to-build-a-weather-station-at-home
- https://abubblylife.com/2020/04/diy-weather-station-for-kids.html/
- https://inventorsoftomorrow.com/2018/01/22/diy-weather-station-for-kids/
- https://www.teachengineering.org/activities/view/cub_weather_lesson04_activity1
- https://oceanservice.noaa.gov/education/dyw-weather-station.html
- https://thecraftyclassroom.com/2020/03/29/how-to-start-a-kids-weather-station/
- https://blog.noip.com/building-a-diy-weather-station-with-your-kids-and-no-ip-a-fun-and-educational-project
- https://forums.welltrainedmind.com/topic/186770-weather-stations-and-kids/
- https://www.scouts.org.uk/activities/make-homemade-weather-stations/