Astrophotography for Beginners: Your Step-by-Step Night Sky Guide
Astrophotography is the art and science of taking photographs of the night sky, capturing breathtaking images of stars, planets, the Moon, and deep-sky objects. If you’ve ever marveled at pictures of the Milky Way or stunning galaxy shots and wondered how these images are made, you’re in the right place. This guide will walk you through the essential equipment, planning strategies, camera settings, and creative techniques you’ll need as a beginner to start your journey into astrophotography.
Why Astrophotography?
Astrophotography blends science, art, and patience. It allows you to witness and share cosmic wonders invisible to the naked eye. While the hobby requires both financial and personal investment, it is rich with rewarding experiences and constant opportunities for growth.
- Financial investment: Camera equipment, lenses, tripods, and accessories.
- Personal investment: Time, patience, and perseverance through trial and error.
Astrophotography is a learning process—don’t expect perfection from your first images. With each attempt, you’ll iterate, improve, and gain results that will wow friends and family.
What You’ll Need: Essential Equipment for Astrophotography
The right equipment can make a significant difference in your astrophotography journey. For beginners, it’s best to start simple before moving onto more specialized tools.
- Camera: A DSLR or mirrorless camera with manual controls provides the best starting point. Entry-level models can deliver excellent results, but even some smartphones with manual settings and long exposure modes can also be used.
- Lenses: A wide-angle lens (with focal length 10-24mm), ideally with a fast aperture (f/2.8 or lower), will let in more light and help you capture vast sections of the sky.
- Tripod: A sturdy tripod is essential for keeping your camera still during long exposures.
- Other accessories:
- Spare batteries and memory cards
- Remote shutter release or intervalometer
- Red headlamp or flashlight (for preserving night vision)
- Weather-appropriate clothing for comfort on cold nights
Camera Bodies and Focusing
Use manual mode for both exposure and focus. Autofocus doesn’t work well at night; instead, use the screen on the back of your camera (ideally a flip-out screen) and zoom in digitally to focus until stars appear as sharp points—not circles. Set your lens focus to infinity but fine-tune it for precise results.
Planning Your Astrophotography Session
Planning is critical for successful astrophotography. Knowing when and where to shoot will determine your results more than any camera specification.
- Choose your location: Find dark sky sites away from light pollution. National parks, remote countryside, and mountains are ideal. Check light pollution maps online before heading out.
- Check weather conditions: Look for clear skies with minimal clouds. Humidity and atmospheric turbulence can affect your images.
- Time your shoot:
- For shooting stars, the new moon phase is best, as moonlight can wash out faint objects.
- Late evening through early morning hours offer darker skies.
- Research astrophotography targets: Decide if you want to shoot the Milky Way, a star field, constellations, planets, or the Moon.
- Use astronomy apps: Apps like Stellarium, SkySafari, or Photopills help track celestial events and plan your shoot.
Camera Settings for the Night Sky
Astrophotography settings require experimentation. Begin with a basic recipe and adjust based on your conditions.
| Setting | Recommended Starting Value | Description |
|---|---|---|
| File Type | RAW | Preserves maximum detail for post-processing. |
| Shutter Speed | 10-20 seconds | Long exposures gather starlight, but too long causes star trails. |
| Aperture | f/2.8 or lower | Wide aperture lets in more light. |
| ISO | 1600-3200 | Higher ISO increases sensitivity, but may add noise. |
| Focus | Manual—set to infinity | Tune for sharp stars using live view. |
- Reduce ISO if images are too noisy; increase if stars are too faint.
- Shorten exposure if you notice star trails and want pinpoint stars.
- Use a self-timer (2–10 seconds) or a remote trigger to prevent camera shake.
Exposure Triangle and Star Trails
Astrophotography is all about mastering the exposure triangle: shutter speed, ISO, and aperture. For exposures longer than 20 seconds, you may start to see star trails—the motion of stars in the sky caused by Earth’s rotation. If you want pure star points, keep exposures short; for capturing deliberate trails, use much longer exposures or stacking techniques.
Creative Techniques and Composition
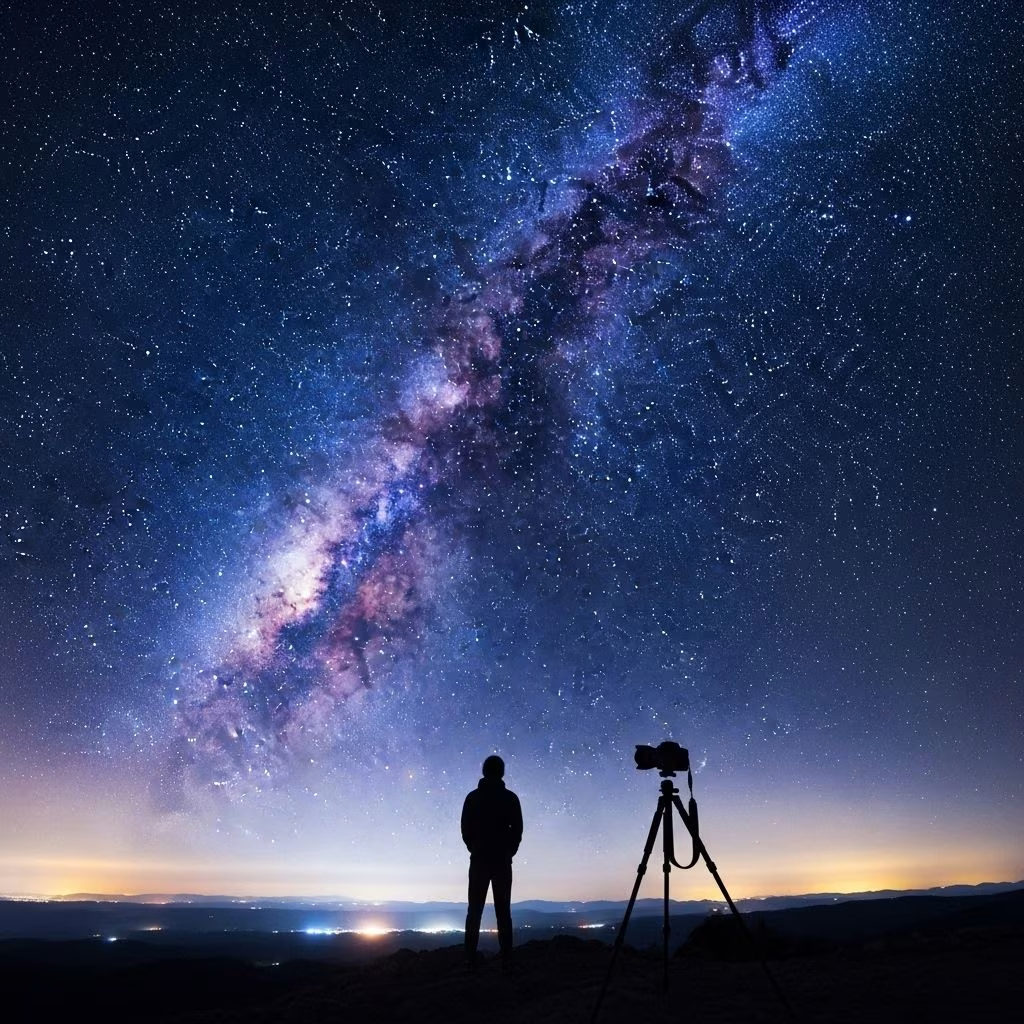
- Foreground interest: Add landscapes or features such as trees, mountains, or silhouettes to create depth and scale.
- Rule of thirds: Place the horizon or key objects along the grid lines for dynamic images.
- Milky Way shots: In northern latitudes, the Milky Way is visible in the summer months. Use wide-angle lenses to frame its arc across the sky.
- Constellations and planets: Use apps to plan for conjunctions or special alignments.
Editing Your Astrophotography Photos
Post-processing brings out the vibrant colors and details obscured in your raw files.
- Photo editing software: Programs like Adobe Lightroom, Photoshop, or free alternatives (GIMP, Darktable) allow adjustment of brightness, contrast, noise reduction, and white balance.
- RAW format: Shooting in RAW provides flexibility to recover shadows and adjust exposure.
- Stacking: For advanced noise reduction, combine multiple exposures with software like DeepSkyStacker.
Common Editing Steps
- Boost exposure and contrast to reveal fainter stars.
- Reduce noise, especially at high ISO settings.
- Adjust color balance for realistic star colors and sky background.
- Crop and straighten images for cleaner composition.
Astrophotography Categories: What Do You Want to Shoot?
| Category | Typical Targets | Equipment |
|---|---|---|
| Wide-field Astro | Milky Way, constellations, star fields | DSLR/mirrorless, wide lens |
| Planetary Imaging | Moon, planets (Jupiter, Saturn) | DSLR/mirrorless, telephoto lens or small telescope |
| Deep-Sky | Galaxies, nebulae, star clusters | Equatorial mount, telescope, dedicated astro camera |
As a beginner, wide-field astrophotography is straightforward, while deep-sky imaging requires more specialized gear and tracking mounts to compensate for Earth’s rotation.
Tips for Better Astrophotography
- Scout locations in advance and avoid areas with excessive lighting.
- Arrive early to set up and allow your eyes time to adapt to darkness.
- Bring extra equipment such as batteries, memory cards, and warm clothing.
- Packed patience: Astrophotography is a trial-and-error process—expect multiple attempts before achieving excellent results.
- Stay safe: Inform someone of your plans, pack snacks, and check weather forecasts before heading out.
FAQs: Astrophotography for Beginners
What is the minimum equipment needed for astrophotography?
At a minimum, you need a camera with manual controls, a tripod, and a wide-aperture lens. Many new smartphones can also capture night sky images with their advanced cameras.
Do I need a telescope to start?
No. Telescopes are not necessary for basic wide-field astrophotography. Focus on learning with your camera and lens first; upgrade when you want to capture planets or deep sky objects.
How do I focus my camera at night?
Switch to manual focus and use your camera’s live view. Zoom in digitally on a bright star and slowly adjust until it’s a pinpoint.
How do I avoid blurry stars or star trails?
Keep exposures under 20 seconds for sharp star points. For longer exposures or artistic star trails, use a sturdy tripod and experiment.
Can I edit astrophotography images on my phone?
Yes. Many editing apps like Adobe Lightroom Mobile and Snapseed are available for smartphones, allowing you to adjust exposure, contrast, and colors.
Useful Resources and Next Steps
- Explore online light pollution maps to find dark sky locations.
- Use apps such as Stellarium or Photopills for planning and celestial tracking.
- Join astrophotography forums and local astronomy clubs for advice and community support.
- Check guides for the best cameras and lenses for astrophotography as you advance.
Astrophotography is as much about enjoying a night under the stars as it is about learning technical skills. With practice, the patience to experiment, and the willingness to embrace mistakes, you’ll capture cosmic views that rival those you’ve only ever seen online. Remember—the night sky is waiting, and the journey starts with your first click.
References
- https://www.space.com/astrophotography-for-beginners-guide
- https://www.youtube.com/watch?v=Vge4qxdmgJ8
- https://erinoutdoors.com/beginners-guide-to-astrophotography/
- https://www.space.com/top-tips-for-composing-astrophotography
- https://www.space.com/how-to-photograph-the-milky-way-beginners-tips-tricks
- https://www.space.com/astrophotography-time-lapse-tips
- https://www.space.com/astrophotography-with-a-film-camera
- https://www.space.com/how-to-photograph-meteor-showers
- https://www.space.com/landscape-photography-guide-beginners